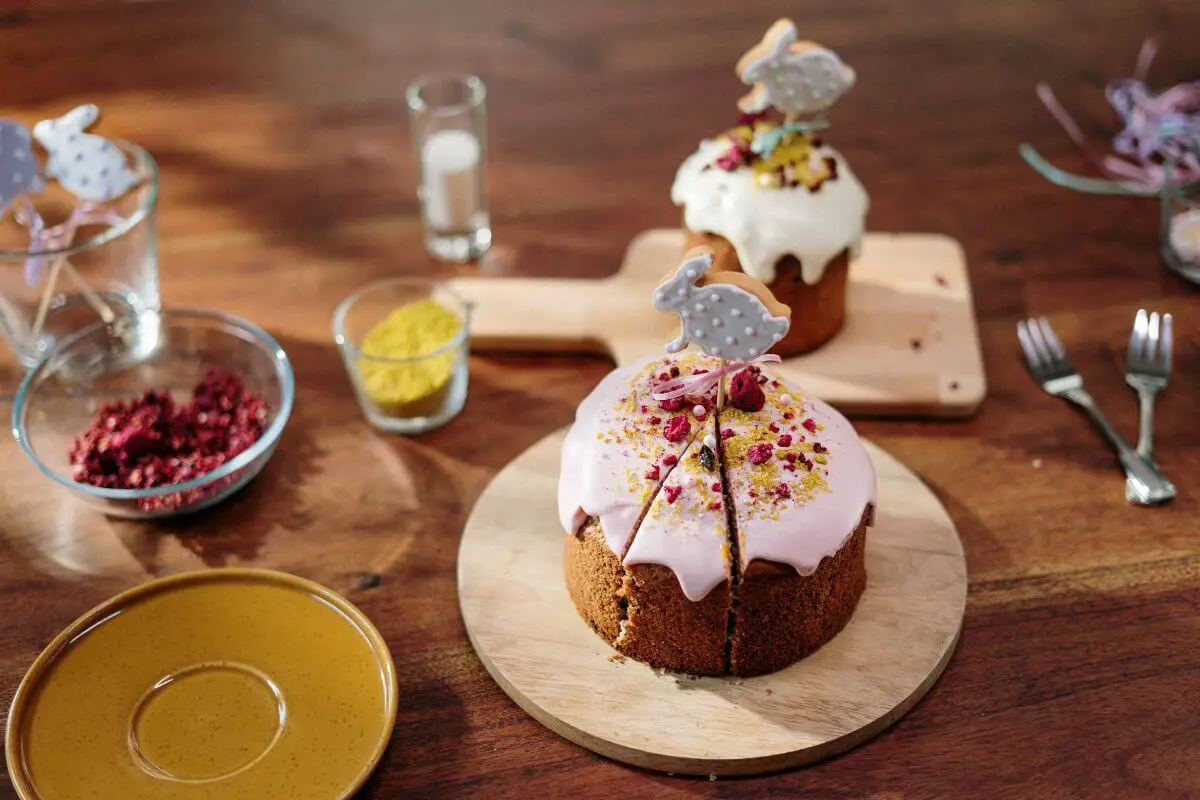
Decorating a homemade cake can be a fun and creative experience, but it can also be intimidating if you don’t know where to start. With a few simple techniques and some creative inspiration, you can turn your homemade cake into a beautiful and delicious masterpiece. In this article, we will guide you through the process of decorating a homemade cake from start to finish, including essential tools and ingredients, step-by-step instructions, and tips for creating stunning and unique designs.
1. Introduction
Decorating a homemade cake is an excellent way to add a personal touch to your celebrations, whether it’s a birthday, anniversary, or any other special occasion. While store-bought cakes may be convenient, they can lack the unique flair and creativity that come with making your own cake. With a little practice and some essential tools and ingredients, you can create a beautiful and delicious cake that will impress your guests.
2. Essential Tools and Ingredients
Before you start decorating your cake, you’ll need to gather some essential tools and ingredients. Here are some items you’ll need:
- Cake pan(s)
- Cooling rack
- Cake board or plate
- Offset spatula
- Bench scraper
- Piping bags and tips
- Fondant smoother
- Rolling pin
- Edible food coloring
- Fondant or gum paste
- Buttercream frosting or royal icing
- Various decorations such as sprinkles, edible pearls, and sugar flowers.
3. Choosing the Right Cake Design
When it comes to decorating a cake, the possibilities are endless. But choosing the right design is essential to ensure that your cake turns out as you envision it. Start by deciding on the theme or occasion for your cake, and then brainstorm some ideas for the design. You can find inspiration from online resources such as Pinterest, cake decorating blogs, or even by looking at pictures of professionally decorated cakes.
4. Preparing Your Cake for Decorating
Once you have your cake design in mind, it’s time to prepare your cake for decorating. Here are some essential steps to follow:
- Allow your cake to cool completely before decorating.
- Level your cake by trimming off any uneven parts with a serrated knife.
- Brush off any loose crumbs with a pastry brush.
- Place your cake on a cake board or plate, securing it with a small amount of frosting or icing.

5. Basic Decorating Techniques
Now that your cake is ready, it’s time to start decorating. Here are some basic decorating techniques to get you started:
Frosting and Icing
Frosting and icing are the most basic and versatile decorating techniques. You can use them to cover your cake, create designs, or even write messages. Here’s how to apply frosting or icing to your cake:
- Place a dollop of frosting or icing on the center of your cake.
- Use an offset spatula to spread the frosting or icing evenly over the top and sides of your cake.
- Use a bench scraper to smooth out the frosting or icing for a clean and polished finish.
Piping and Writing
Piping and writing involve using piping bags and tips to create designs or write messages on your cake. Here’s how to use piping and writing:
- Fill a piping bag with frosting or icing.
- Attach a piping tip of your choice to the piping bag.
- Squeeze the piping bag to pipe the frosting or icing onto your cake.
- To write a message, use a small round piping tip and pipe the letters onto your cake.
Fondant and Gum Paste
Fondant and gum paste are pliable dough-like substances that can be rolled out and used to cover cakes or create decorations. Here’s how to use fondant and gum paste:
- Roll out your fondant or gum paste on a clean and lightly dusted surface.
- Carefully lift the fondant or gum paste and place it over your cake.
- Smooth out any wrinkles or air bubbles with a fondant smoother.
- Use cookie cutters or fondant cutters to create shapes or designs.
6. Advanced Decorating Techniques
If you’re feeling more adventurous, you can try some advanced decorating techniques to create more intricate and detailed designs. Here are some techniques to try:
Sculpting and Carving
Sculpting and carving involve shaping your cake into a specific design or object. Here’s how to sculpt and carve your cake:
- Use a serrated knife to carve your cake into the desired shape.
- Use frosting or icing to fill in any gaps or to smooth out the edges.
- Cover the cake with fondant or gum paste to create a seamless finish.
Painting and Airbrushing
Painting and airbrushing involve using food coloring to paint or airbrush designs onto your cake. Here’s how to paint and airbrush your cake:
- Mix food coloring with a small amount of vodka or lemon extract to create a paint or airbrushing solution.
- Use a small brush or airbrush gun to apply the color to your cake.
- Allow the paint or airbrushing to dry before adding additional layers or designs.
Sugar Flowers and Decorations
Sugar flowers and decorations involve creating delicate and realistic flowers or other decorations out of sugar. Here’s how to make sugar flowers and decorations:
- Use a mix of gum paste and fondant to create a pliable dough.
- Use flower cutters or molds to shape the dough into flowers or other decorations.
- Allow the flowers or decorations to dry before attaching them to your cake.
7. Creative Ideas and Inspiration
Looking for some creative ideas and inspiration for your cake design? Here are some ideas to try:
Theme-Based Cakes
Create a cake that fits a specific theme, such as a beach party, princess party, or superhero party.
Seasonal and Holiday Cakes
Create a cake that reflects the season or a specific holiday, such as a Halloween cake, Christmas cake, or Easter cake.
Personalized Cakes
Create a cake that reflects the recipient’s interests or personality, such as a sports-themed cake or a cake with the recipient’s name.
8. Troubleshooting and Tips for Success
If you’re having trouble with your cake decorating, here are some tips for success:
- Practice makes perfect, so don’t be afraid to try new techniques.
- Use high-quality ingredients for the best results.
- Keep your tools and workspace clean and organized.
- Be patient and take your time when decorating your cake.
9. Conclusion
Decorating a homemade cake can be a fun and rewarding experience. With some essential tools and ingredients, a little creativity, and some practice, you can create a beautiful and delicious cake that will impress your guests. Whether you’re a beginner or an experienced baker, there’s always room to try new techniques and experiment with different designs.
10. FAQs
Do I need to be an experienced baker to decorate a cake?
No, anyone can learn to decorate a cake with some practice and patience.
How do I know which decorating technique to use?
Choose a decorating technique that fits your skill level and the design you have in mind. Start with basic techniques and work your way up to more advanced ones.
Can I use store-bought frosting instead of making my own?
Yes, you can use store-bought frosting if you prefer. However, homemade frosting may taste better and give you more control over the consistency.
How far in advance can I decorate a cake?
You can decorate a cake up to 2-3 days in advance, but it’s best to wait until the day of the event to add any delicate decorations.
Can I freeze a decorated cake?
Yes, you can freeze a decorated cake, but make sure it’s well-wrapped to prevent freezer burn. Thaw the cake in the refrigerator overnight before serving.
In conclusion, decorating a homemade cake can be a fun and rewarding experience, and with the tips and techniques outlined in this article, you can create a stunning and delicious cake that will impress your guests. Remember to start with basic techniques and work your way up to more advanced ones, and don’t be afraid to experiment and try new things. Happy decorating!


