When it comes to beachwear, every woman wants to feel confident and comfortable. If you’re looking to enhance your bust and create a more flattering silhouette, adding push-up padding to your bathing suit can make a world of difference. In this guide, we’ll walk you through the steps to upgrade your swimwear by adding push-up support.
Why Add Push-Up to Your Bathing Suit?
Push-up padding in your bathing suit offers several advantages:
1. Enhanced Bust:
- Push-up padding provides additional lift and support, making your bust appear fuller and more defined.
2. Improved Shape:
- It helps create a rounded and lifted shape, accentuating your natural curves.
3. Confidence Boost:
- The extra support can boost your confidence, allowing you to feel comfortable and secure while enjoying the beach or pool.
4. Versatility:
- You can add push-up padding to various types of swimwear, from bikinis to one-pieces, customizing your beach look.
Steps to Add Push-Up to Your Bathing Suit
Follow these steps to add push-up padding to your bathing suit:
1. Gather Your Materials:
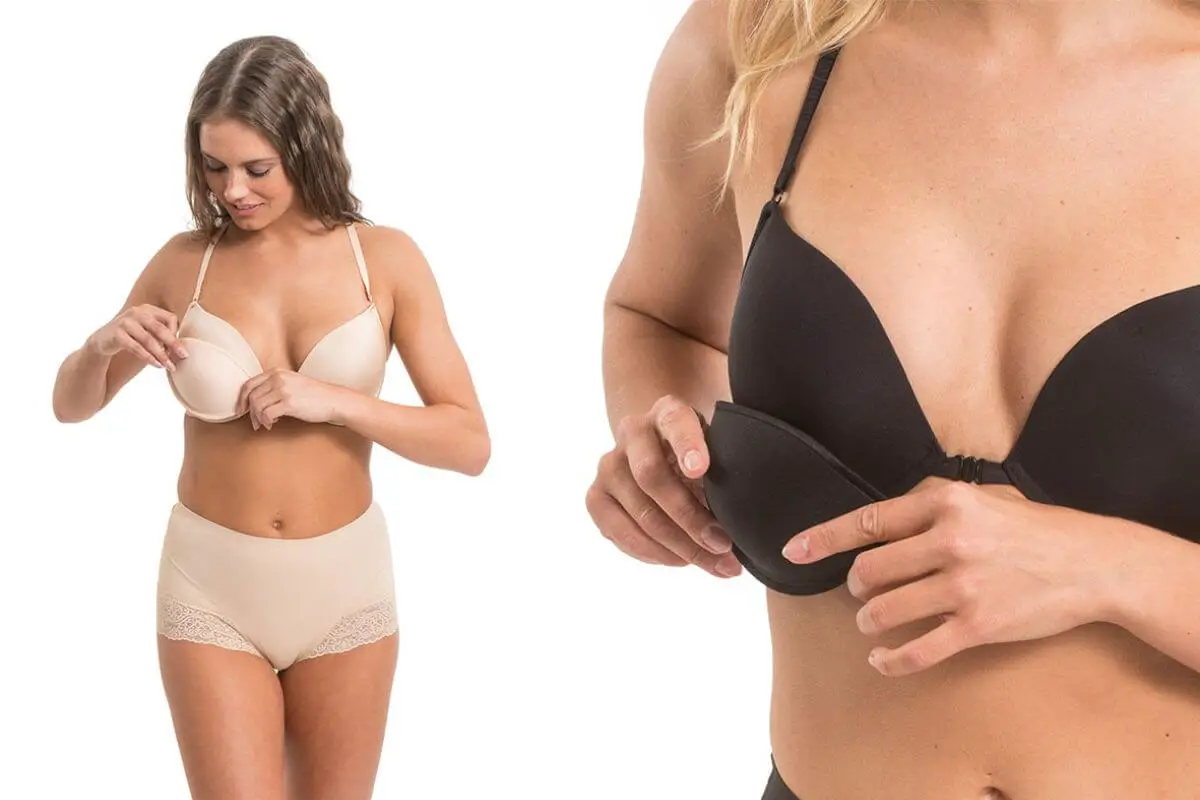
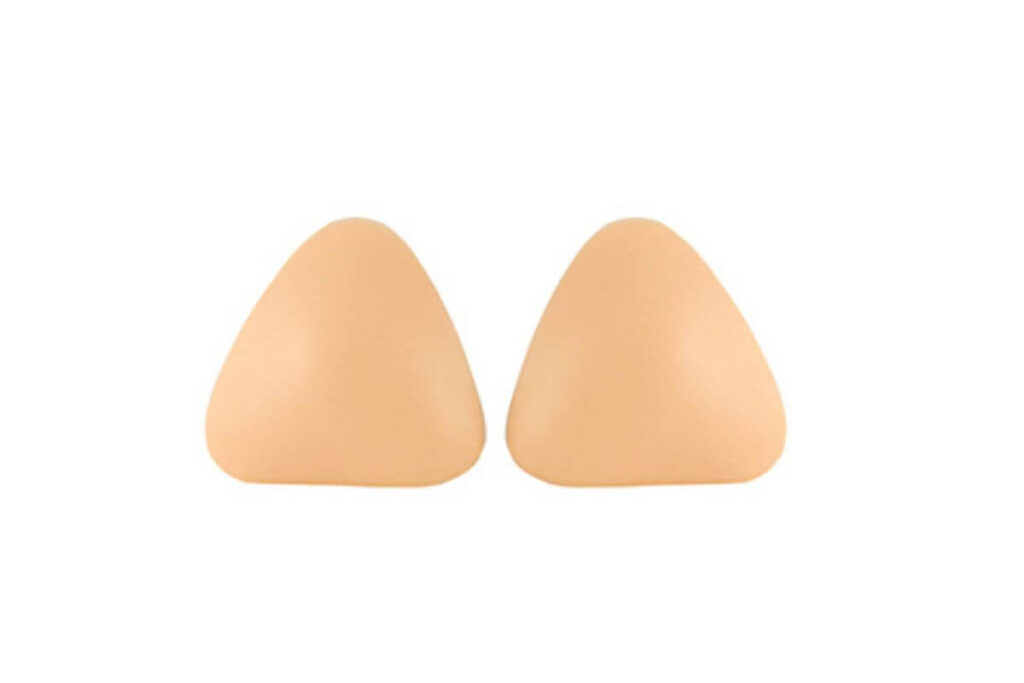
- To get started, you’ll need your bathing suit, push-up bra inserts or foam pads, a needle, and matching thread.
2. Plan Placement:
- Try on your bathing suit and determine where you want to add the push-up padding. The most common placement is beneath the bust or within the cups.
3. Prepare the Padding:
- If you’re using push-up bra inserts, carefully cut them to the desired size and shape to fit inside your bathing suit top. If you’re using foam pads, make sure they are the right size for your bikini or swimsuit.
4. Pin the Padding:
- Place the push-up padding inside the bathing suit top and use pins to secure it in place. This will help you ensure it stays put during the sewing process.
5. Sew the Padding:
- Using a needle and matching thread, carefully sew the push-up padding into the desired location inside your bathing suit. Make sure your stitches are secure to prevent any shifting or movement.
6. Test the Fit:
- After sewing, try on your bathing suit again to ensure the padding is in the right position and provides the desired level of lift and support.
7. Make Adjustments:
- If you’re not satisfied with the placement or the effect, you can make adjustments by repositioning the padding and sewing it in place as needed.
8. Finish the Seams:
- To ensure a clean and finished look, sew up any seams or openings where you inserted the push-up padding.
Enjoy Your Enhanced Beach Look
With push-up padding added to your bathing suit, you can confidently enjoy your time at the beach or pool, knowing that you’re both comfortable and stylish. This simple DIY project allows you to create a custom swimwear look that complements your body shape and makes you feel your best. So, embrace the sun, sand, and surf with your enhanced beach look!
Additional Tips and Considerations
While you’ve learned the basic steps to add push-up padding to your bathing suit, there are some additional tips and considerations to keep in mind:
1. Choose the Right Padding:
- There are various types of push-up padding available, from foam pads to silicone inserts. Select the type that suits your bathing suit style and provides the desired level of enhancement.
2. Color Matching:
- Ensure that the push-up padding you choose matches the color of your bathing suit to maintain a cohesive and seamless appearance.
3. Avoid Overstuffing:
- While you want to enhance your bust, be cautious not to overstuff your bathing suit. Too much padding can make your swimwear uncomfortable and may not look natural.
4. Sewing Skills:
- If you’re not confident in your sewing skills, consider seeking assistance from a professional seamstress or tailor to ensure a secure and neat attachment of the padding.
5. Reversible Options:
- If you’d like the option to switch between a push-up look and a regular look, consider making the padding removable. Attach hook-and-loop fasteners or snaps to the padding and the bathing suit so you can easily switch between styles.
6. Multiple Bathing Suits:
- If you enjoy having a variety of bathing suits, you can experiment with adding push-up padding to different swimsuits, creating different looks for different occasions.
7. Personal Comfort:
- Ultimately, your comfort and confidence are what matter most. Don’t feel pressured to add push-up padding if you prefer the natural look or have other preferences.
Embrace Your Unique Style
By adding push-up padding to your bathing suit, you have the opportunity to embrace your unique style and enhance your beach look. Whether you’re seeking a subtle lift or a more dramatic enhancement, this DIY project allows you to feel confident and comfortable in your swimwear. With the right padding and careful sewing, you’ll be ready to make a splash at the beach or by the pool with your newly elevated bust. Enjoy the sun, sea, and sand with style!
FAQs
Certainly, here are some frequently asked questions (FAQs) regarding adding push-up padding to your bathing suit:
1. How can I determine the right placement for push-up padding in my bathing suit?
The placement of push-up padding can vary depending on your bathing suit’s design and your personal preference. Common locations include beneath the bust for a lifting effect or within the cups for added cleavage. Try on your bathing suit and experiment with the placement to find what suits you best.
2. Can I use regular sewing thread and a needle for attaching push-up padding to my bathing suit?
Yes, regular sewing thread and a needle are suitable for attaching push-up padding to your bathing suit. Ensure your stitches are secure to prevent any shifting or movement.
3. Is it possible to remove the push-up padding after it’s been added to the bathing suit?
Whether or not you can remove the push-up padding depends on how it was attached. If you’ve sewn the padding into the suit, it may be more challenging to remove. To make it removable, you can use hook-and-loop fasteners or snaps to attach the padding and the bathing suit.
4. Will adding push-up padding to my bathing suit make it uncomfortable to wear?
If you choose the right padding and attach it securely, it should not make your bathing suit uncomfortable to wear. However, avoid overstuffing, as too much padding can cause discomfort. It’s essential to strike a balance that provides both comfort and enhancement.
5. Can I swim and wash my bathing suit as usual after adding push-up padding?
Yes, you can swim and wash your bathing suit as usual after adding push-up padding. The padding should be securely attached, but it’s a good practice to rinse your suit with fresh water after swimming in chlorinated or saltwater and follow the care instructions for your specific bathing suit and padding materials.
6. Do push-up pads work for all bathing suit styles?
Push-up padding can be added to various bathing suit styles, from bikinis to one-pieces. However, the effectiveness of the padding may vary depending on the design of the suit and your body shape. Experiment with different placements and padding types to find what works best for your chosen style.
7. Can I use the same push-up padding for multiple bathing suits?
Yes, you can use the same push-up padding for multiple bathing suits if it is removable. However, make sure the padding matches the color of the bathing suit you plan to wear.
Enhancing your beach look with push-up padding is a customizable option to boost your confidence and create a more flattering silhouette in your swimwear. By considering these FAQs and following the provided steps, you can elevate your style and enjoy your time at the beach or pool with enhanced comfort and confidence.

