When it comes to woodworking or construction projects, you often need to attach 4x4s at 90 degrees to create sturdy and reliable structures. Whether you’re building a deck, a pergola, or a fence, knowing how to properly attach 4x4s at right angles is essential. In this comprehensive guide, we will walk you through the process step by step, ensuring that you have a clear understanding of how to achieve this crucial task.
Introduction
Attaching 4x4s at 90 degrees is a fundamental skill in woodworking and construction. It allows you to create strong and stable connections between wooden posts, which are commonly used in various outdoor projects. By following these guidelines, you’ll be able to tackle this task with confidence and precision.
Safety Precautions
Before we dive into the process, let’s prioritize safety. Make sure to wear appropriate safety gear, including safety glasses, gloves, and hearing protection. Additionally, work in a well-ventilated area and follow the manufacturer’s guidelines for all tools and materials.
Tools and Materials
To complete this task, you’ll need the following tools and materials:
- Circular saw or miter saw
- Power drill
- Measuring tape
- Carpenter’s square
- Pencil
- 4×4 pressure-treated lumber
- Deck screws or lag bolts
- Wood glue
Choosing the Right Fasteners
Selecting the appropriate fasteners is crucial for a strong joint. Deck screws are a popular choice for attaching 4x4s at 90 degrees due to their durability and corrosion resistance. Alternatively, you can use lag bolts for added strength.
Measuring and Marking
Measure and mark the points where you want to attach the 4x4s. Use a carpenter’s square to ensure that the angles are precisely 90 degrees. Double-check your measurements before making any cuts.
Preparing the 4x4s

Cut the 4x4s to the desired length using a circular saw or miter saw. Make sure the ends are square and smooth for a proper fit.
Drilling Pilot Holes
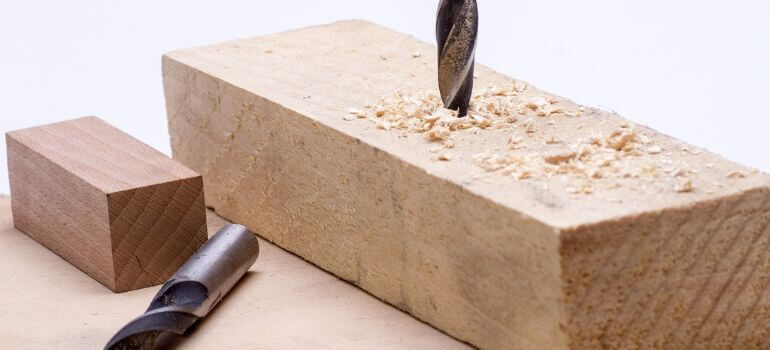
To prevent splitting, drill pilot holes through the 4x4s at the marked locations. Use a drill bit that is slightly smaller than the diameter of your screws or lag bolts.
Attaching the 4x4s
Align the 4x4s at 90 degrees and secure them by driving screws or lag bolts through the pilot holes. Be sure to countersink the fasteners to create a flush surface.
Checking for Squareness
After attaching the 4x4s, use a carpenter’s square to confirm that the joint is still at a perfect 90-degree angle. Make any necessary adjustments before proceeding.
Reinforcing the Joint
For added stability, apply wood glue to the joint before securing it with fasteners. This will create a strong bond that enhances the structural integrity of your project.
Finishing Touches
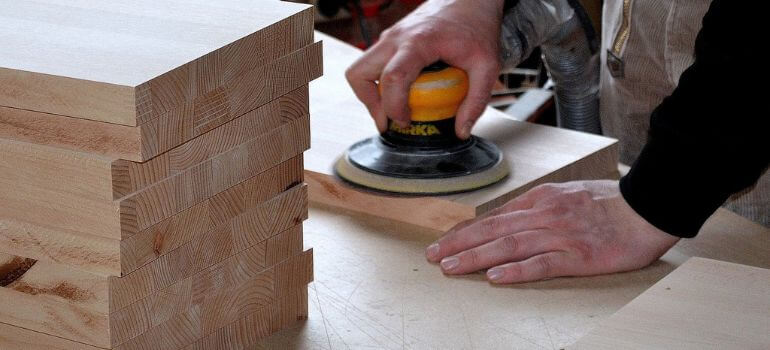
Sand any rough edges and surfaces for a polished look. You can also apply a wood finish or paint to protect the wood from the elements and enhance its appearance.
Maintaining Your Structure
Regular maintenance, such as inspecting for loose fasteners and applying sealant, will ensure the longevity of your structure.
Additional Tips for Success
While you now have a solid understanding of how to attach 4x4s at 90 degrees, there are some additional tips that can further enhance your success in woodworking and construction projects:
Proper Planning
Before you start any project, take the time to plan it thoroughly. This includes creating a detailed blueprint, calculating the required materials, and envisioning the final outcome. Proper planning can save you time and resources in the long run.
Use Quality Materials
Investing in high-quality lumber and fasteners is essential for a durable and long-lasting structure. While it may cost a bit more upfront, it will pay off in terms of longevity and performance.
Regular Maintenance
We mentioned maintenance earlier, but it’s worth emphasizing again. Regularly inspect your structure for any signs of wear, loose fasteners, or damage. Addressing issues promptly will prevent more significant problems down the line.
Seek Professional Advice
If you’re tackling a complex project or feel uncertain about any aspect of your construction, don’t hesitate to seek advice from a professional. Consulting with an experienced contractor or carpenter can provide valuable insights and guidance.
Practice Makes Perfect
Like any skill, attaching 4x4s at 90 degrees improves with practice. Don’t be discouraged if your first attempt isn’t perfect. Keep honing your skills, and you’ll become more proficient over time.
Conclusion
Attaching 4x4s at 90 degrees is a fundamental skill for woodworking and construction projects. By following the steps outlined in this guide and prioritizing safety, you can create sturdy and reliable structures that stand the test of time.
FAQs
Yes, you can use regular screws, but deck screws are recommended for their durability and rust resistance in outdoor applications.
Wood glue is optional but recommended for added strength and stability.
Regular inspections, tightening loose fasteners, and applying sealant or paint as needed are key to maintaining wooden structures.
A circular saw or miter saw is recommended for precise and efficient cuts, but a hand saw can be used with patience and care.
Drill pilot holes that are slightly shorter than the length of your screws or lag bolts to avoid splitting the wood.


