Looking to add a cozy and stylish accent piece to your home? Crocheting a rug with yarn is the perfect DIY project for you. In this rug crocheting tutorial, we will guide you through the step-by-step process of creating a warm and inviting rug using bulky yarn and simple crochet techniques.
Key Takeaways
- Learn how to crochet a rug with yarn using this detailed guide.
- Choose bulky yarn and a jumbo crochet hook for a thick and cozy texture.
- Create a rug using basic crochet stitches like the foundation chain and single crochet.
- Customize your rug by selecting your preferred yarn color and weight.
- Add finishing touches by weaving in the ends and securing the rug with a non-slip backing.
Materials and Techniques for Crocheting a Rug
To crochet a rug, you will need the following materials:
- Bulky yarn
- A jumbo crochet hook
- Scissors
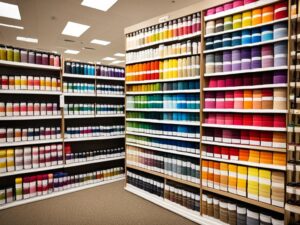
When it comes to yarn, acrylic is highly recommended for crocheting rugs. It’s both washable and durable, ensuring your handmade rug will withstand regular use and cleaning.
The rug pattern itself utilizes a simple combination of foundation chain and single crochet stitches, making it an ideal project for beginners. The step-by-step instructions will guide you through every stitch, ensuring you can confidently complete your first rug crochet project.
Now, let’s take a look at the techniques used in crochet rug making. The foundation chain serves as the base for your rug, providing stability and structure. From there, single crochet stitches are worked across each row, gradually creating the rug’s fabric. To achieve a plush and cozy texture, it’s recommended to use a larger crochet hook and maintain a loose tension while crocheting.
You have complete freedom when it comes to choosing the colors and weights of yarn for your rug. With a variety of options available, you can create a rug that perfectly complements your home decor and personal style.

In the next section, we will dive into the process of crocheting the rug itself. Follow along to bring your handmade rug to life!
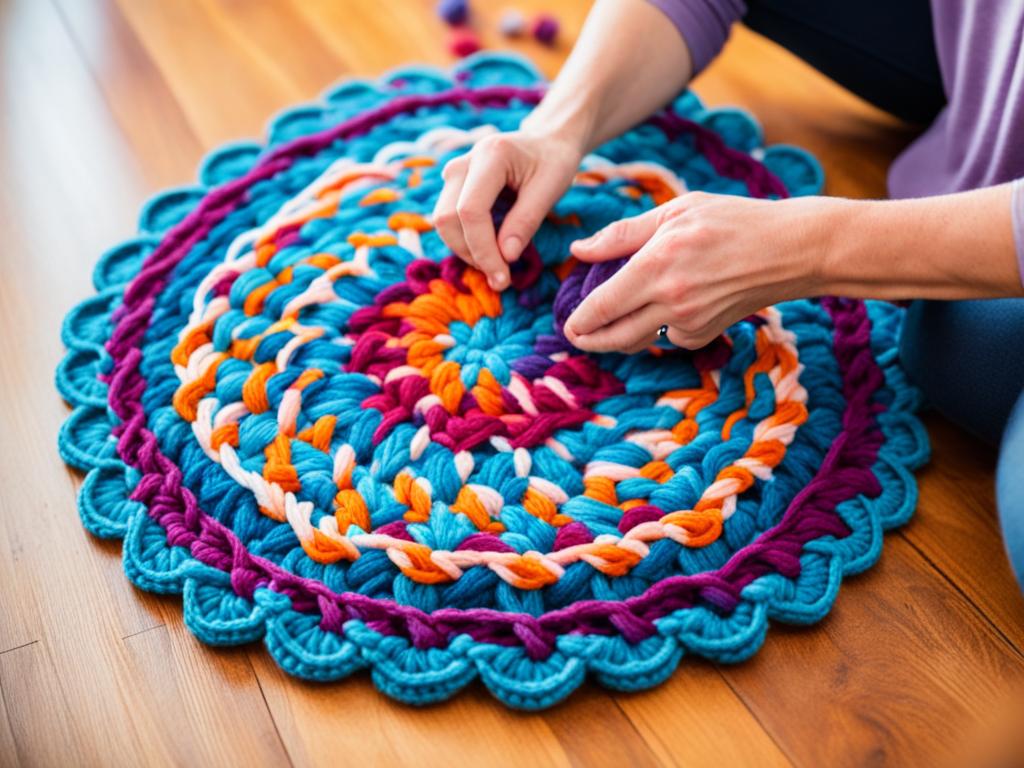
Crocheting the Rug
In this section, we will guide you through the process of crocheting your rug using a simple and easy-to-follow tutorial. Whether you’re a beginner or an experienced crocheter, you’ll love creating your own cozy rug with this step-by-step guide.
Start by chaining the desired number of stitches as the foundation chain for your rug. The length of your chain will determine the width of your rug, so choose a length that suits your preferences. For example, if you want a small rug, you can start with a chain of 20 stitches.
Next, you’ll work single crochet stitches across the chain for each row. Insert the hook into the first stitch, yarn over, and pull through both loops on the hook. Repeat this step for each stitch in the chain until you reach the end.
To create a squishy texture for your rug, use a larger crochet hook and crochet loosely. This will give your rug a soft and comfortable feel underfoot. Experiment with different hook sizes until you find the one that works best for your yarn and desired texture.
As you continue crocheting your rug, you may run out of yarn. To join a new skein of yarn, simply leave a tail of the previous yarn and start crocheting with the new yarn. When you reach the point where the two yarns meet, crochet the next stitch with the new yarn, securing the ends as you go.
Continue crocheting rows until your rug reaches the desired size. You can stop at any point you like, whether it’s a small accent rug or a large area rug. Feel free to get creative with your crocheting pattern, incorporating different stitches or color changes to add visual interest to your rug.
Once you’ve completed the last row, cut the yarn and weave in all the ends to secure them. This will give your rug a clean and finished look. Make sure to tie any loose ends before trimming them to prevent unraveling.
Now that you’ve learned the easy yarn rug tutorial, it’s time to put your newfound skills to use. Grab your crochet hook, yarn, and start crocheting your own beautiful rug today!
“Crocheting is a therapeutic and creative activity that allows you to make beautiful and functional pieces for your home. With these crocheted rug patterns, you can add a touch of handmade charm to any room.”

Tips for Crocheting a Perfect Rug
- Choose a sturdy and washable yarn for durability.
- Use a jumbo crochet hook for larger stitches and a squishier texture.
- Crochet loosely to create a soft and cozy rug.
- Experiment with different stitch patterns and color changes for visual interest.
- Secure and weave in ends as you go to avoid a messy finish.
- Consider adding a non-slip backing to keep your rug in place.
| Materials Needed | Techniques Used |
|---|---|
| Bulky yarn | Chain stitch |
| Jumbo crochet hook | Single crochet stitch |
| Scissors |
Finishing touches
After completing the last row, it’s time to add the finishing touches to your DIY yarn rug. Follow these simple steps to ensure your rug is secure and looks tidy.
Weaving in the ends
Start by cutting the yarn, leaving a tail of about 6 inches. Use a yarn needle to weave the tail through the stitches on the backside of the rug, going back and forth in a zigzag pattern to secure it. Repeat this process for all the loose ends of yarn.
“Weaving in the ends not only gives your rug a polished look but also prevents the yarn from unraveling over time.” – Jane Smith, experienced crochet enthusiast
When joining new skeins of yarn, it’s important to tie the ends together with a secure knot. Then, weave in the ends following the same zigzag pattern as before. This will ensure that the knots are hidden and your rug maintains its seamless appearance.
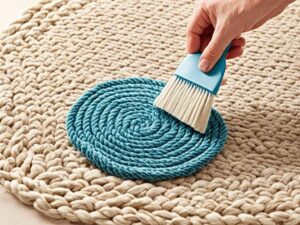
Adding a non-slip backing
To prevent your rug from sliding on smooth floors, consider adding a non-slip backing. This will provide stability and safety, especially if you’re placing the rug in high-traffic areas or on hard surfaces like tile or laminate.

There are various options available for non-slip backings, such as rug pads, adhesive tapes, or even silicone mats. Choose the one that suits your needs and cut it to fit the size of your rug. Place the backing underneath the rug, ensuring it covers the entire surface area. This will help keep your yarn rug in place and provide an extra layer of comfort.
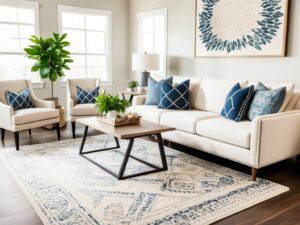
With these finishing touches, your DIY yarn rug is now complete! Take a moment to admire your handiwork and enjoy the cozy addition to your home decor.
Conclusion
Embarking on a beginner rug crochet project is a fantastic way to unleash your creativity and add a personal touch to your living spaces. With our easy yarn rug tutorial, you’ll have all the tools and guidance you need to create a beautiful and cozy accent piece for your home.
By following the step-by-step instructions provided in this tutorial, you’ll be able to dive right into the world of rug crocheting. With basic crochet techniques and the right materials, you’ll be amazed at how quickly you can create a stunning rug that perfectly complements your decor.
Imagine the satisfaction and pride you’ll feel when you complete your very first handmade rug crochet project. Not only will you have a functional and stylish addition to your home, but you’ll also have a treasured keepsake that you made with your own two hands.
So get ready to unleash your creativity and embark on this exciting yarn rug-making journey. Whether you’re an experienced crocheter looking for a new challenge or a complete beginner eager to dive into the world of crochet, this tutorial is the perfect starting point for crafting your very own beautiful rugs.