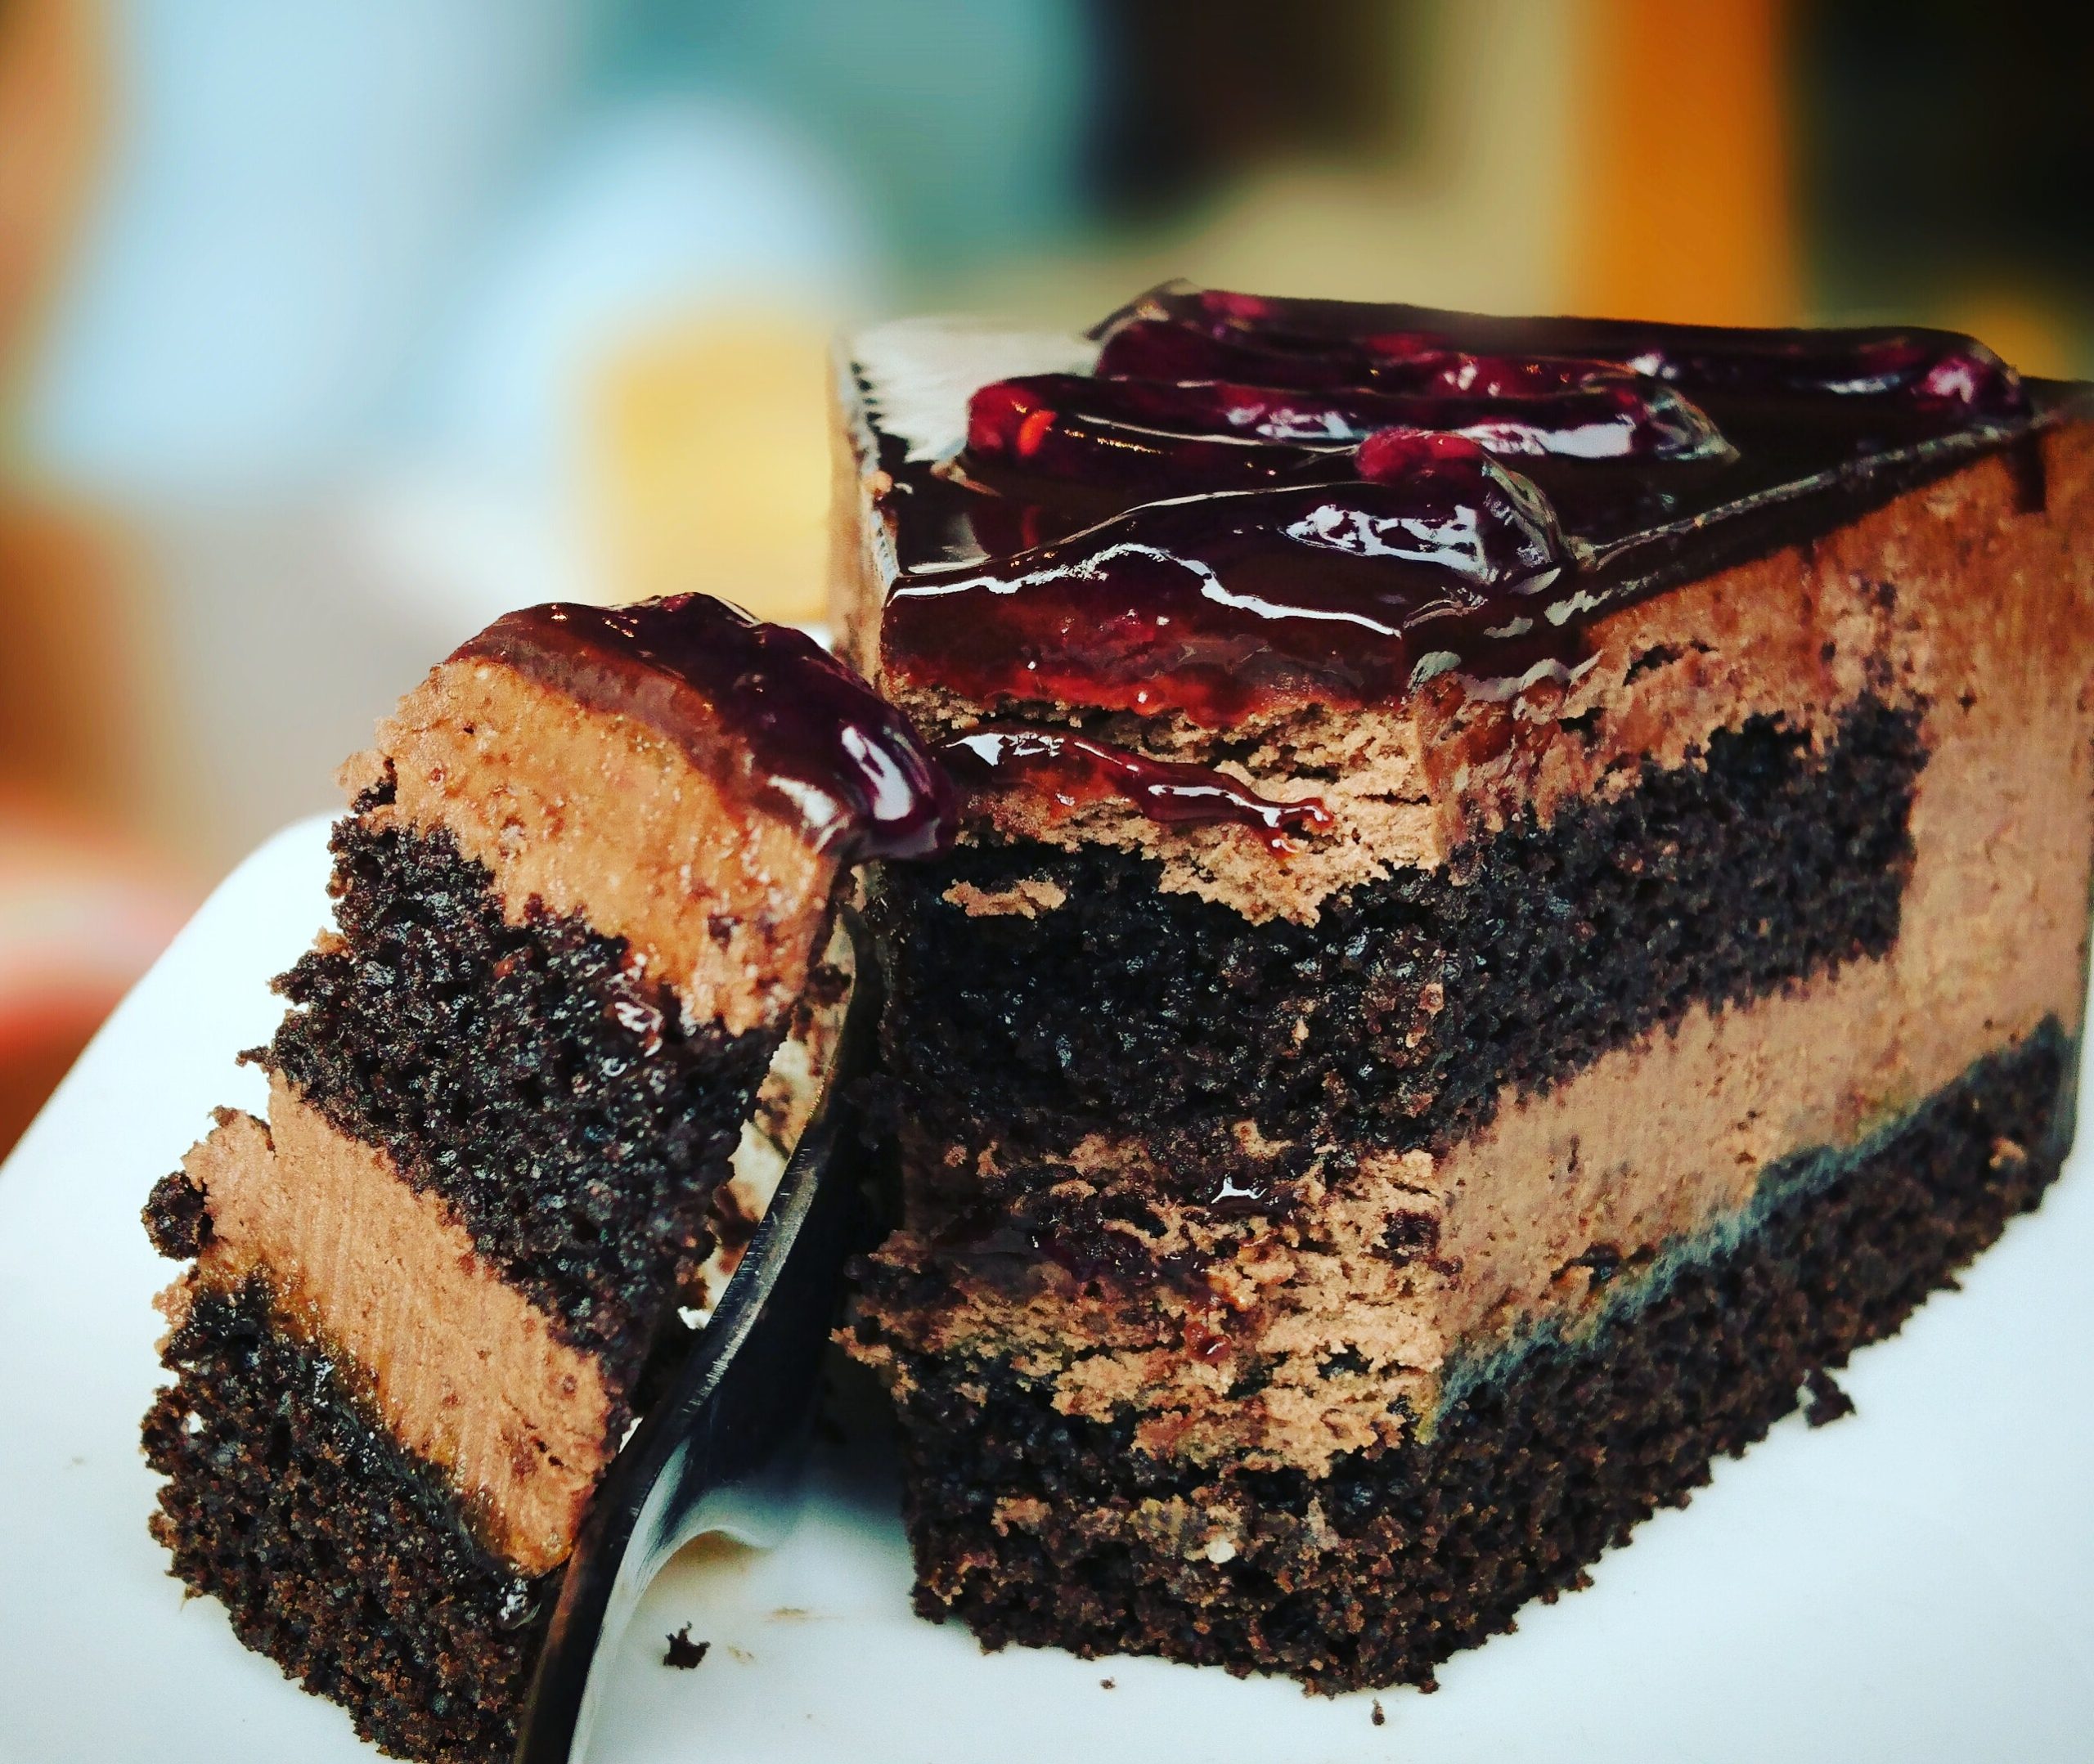
If you’re a cake lover, you’re probably familiar with the classic Black Forest Cake, which is a chocolate sponge cake layered with whipped cream and cherries. While the cake itself is delicious, the decoration is equally important to make it look as good as it tastes. In this article, we will guide you on how to decorate Black Forest Cake at home and make it look like it was done by a professional.
Ingredients and Equipment Needed
Before we start, here’s a list of ingredients and equipment you’ll need:
Ingredients
- 1 baked chocolate sponge cake
- 2 cups whipped cream
- 1 can of cherries
- Chocolate shavings
- Chocolate syrup
Equipment
- Pastry bag
- Star tip nozzle
- Piping bag coupler
- Cake turntable
- Cake spatula
Decorating the Cake
Now that you have all the ingredients and equipment ready, let’s get started with decorating the cake.
Step 1: Prepare the Cake
Before decorating, make sure the cake is cooled completely. Then, cut the cake into three equal layers horizontally.
Step 2: Add the Filling
On the bottom layer, add a layer of whipped cream and spread it evenly with a cake spatula. Then, add a layer of cherries on top of the whipped cream. Repeat this process with the other two layers of cake.
Step 3: Cover the Cake with Whipped Cream
Cover the entire cake with whipped cream using a cake spatula. Smooth out the whipped cream with a spatula and place the cake in the refrigerator for 30 minutes to set.

Step 4: Add Chocolate Shavings
After the whipped cream has set, take the cake out of the refrigerator and cover it with chocolate shavings. You can create chocolate shavings by using a peeler or a knife to scrape chocolate off a block of chocolate.
Step 5: Create Whipped Cream Rosettes
To create whipped cream rosettes, insert a star tip nozzle into a pastry bag coupler and then into a pastry bag. Fill the bag with whipped cream and start piping the rosettes around the edges of the cake.
Step 6: Add Cherries
Finally, add cherries on top of each whipped cream rosette. You can also add cherries in the center of the cake for a more elaborate look.
Step 7: Drizzle with Chocolate Syrup
To add the final touch, drizzle chocolate syrup over the cake. You can use a spoon or a piping bag to create a pattern of your choice.
Conclusion
Decorating a Black Forest Cake may seem intimidating, but it’s actually quite easy when you follow the steps above. With the right ingredients and equipment, you can create a stunning and delicious cake that will impress your family and friends. Remember to have fun and experiment with different designs and flavors to create your own unique version of this classic cake.
FAQs
Q1. Can I use other fruits instead of cherries?
A1. Yes, you can use any fruit of your choice. However, cherries are the traditional fruit used in Black Forest Cake.
Q2. Can I use a different type of cake for this recipe?
A2. Yes, you can use any type of chocolate cake as long as it is not too dense.
Q3. How long does it take to make a Black Forest Cake?
A3. It takes about 2 hours to make a Black Forest Cake, including baking and decorating.
Q4. Can I make the cake and filling ahead of time?
A4. Yes, you can make the cake and filling a day ahead and store them in the refrigerator until you’re ready to decorate the cake. This will save you time on the day of the event.
Q5. How do I prevent the whipped cream from melting?
A5. To prevent the whipped cream from melting, make sure the cake is chilled before decorating. You can also stabilize the whipped cream by adding a stabilizer such as gelatin or cream of tartar.


