Introduction
Spackling is a common task in home improvement projects, but what happens when you’ve completed a spackle job and it doesn’t look as smooth as you’d hoped? Don’t worry; you’re not alone. Many DIY enthusiasts encounter this issue. In this article, we’ll guide you through the process of fixing a bad spackle job and achieving a smooth, flawless finish.
Understanding the Problem
Before diving into the solutions, it’s essential to understand why your spackle job didn’t turn out as expected. Common issues include uneven texture, visible seams, and rough surfaces. Identifying the problem is the first step towards fixing it effectively.
Materials You’ll Need
To fix a bad spackle job, gather the following materials:
- Spackle Compound: Choose a high-quality spackle compound that matches your wall’s texture.
- Sandpaper: You’ll need coarse and fine-grit sandpaper for smoothing the surface.
- Putty Knife: Use a putty knife for applying and spreading the spackle.
- Primer: Primer helps the new spackle blend with the existing surface.
- Paint: Matching paint is crucial to maintain the wall’s appearance.
- Paintbrush or Roller: For applying the paint evenly.
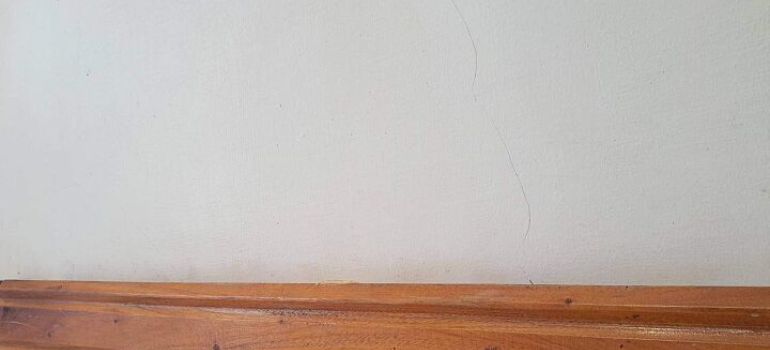
Step 1: Assess the Damage
Start by examining the spackled area carefully. Identify any cracks, bumps, or unevenness. This assessment will help you determine the extent of the damage and plan your repairs accordingly.
Step 2: Remove Loose Spackle
Use a putty knife to scrape off any loose or protruding spackle. Be gentle to avoid damaging the surrounding area.
Step 3: Sand the Surface
Begin with coarse-grit sandpaper to smooth out the rough spots. Gradually switch to fine-grit sandpaper for a smoother finish. Sand the entire area until it feels even to the touch.
Step 4: Reapply Spackle
Apply a thin layer of spackle compound over the damaged area. Use a putty knife to spread it evenly. Feather the edges to blend it with the surrounding wall.
Step 5: Sand Again
Once the spackle has dried, lightly sand the area again with fine-grit sandpaper. This step ensures a seamless transition between the spackled spot and the wall.
Step 6: Apply Primer
Before painting, apply a coat of primer to the repaired area. Primer helps the paint adhere better and ensures a consistent finish.
Step 7: Paint
Once the primer is dry, use your matching paint to cover the repaired section. Be sure to feather the edges to blend it with the surrounding wall seamlessly.
Step 8: Let It Dry
Allow the paint to dry completely. Depending on the type of paint used, this may take a few hours to a day.
Step 9: Inspect and Touch Up
Inspect the repaired area once the paint is dry. If necessary, touch up any imperfections with additional paint.
Common Mistakes to Avoid
While fixing a bad spackle job, it’s crucial to be aware of common mistakes that can hinder your progress. Avoiding these pitfalls will help you achieve a smoother and more professional finish:
Rushing the Job
One of the most common mistakes is rushing through the repair process. Take your time at each step, allowing spackle and paint to dry thoroughly. Rushing can lead to uneven surfaces and visible imperfections.
Neglecting Surface Preparation
Failing to properly prepare the surface before applying spackle is a recipe for disaster. Ensure the area is clean, dry, and free of any loose debris, paint, or contaminants. Proper preparation is the foundation of a successful repair.
Overloading with Spackle
Applying too much spackle in one go can result in a lumpy, uneven finish. Remember to use thin layers and build up gradually, sanding between each layer for a smooth surface.
Skipping Sanding
Sanding between spackle layers and before painting is crucial for achieving a seamless repair. Neglecting this step can leave behind visible ridges and rough patches.
Inadequate Feathering
Feathering the edges of the spackle is essential to blend it with the surrounding wall. Ensure that the transition is gradual and not abrupt to avoid noticeable edges.
Ignoring Paint Matching
Using the wrong color or type of paint can make the repair stand out like a sore thumb. Invest the time in finding an exact match for a seamless finish.
Failing to Prime
Skipping the primer step may result in uneven paint absorption, leading to a patchy appearance. Always prime the repaired area before painting.
Not Testing Colors
If you’re uncertain about the paint color match, test it in a small, hidden spot first. This will save you from potential color mismatches on a larger scale.
Conclusion
Fixing a bad spackle job may seem daunting, but with the right materials and techniques, you can achieve a smooth and flawless finish. Remember to assess the damage, take your time, and follow the steps diligently for the best results.
FAQs
Spackle typically takes 24 hours to dry completely, but it may vary depending on the product and environmental conditions.
It’s essential to use the same type and color of paint for touch-ups to ensure a seamless finish.
Cracks in spackle can occur due to improper application, drying too quickly, or underlying structural issues.
The choice between a roller and a brush depends on the size and texture of the repaired area. Use a roller for larger areas and a brush for smaller, detailed spots.
While you can skip the primer step, it’s not recommended. Primer helps the paint adhere better and provides a more even finish.
