Are you dealing with unsightly cigarette burns in your carpet? Don’t worry, we’ve got you covered! Repairing cigarette burns in carpet is a simple and satisfying DIY project that can restore the look of your carpet. Whether you’re dealing with small burn holes or more extensive damage, there are effective methods you can use to fix the problem and avoid the expense of replacing your carpet. In this quick guide, we’ll walk you through two common methods for carpet burn repair.
Key Takeaways:
- Repairing cigarette burns in carpet is a simple DIY project that can save you money in carpet replacement.
- There are two main methods you can use to fix burn holes in your carpet.
- Method 1 involves snipping away the singed edges and replacing the burned fibers.
- Method 2 involves cutting out the burned area and patching it with a replacement piece of carpet.
- Always take the necessary precautions and consult professionals for extensive or visible damage.
Method 1: Repairing Cigarette Burns in Carpet
When it comes to fixing burn holes in carpet or repairing carpet burns, Method 1 offers a simple and effective solution. Follow these step-by-step instructions to restore your carpet’s appearance.
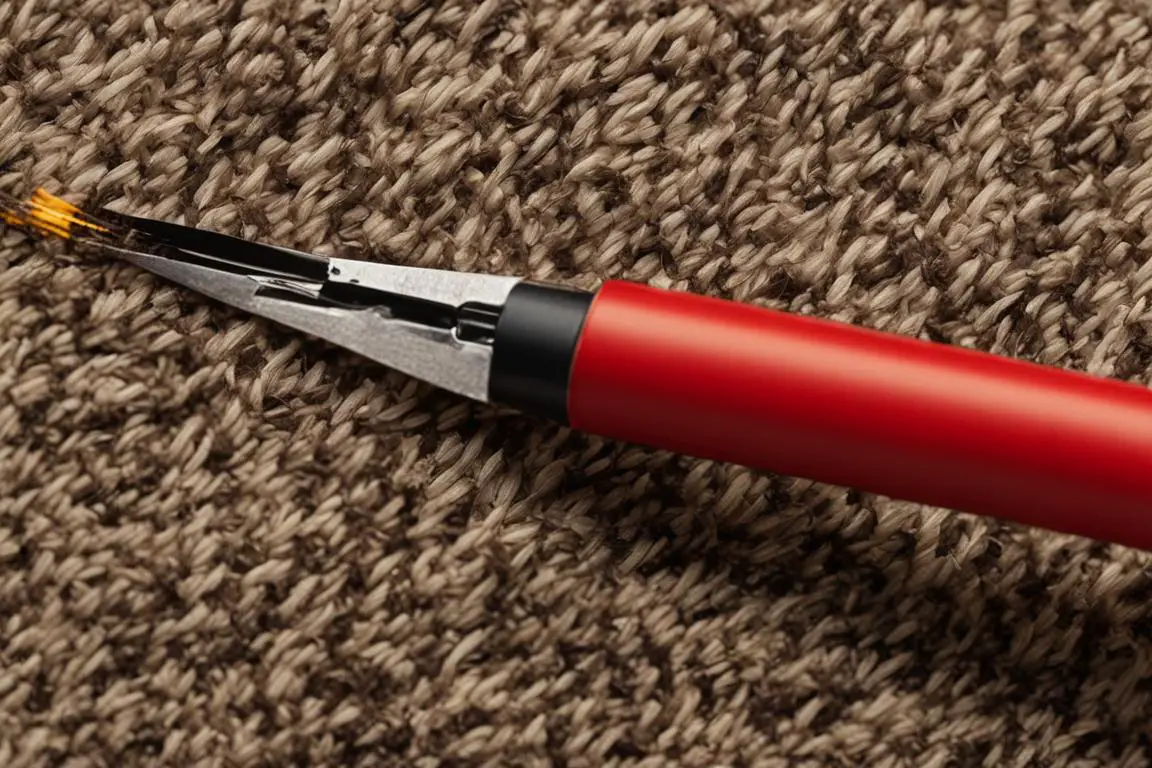
- Snip away the singed edges: Begin by using fine manicure scissors to carefully remove the singed edges around the burn mark. This will ensure a clean and precise repair.
- Pull out the burned fibers: Next, use tweezers to gently pull out the burned fibers from the damaged area. Discard the burned fibers in a proper waste container.
- Collect undamaged carpet strands: Cut out a small amount of undamaged carpet strands from a hidden area, such as a closet or underneath furniture. Place these clean fibers in a small dish for later use.
- Apply strong household glue: Apply a small amount of strong household glue to the damaged area, spreading it evenly with a toothpick or a small brush.
- Press clean fibers into the gluey spot: Using tweezers, carefully press the collected undamaged carpet strands into the gluey spot. Ensure the fibers are properly aligned and fit snugly into the damaged area.
- Cover with a heavy object: To help secure the repair, cover the repaired area with a heavy object, such as a stack of books or a weighted board. This will promote proper adhesion and ensure a seamless finish.
- Let it sit for several days: Allow the glue to dry and the new fibers to bond with the surrounding carpet by leaving the heavy object in place for several days.
- Comb or plump up the repaired area: Once the repair has fully dried, comb the repaired area with a wide-toothed comb or plump up the new fibers with your fingers. This will help blend the repaired area seamlessly with the rest of the carpet.
By following these simple steps, you can effectively fix burn holes in your carpet using Method 1. The end result will be a professionally repaired carpet that looks as good as new.

Continue reading to learn about Method 2: Carpet Patching for Cigarette Burn Repair, which offers an alternative approach to restoring your carpet’s appearance.
Method 2: Carpet Patching for Cigarette Burn Repair
When it comes to fixing cigarette burns in your carpet, Method 2 offers an effective solution. This method involves patching the burned area with a matching piece of replacement carpet, ensuring a seamless blend.
To begin, gather the necessary tools for the repair, including a sharp knife or blade, vacuum cleaner, measuring tape, replacement carpet, carpet cement, a towel, and a heavy object.
Follow these steps to execute the carpet patching process:
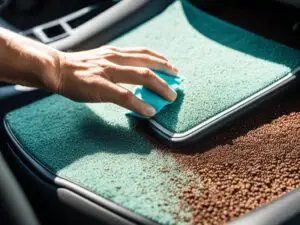
- Start by cutting out the burned area using a sharp knife or blade. Be cautious and ensure a precise cut, removing any debris or burned fibers. Use a vacuum cleaner to clean the area thoroughly.
- Measure the burned area accurately, and cut a matching piece of replacement carpet from a hidden area. If you don’t have a suitable hidden area, create a paper template to guide your cutting.
- Apply carpet cement to the damaged area, spreading it evenly.
- Press the new carpet piece into place, ensuring it aligns perfectly with the surroundings.
- Cover the replacement piece with a towel to protect it during the drying process.
- Place a heavy object, such as a stack of books or a weighted object, on top of the towel. This pressure will help the replacement carpet adhere firmly.
- Leave the weighted object on the towel for several days to allow for proper adhesion.
- Remove the weight and towel. Gently fluff up the fibers around the new seams using a wide-toothed comb or your fingers to achieve a seamless blend.
By following these steps, you can effectively patch the cigarette burn in your carpet, leaving it looking as good as new.
“Carpet patching provides a reliable method for repairing cigarette burns in your carpet, ensuring a seamless blend and restoring its appearance.” – Jane Carter, DIY Expert
| Tools Needed | Materials Needed |
|---|---|
|
|
Tips and Precautions for Carpet Burn Repair
When it comes to fixing burn marks in carpet and restoring carpet burn, it’s important to remember a few essential tips and precautions. By following these guidelines, you can ensure a successful repair that blends seamlessly with your carpet.
Use the Right Tools
To achieve the best results, gather the necessary tools for the repair. Fine manicure scissors are ideal for snipping away the singed edges, while tweezers allow you to delicately remove the burned fibers. A wide-toothed comb is essential for blending the repaired area with the rest of the carpet.
Prepare the Burned Area
Prior to beginning the repair, it’s crucial to prepare the burned area properly. Start by snipping away the singed edges using the manicure scissors, ensuring that you remove any loose or damaged fibers. This will create a clean foundation for the repair.
Consider Professional Assistance
If the burned area is large or in a highly visible location, it may be wise to seek professional assistance. Experienced carpet professionals have the expertise and equipment to handle more complex repairs, ensuring a seamless restoration.
Acknowledge Color Discrepancies
Keep in mind that carpet fibers in hidden areas or closets might not match the exact color of the rest of the carpet. Sun fading or heavy use can cause color variations over time. Be aware of this possibility, especially when using replacement carpet from these areas to fix the burn marks.
Take Precautions with Pets and Children
During the repair process, it’s important to keep pets and children away from the work area. Chemicals, tools, and sharp objects can pose potential hazards. Ensure a safe environment by restricting access until the repair is complete.
“Repairing burn marks in carpet requires careful attention to detail and adherence to proper techniques. By using the right tools and taking precautions, you can achieve impressive results and preserve the beauty of your carpet.”
To visually demonstrate the process of fixing burn marks in carpet and carpet burn restoration, refer to the table below:
| Step | Description |
|---|---|
| 1 | Snip away the singed edges using fine manicure scissors. |
| 2 | Remove the burned fibers with tweezers. |
| 3 | Apply strong household glue to the damaged area. |
| 4 | Press clean fibers into the gluey spot with tweezers. |
| 5 | Cover the repaired area with a heavy object for several days. |
| 6 | Comb the repaired area with a wide-toothed comb or plump up the new fibers with your fingers. |

Stenciling and Other Creative Solutions for Carpet Burn Repair
If you’re looking for a more unique and creative way to repair carpet burns, stenciling and incorporating the burn into a new design can be a great option. This method not only helps to cover up the damaged area but also adds a personal touch to your carpet. Here are a few creative solutions to consider:
Stenciling
One way to creatively repair a carpet burn is by using a stencil. You can choose from a variety of stencil designs or create your own for a customized look. Use acrylic or fabric paint, or even spray paint suitable for rugs, to stencil the design over the burned area. Before applying the paint, it’s important to test it on a small, inconspicuous area of the carpet to make sure it adheres properly and doesn’t cause any damage.
Incorporate the Burn into a New Design
Instead of trying to completely hide the burn, you can embrace it and incorporate it into a new design. For example, if the burn is small and in a corner or along the edge of the carpet, you can strategically place furniture or decorative items to cover or distract from the damaged area. Alternatively, you can use the burn as the starting point for a unique design, such as a floral pattern or geometric shape, that can be extended throughout the entire carpet.
Remember, these creative solutions are temporary fixes and may not provide a long-term solution for carpet burn repair. If you’re looking for a more permanent and professional repair, it’s best to consult with a carpet repair specialist. They will be able to assess the damage and recommend the most appropriate method to restore your carpet’s appearance.

| Pros | Cons |
|---|---|
| Allows for a unique and personalized repair | May not provide a long-term solution |
| Can cover up a small burned area effectively | Requires artistic skills |
| Provides a temporary fix until a professional repair can be done | May not blend seamlessly with the rest of the carpet |
| Offers an opportunity for creative expression | May not be suitable for all types of burns or carpet materials |
Conclusion
Repairing cigarette burns in carpet is a simple and rewarding DIY project. By following the right methods and using the appropriate tools, you can easily fix burn holes and restore your carpet to its original condition. Whether you choose Method 1 or Method 2, it’s important to carefully follow the steps and take necessary precautions to ensure a successful repair.
However, if you’re unsure about the process or if the damage is extensive, it’s always a good idea to consult with a professional carpet repair service. They have the expertise and experience to handle complex repairs and ensure the best possible results.
By investing the time and effort into repairing your carpet, you can not only restore its appearance but also prolong its lifespan. DIY carpet repair allows you to save money and maintain the beauty of your home. So don’t let those burn holes in your carpet become an eyesore – take action and give your carpet the care it deserves.
FAQ
How can I repair cigarette burns in carpet?
There are two methods you can use to repair cigarette burns in carpet. Method 1 involves snipping away the singed edges, removing the burned fibers, and replacing them with undamaged strands. Method 2 involves cutting out the burned area, creating a replacement piece, and gluing it into place. Both methods require basic tools like scissors, glue, and a wide-toothed comb.
How do I use Method 1 to repair cigarette burns in carpet?
To use Method 1, you will need to snip away the singed edges with fine manicure scissors, remove the burned fibers with tweezers, and discard them. Then, cut out a small amount of undamaged carpet strands from a hidden area and place them in a small dish. Apply strong household glue to the damaged area and press the clean fibers into the gluey spot using tweezers. Cover the repaired area with a heavy object and let it sit for several days. Finally, comb the repaired area with a wide-toothed comb or plump up the new fibers with your fingers to ensure it blends in with the rest of the carpet.
How do I use Method 2 to repair cigarette burns in carpet?
To use Method 2, start by cutting out the burned area with a sharp knife or blade and vacuuming the debris. Measure the burned area and cut a matching piece of replacement carpet from a hidden area or use a paper template. Apply carpet cement to the damaged area and press the new carpet piece into place. Cover the replacement piece with a towel and place a heavy object on top. Leave it like that for several days to ensure proper adhesion. After removing the weight, gently fluff up the fibers around the new seams with a wide-toothed comb or your fingers for a seamless blend.
What tips and precautions should I keep in mind when repairing carpet burns?
When repairing carpet burns, it’s important to use fine manicure scissors, tweezers, and a wide-toothed comb for the best results. Always snip away the singed edges and remove the burned fibers before proceeding with the repair. If the burned area is too large or in a visible location, it’s recommended to contact carpet professionals for assistance. Additionally, be aware that carpet fibers in hidden areas or closets may not be the exact color as the rest of the carpet due to sun fading or heavy use.
Are there any creative solutions for carpet burn repair?
Yes, if you prefer a more creative approach, you can consider stenciling or incorporating the burn into a new design. Stenciling can be done using acrylic or fabric paint or even spray paint suitable for rugs. Test the paint on a small area of the carpet first to ensure it adheres properly. Another option is using a small throw rug to cover the burned spot, especially if it’s in an area that can be easily covered with furniture. These creative solutions can provide a temporary fix until a more permanent repair can be done.
What is the conclusion for repairing cigarette burns in carpet?
Repairing cigarette burns in carpet is a straightforward DIY project that can be accomplished using the methods mentioned. Whether you choose Method 1 or Method 2, be sure to follow the steps carefully and take the necessary precautions. If you’re unsure or the damage is extensive, it’s best to consult with a professional carpet repair service. By taking the time to repair your carpet, you can restore its appearance and prolong its lifespan.

