Introduction to Dimmer Switches
Dimmer switches are an excellent addition to any home, providing control over the intensity of lighting and creating ambiance. They allow you to adjust the brightness of your lights according to your preference, making them ideal for various settings such as bedrooms, dining rooms, and living rooms.
Understanding Single Pole Dimmer Switches
Single pole dimmer switches are designed to control lights from a single location. Unlike three-way or four-way switches, which control lights from multiple locations, single pole dimmer switches are simpler to install and operate.
Tools and Materials Needed
Before you begin installing a dimmer switch, it’s important to gather all the necessary tools and materials. Here’s a list of what you’ll need:
Tools:
- Screwdriver: You’ll need a flathead or Phillips screwdriver, depending on the screws used in your electrical box.
- Wire Stripper: A wire stripper will be required to strip the insulation from the wires.
- Voltage Tester: A voltage tester is essential for ensuring that the power is turned off before starting the installation.
- Safety Gloves: Safety gloves will protect your hands from any potential electrical hazards during the installation process.
Materials:
- Dimmer Switch Kit: Purchase a single pole dimmer switch kit from your local hardware store. Make sure it’s compatible with the type of lighting you have.
- Wire Nuts: Wire nuts are used to secure the electrical connections between the wires.
- Electrical Tape: Electrical tape is handy for insulating exposed wires and securing them in place.
- Mounting Screws: Most dimmer switch kits come with mounting screws to attach the switch to the electrical box.
- Wire Connectors: Wire connectors are used to join wires together securely.
- Wall Plate: A wall plate covers the dimmer switch once it’s installed, providing a finished look to the installation.
Preparing for Installation
Ensure safety by turning off the power supply to the area where you’ll be working. This can be done by switching off the circuit breaker corresponding to the light fixture.
Step-by-Step Guide to Installing a Dimmer Switch

Turning off the Power
Before handling any electrical components, it’s crucial to turn off the power to avoid the risk of electric shock.
Removing the Existing Switch
Carefully remove the cover plate of the existing switch and unscrew it from the electrical box. Take note of the wiring configuration.
Identifying Wires
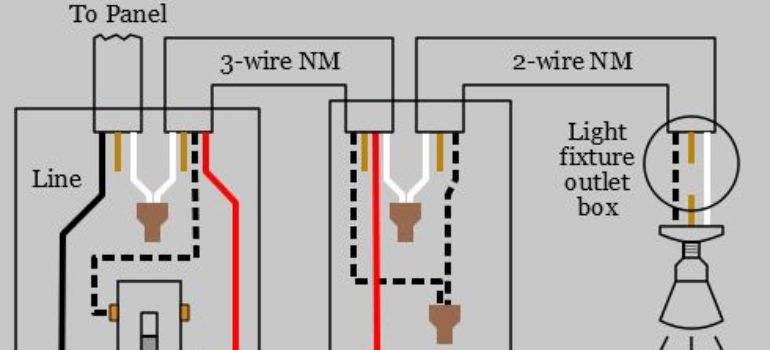
Using a voltage tester, confirm that the power is indeed off. Identify the hot, neutral, and ground wires, as well as any additional wires such as travelers.
Connecting the Dimmer Switch
Follow the manufacturer’s instructions to connect the wires from the dimmer switch to the corresponding wires in the electrical box. Typically, this involves connecting the hot wire to the black or red wire on the dimmer switch, the neutral wire to the white wire, and the ground wire to the green or bare copper wire.
Mounting the Dimmer Switch
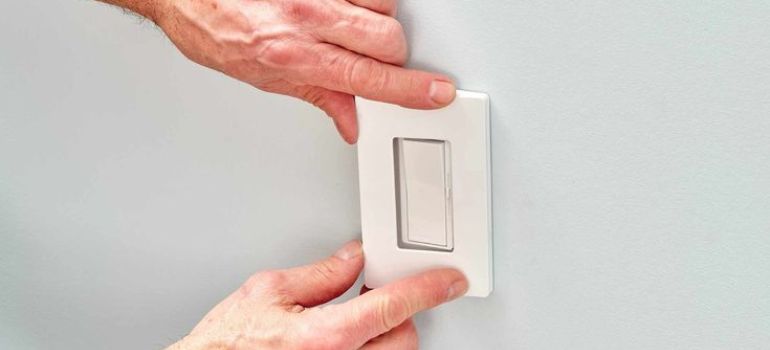
Secure the dimmer switch to the electrical box using the provided screws. Make sure it is flush with the wall surface and the wires are properly tucked inside.
Testing the Connection
After securely mounting the dimmer switch, restore power to the circuit and test the switch to ensure it is functioning correctly. Adjust the dimmer to vary the brightness of the lights.
Common Issues and Troubleshooting
When installing a dimmer switch, you might encounter some common issues. Here are a few troubleshooting tips to help you resolve them:
1. Flickering Lights
If your lights flicker after installing a dimmer switch, it could indicate an incompatible bulb or a loose connection. First, ensure that you’re using bulbs specifically designed for dimmer switches. If the problem persists, check the wiring connections to ensure they are secure.
2. Buzzing or Humming Sounds
Sometimes, dimmer switches can produce buzzing or humming sounds, especially when used with certain types of bulbs. This noise is typically caused by incompatible bulbs or insufficient load on the dimmer. Try using different bulbs or adding more lights to the circuit to see if the noise diminishes.
3. Lights Not Dimming Properly
If your lights don’t dim smoothly or don’t dim at all, it could be due to incorrect wiring or a faulty dimmer switch. Double-check the wiring connections to ensure they match the manufacturer’s instructions. If everything seems correct, consider replacing the dimmer switch with a new one.
4. Dimmer Gets Hot
Dimmer switches can generate heat, especially when used with high-wattage bulbs or when dimming multiple lights. However, if the dimmer feels excessively hot to the touch, it could indicate a problem with the wiring or the dimmer itself. Turn off the power and inspect the wiring connections for any signs of overheating or damage.
5. Lights Flickering After Installation
If your lights flicker immediately after installing a dimmer switch, it could be due to incompatible wiring or a defective dimmer switch. Double-check the wiring connections to ensure they are correct and secure. If the problem persists, consider replacing the dimmer switch with a different model.
Safety Tips
- Always turn off the power before working on electrical installations.
- Use insulated tools and wear safety gloves to protect against electric shock.
- Consult a professional electrician if unsure about any aspect of the installation process.
Conclusion
Installing a single pole dimmer switch is a straightforward DIY project that can enhance the functionality and ambiance of your home lighting. By following the provided steps and safety precautions, you can enjoy the convenience and control offered by dimmer switches.
FAQs
Yes, installing a dimmer switch is a relatively simple DIY project. Just make sure to follow the manufacturer’s instructions and safety guidelines.
Dimmer switches are compatible with most incandescent, halogen, and LED bulbs. However, it’s essential to check the compatibility of the specific dimmer switch with the type of bulbs you intend to use.
Single pole dimmer switches control lights from a single location, while three-way dimmer switches allow control from multiple locations. The wiring configuration and installation process differ accordingly.
Yes, dimmer switches can be installed in any room where you desire adjustable lighting. They are particularly popular in areas such as bedrooms, dining rooms, and living rooms.
If you encounter issues such as flickering lights or non-responsive switches, refer to the troubleshooting section in the dimmer switch manual. Ensure proper wiring connections and compatibility with the bulbs being used.


