Recessed lights can add a touch of modernity and sophistication to any room. However, when it comes time to repaint your ceiling, these fixtures can present a unique challenge. Painting around recessed lights requires careful preparation and precise technique to achieve a seamless finish. In this guide, we’ll walk you through the process step by step, ensuring that your painted ceiling looks polished and professional.
Understanding Recessed Lights
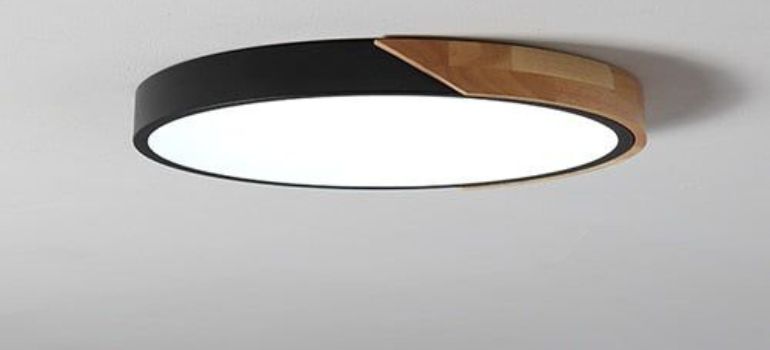
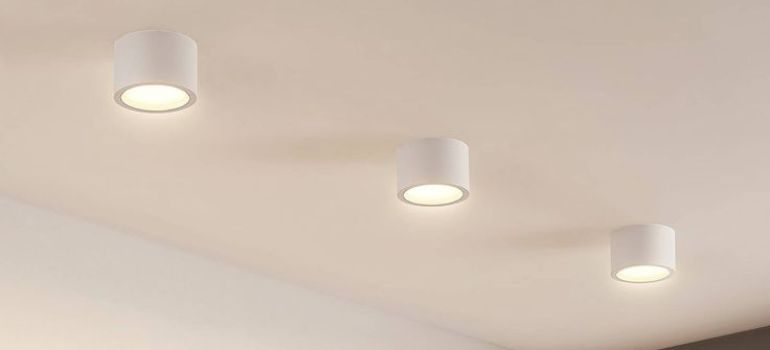
Before diving into the painting process, it’s essential to understand what recessed lights are and the different types available. Recessed lights, also known as downlights or can lights, are fixtures that are installed into the ceiling, providing a sleek and unobtrusive lighting solution. They come in various sizes and designs, including standard, gimbal, and eyeball fixtures.
Preparation Before Painting
The key to successful painting around recessed lights is thorough preparation. Begin by turning off the power to the lights at the circuit breaker and allowing them to cool completely. Next, cover the fixtures with plastic bags or painter’s tape to protect them from paint splatter. Finally, clean the area around the lights to remove any dust or debris that could affect the paint’s adhesion.
Choosing the Right Paint
Selecting the right paint is crucial for achieving a professional-looking finish. Consider the type of light in your recessed fixtures, as well as the ceiling material, when choosing a paint color and finish. For example, if your lights emit a warm glow, opt for a paint color with warm undertones to complement the lighting.
Tools and Materials
Before you begin painting around recessed lights, it’s essential to gather all the necessary tools and materials to ensure a smooth and successful painting process. Here’s what you’ll need:
- Paintbrushes and Rollers:
- Invest in high-quality paintbrushes and rollers to achieve smooth and even coverage on your ceiling. Choose brushes and rollers suitable for the type of paint you’ll be using and the size of your project.
- Painter’s Tape:
- Painter’s tape is essential for protecting light fixtures, trim, and other surfaces from accidental paint splatters or drips. Use high-quality painter’s tape that adheres well and can be easily removed without damaging the surface underneath.
- Drop Cloths:
- Lay down drop cloths or plastic sheeting to protect your floors and furniture from paint spills and splatters. Choose durable drop cloths that are large enough to cover the entire work area and are easy to clean or dispose of afterward.
- Ladder or Step Stool:
- Depending on the height of your ceiling, you may need a ladder or step stool to reach recessed lights and other areas. Choose a sturdy and stable ladder or step stool that allows you to work comfortably and safely at various heights.
- Primer:
- Depending on the condition of your ceiling and the type of paint you’ll be using, you may need a primer to ensure proper adhesion and coverage. Choose a primer suitable for your ceiling material and paint type for the best results.
- Paint:
- Select a high-quality paint specifically formulated for use on ceilings. Consider factors such as the type of light in your recessed fixtures, the color and finish you desire, and any special features such as low VOC or stain-resistant properties.
- Sandpaper:
- Keep sandpaper on hand for smoothing out any rough patches or imperfections on the ceiling surface before painting. Choose fine-grit sandpaper for light sanding and coarse-grit sandpaper for more significant repairs or smoothing.
Step-by-Step Guide to Painting Around Recessed Lights
- Marking the area: Use a pencil to mark the perimeter of each recessed light on the ceiling.
- Applying painter’s tape: Place painter’s tape along the edge of the marked area, ensuring that it adheres tightly to the ceiling.
- Cutting in the edges: Use a paintbrush to cut in around the taped-off area, creating a clean edge between the painted and unpainted surfaces.
- Rolling the paint: Use a roller to apply paint to the rest of the ceiling, working in small sections and overlapping the edges of the cut-in area.
- Removing the tape: Carefully remove the painter’s tape while the paint is still wet to prevent peeling or tearing.
Tips for a Professional Finish
- Take your time and work carefully to avoid mistakes.
- Apply multiple thin coats of paint for even coverage.
- Use a steady hand when cutting in around the recessed lights to achieve clean lines.
Dealing with Different Ceiling Materials
When painting around recessed lights, it’s essential to consider the type of ceiling material you have, as different materials may require different painting techniques and products. Here’s how to deal with various ceiling materials:
- Drywall Ceilings:
- Drywall ceilings are the most common type of ceiling material in modern homes. When painting a drywall ceiling around recessed lights, start by following the preparation steps outlined earlier, such as turning off the power, covering fixtures, and cleaning the area.
- Use a high-quality paint specifically formulated for use on drywall surfaces. Choose a paint color and finish that complements your decor and lighting fixtures.
- Apply the paint evenly using a roller, working in small sections and overlapping the edges to ensure uniform coverage. Use a paintbrush to cut in around the recessed lights and edges for a clean finish.
- Textured Ceilings:
- Textured ceilings, such as popcorn or knockdown finishes, require special attention when painting to ensure complete coverage and a smooth finish.
- Before painting, it’s essential to clean the textured surface thoroughly to remove any dust, dirt, or grease that may affect paint adhesion.
- Use a thick-nap roller to apply paint to textured ceilings, working in small sections and applying multiple thin coats for even coverage. Avoid pressing too hard on the roller, as this can flatten the texture and affect the final appearance.
- Use a paintbrush to cut in around recessed lights and edges, ensuring that the paint reaches into the textured crevices for a seamless finish.
Common Mistakes to Avoid
- Skipping Preparation Steps: One of the most common mistakes when painting around recessed lights is skipping essential preparation steps. This includes cleaning the area, covering fixtures, and applying painter’s tape. Neglecting these steps can lead to uneven paint coverage and may result in damage to the light fixtures.
- Using the Wrong Type of Paint: Another mistake to avoid is using the wrong type of paint for the task. It’s essential to choose a paint specifically designed for ceilings and compatible with the surface material. Using the wrong type of paint can lead to poor adhesion, cracking, or peeling over time.
- Rushing the Painting Process: Painting around recessed lights requires patience and attention to detail. Rushing through the process can result in sloppy workmanship, uneven coverage, and potential damage to the light fixtures. Take your time and work methodically to achieve a professional-looking finish.
- Neglecting to Test Paint Compatibility: Before painting the entire ceiling, it’s a good idea to test the paint compatibility in a small inconspicuous area. This can help you ensure that the paint adheres well to the surface and that the color and finish are to your liking. Skipping this step can lead to unpleasant surprises once the paint has dried.
- Failing to Clean Up Properly: Once the painting is complete, it’s essential to clean up properly to avoid leaving behind a mess. Remove any painter’s tape while the paint is still wet to prevent peeling or tearing. Clean up any paint spills or splatters immediately to prevent them from drying and becoming difficult to remove.
Maintenance and Touch-Ups
After you’ve completed the painting process around recessed lights, it’s essential to maintain the newly painted surface to ensure its longevity and appearance. Here are some maintenance tips to keep your painted ceiling looking its best:
- Cleaning Painted Surfaces: Regular cleaning is crucial for preserving the beauty of your painted ceiling. Use a soft cloth or sponge dampened with mild soap and water to gently wipe away dust, dirt, and any other debris that may accumulate on the surface. Avoid using abrasive cleaners or scrubbing too vigorously, as this can damage the paint finish.
- Addressing Chips or Scratches: Over time, your painted ceiling may develop small chips or scratches, especially in high-traffic areas or areas prone to wear and tear. To address these imperfections, lightly sand the damaged area with fine-grit sandpaper to smooth out any rough edges. Then, carefully touch up the area with matching paint using a small brush or roller, blending it seamlessly with the surrounding paint for a seamless finish.
- Monitoring for Signs of Wear: Periodically inspect your painted ceiling for signs of wear, such as peeling, cracking, or discoloration. Address any issues promptly to prevent further damage and maintain the integrity of the paint finish. If you notice any significant damage or deterioration, it may be necessary to repaint the affected area to restore its appearance and protection.
Conclusion
Painting around recessed lights requires careful preparation, attention to detail, and the right tools and materials. By following the steps outlined in this guide, you can achieve a professional-looking finish that enhances the overall look of your space.
FAQs
Yes, you can paint over existing paint around recessed lights. However, it’s essential to ensure that the surface is clean and free of any debris or flaking paint. Lightly sanding the area and applying a primer can help the new paint adhere better and provide a more even finish.
The drying time for paint can vary depending on factors such as humidity, temperature, and the type of paint used. In general, most paints dry to the touch within a few hours, but it’s best to wait at least 24 hours before applying a second coat or removing any painter’s tape.
Using a primer is not always necessary when painting around recessed lights, especially if you’re using a high-quality paint that includes a primer. However, if the surface is uneven or has significant imperfections, applying a primer can help create a smoother base for the paint and improve adhesion.
While spray paint can be used for painting around recessed lights, it may be more challenging to control than traditional brush or roller methods. Additionally, overspray can be a concern, so be sure to cover surrounding surfaces thoroughly and use caution when applying spray paint in enclosed spaces.
Yes, it is generally safe to paint around recessed lights as long as you take proper precautions. Make sure to turn off the power to the lights before painting and allow them to cool completely. Additionally, use non-toxic paint and ensure adequate ventilation to prevent inhaling fumes.


