Introduction
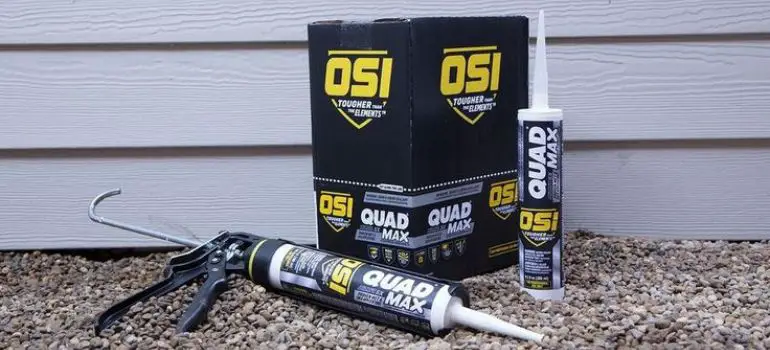
OSI Quad Caulk is known for its durability and longevity, making it a popular choice for sealing windows, doors, and other exterior surfaces. However, even the best caulk will eventually deteriorate and require replacement. Whether you’re dealing with cracked caulk or simply need to refresh the seal, knowing how to remove OSI Quad Caulk is a valuable skill for any homeowner or DIY enthusiast.
Gather Your Tools
Before you begin, it’s crucial to gather all the necessary tools and materials. You’ll need the following items:
- Utility knife or caulk removal tool: This will be used to cut and remove the old caulk.
- Caulk softening agent: You can find commercial caulk softeners at your local hardware store or make a DIY solution with equal parts white vinegar and water.
- Safety gear: Wear gloves and safety goggles to protect your hands and eyes.
- Scraper or putty knife: These tools will help you gently scrape away the softened caulk.
- Rubbing alcohol: This is useful for cleaning the surface after caulk removal.
Preparing the Work Area
Begin by preparing your work area. Clear the space around the caulked area, removing any obstacles that might impede your work. Lay down a drop cloth to catch any debris or caulk remnants.
Softening the Caulk
To make the caulk easier to remove, you’ll need to soften it first. Apply the caulk softening agent generously to the OSI Quad Caulk, following the manufacturer’s instructions if you’re using a commercial product. If you’re using a DIY solution, spray or apply it evenly over the caulk and allow it to sit for at least 30 minutes.
Removing the Old Caulk
Once the caulk has softened, use a utility knife or caulk removal tool to carefully cut along the edges of the caulk bead. Take your time to avoid damaging the surrounding surfaces. Next, use a scraper or putty knife to gently pry up the softened caulk. Work in small sections, gradually lifting and removing the caulk.
Cleaning the Surface
After successfully removing the old OSI Quad Caulk, it’s essential to clean the surface thoroughly. Use rubbing alcohol and a clean cloth to wipe away any remaining residue or adhesive. Ensure that the surface is completely dry and free of any debris before proceeding.
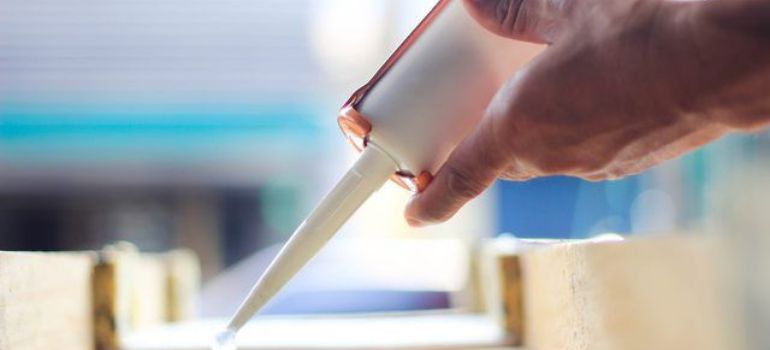
Applying New Caulk
With the surface clean and prepped, you can now apply new caulk. Choose a high-quality caulk that suits your specific needs, whether it’s for interior or exterior use. Follow the manufacturer’s instructions for applying the new caulk, and use a caulk gun to ensure a smooth and even bead.
Removing the Old Caulk
Removing the old OSI Quad Caulk is a crucial step in the process of refreshing your seal. It requires patience and precision to ensure you don’t damage the surrounding surfaces. Here’s a detailed guide on how to do it effectively:
Prepare Your Tools:
- Start by ensuring your utility knife or caulk removal tool is sharp and in good condition.
- Hold the tool at a slight angle to avoid gouging or scratching adjacent surfaces.
Score the Caulk:
- Carefully insert the utility knife or caulk removal tool along the edge of the caulk bead.
- Apply gentle pressure to create a shallow cut along the entire length of the caulk.
- Repeat this process on both sides of the caulk bead if it’s wide.
Lift the Caulk:
- Use the scraper or putty knife to gently pry up the softened caulk.
- Work slowly and methodically, starting at one end and gradually moving along the caulk bead.
- Avoid using excessive force, as this could cause damage to the surface.
Remove Residue:
- As you lift the caulk, you may notice some residue left behind.
- Use the utility knife or caulk removal tool to carefully scrape away any remaining caulk.
- Be gentle to avoid scratching the surface.
Clean the Area:
- After removing the old caulk, it’s important to clean the area thoroughly.
- Wipe the surface with a clean, dry cloth to remove any loose debris or caulk remnants.
- If necessary, use rubbing alcohol to remove stubborn residue.
Inspect for Remaining Caulk:
- Inspect the area closely to ensure you’ve removed all traces of the old caulk.
- Any leftover caulk can compromise the effectiveness of the new seal.
Final Check:
- Run your fingers along the cleaned surface to check for any irregularities or missed spots.
- Address any remaining caulk or imperfections before proceeding to apply new caulk.
Applying New Caulk
Now that you’ve successfully removed the old OSI Quad Caulk and prepared the surface, it’s time to apply the new caulk. Follow these steps to ensure a clean and effective seal:
Choose the Right Caulk:
Before you begin, select the appropriate caulk for your project. Different caulks are designed for specific applications, such as indoor or outdoor use, high moisture areas, or general sealing. Read the product label to ensure it matches your needs.
Prepare the Caulk Gun:
Load the selected caulk tube into a caulk gun. Cut the tip of the caulk tube at a 45-degree angle, leaving an opening that matches the size of the gap you need to fill. A smaller opening is suitable for finer lines, while larger gaps require a wider opening.
Apply the Caulk:
- Hold the caulk gun at a slight angle (about 45 degrees) to the gap or joint you want to seal.
- Gently squeeze the trigger while moving the caulk gun steadily along the gap.
- Ensure a consistent and even flow of caulk as you move.
- If the gap is deep, consider filling it in layers, allowing each layer to dry before adding more caulk.
Smooth the Caulk:
- To achieve a clean finish, wet your finger with a mixture of water and a small amount of dish soap.
- Run your finger along the fresh caulk bead to smooth it out.
- Wipe away any excess caulk on your finger with a cloth or paper towel.
- Continue this process until the entire gap is sealed.
Clean Up:
- Immediately clean any accidental caulk smudges or spills with a damp cloth.
- Keep a container of water and a rag nearby for quick cleanup.
Let It Cure:
- Allow the caulk to cure as per the manufacturer’s instructions. This typically takes at least 24 hours.
- Avoid disturbing the caulk during this time to ensure a strong and durable seal.
Painting (If Necessary):
- If you plan to paint over the caulk, ensure it is completely dry and cured before painting.
- Use paint that is compatible with the type of caulk you’ve applied.
Conclusion
Removing OSI Quad Caulk doesn’t have to be a daunting task. With the right tools, materials, and a little patience, you can safely and effectively remove old caulk and refresh the seal around your windows, doors, and other surfaces. By following this step-by-step guide, you’ll be well-equipped to tackle this DIY project with confidence.
FAQs
Yes, a hairdryer set on low heat can be used to soften caulk before removal. Hold it a few inches away from the caulk and heat it gently to make it easier to scrape off.
Caulk should be inspected annually, and if you notice any cracks or gaps, it’s a good idea to replace it. In extreme weather conditions, you may need to replace it more frequently.
To prolong the shelf life of unused caulk, store it in a cool, dry place with the cap securely sealed. Some caulk types can be stored in the refrigerator to extend their usability.
It’s essential to choose the right caulk for the job. Interior and exterior caulk have different formulations to withstand specific conditions. Read the label to ensure you’re using the appropriate type.
While it’s best to remove as much old caulk as possible, you can apply new caulk over small remnants as long as they are clean and in good condition. However, for a more reliable seal, it’s recommended to remove old caulk entirely when possible.


