Introduction
Drilling through joists in a finished ceiling can be a daunting task, but with the right tools, techniques, and precautions, you can do it safely and efficiently. Whether you’re installing new lighting fixtures, running wiring, or adding decorative elements, this guide will walk you through the process step by step. In this article, we’ll cover everything you need to know to get the job done without compromising the structural integrity or aesthetics of your ceiling.
Understanding Ceiling Joists
Before we dive into the drilling process, it’s essential to understand what ceiling joists are and their significance. Ceiling joists are horizontal wooden or metal beams that support the weight of the ceiling and any load above it. They play a crucial role in maintaining the structural integrity of your home.
Preparing for the Task
Before you begin drilling through joists in a finished ceiling, it’s essential to make thorough preparations. These preparations will ensure that your project goes smoothly and safely. Here are the key steps to follow:
Gather Your Tools and Materials
Having the right tools and materials on hand is crucial for a successful project. Here’s a list of items you’ll need:
- Stud Finder: A reliable stud finder is essential for locating the exact position of the ceiling joists. It helps you avoid drilling in the wrong places.
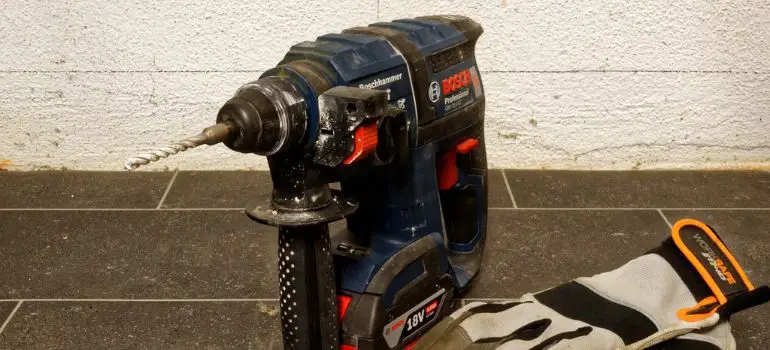
- Drill: You’ll need a good quality drill to make the holes through the joists. Ensure that it’s in proper working condition and has the necessary power for the task.
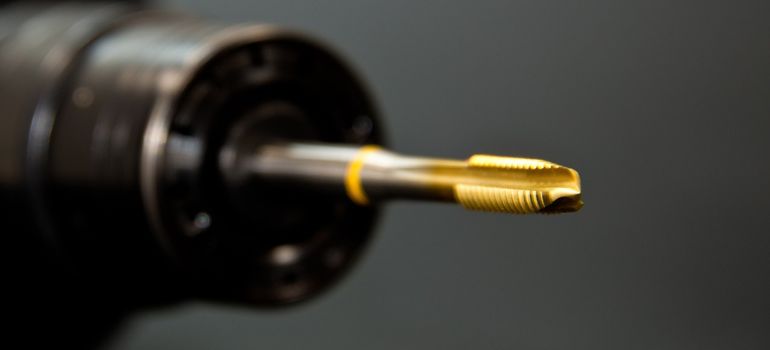
- Appropriate Drill Bits: Depending on the type of ceiling joists (wooden or metal) and the size of the hole you need, select the correct drill bits. It’s a good idea to have a variety of sizes available.
- Safety Goggles: Protect your eyes from debris, dust, and wood chips with safety goggles or glasses. Safety should always be a priority.
- Ladder: Depending on the height of your ceiling, a sturdy ladder may be necessary to reach the drilling locations safely. Make sure it’s stable and in good condition.
Locate the Joists
Using a stud finder, carefully locate the ceiling joists where you intend to drill. Here’s how to do it:
- Turn on the stud finder and place it against the ceiling.
- Slowly move the stud finder horizontally until it indicates the presence of a joist. Most stud finders will beep or light up when they detect a joist.
- Mark the location of the joist with a pencil or painter’s tape. Repeat this process for all the joists you need to drill through.
By accurately marking the joists, you’ll ensure that you’re drilling in the correct spots and avoid any potential damage to your ceiling.
Choosing the Right Drill Bit
Selecting the correct drill bit is crucial when drilling through ceiling joists. Consider the type of material the joists are made of (wood or metal) and the size of the hole you need.
Drilling Process
Now that you’ve gathered your tools, located the ceiling joists, and prepared your workspace, it’s time to delve into the drilling process itself. Drilling through joists in a finished ceiling requires precision and attention to detail to ensure a clean and safe outcome. Here are the steps to follow:
Safety Precautions
Before you start drilling, it’s crucial to prioritize safety. Here’s what you should do:
- Put on Safety Goggles: Always wear safety goggles or glasses to protect your eyes from any debris or dust that may fall during the drilling process.
- Secure the Ladder: If you’re using a ladder to reach the drilling location, ensure that it’s stable and placed on a flat, even surface. It should also be tall enough to reach the ceiling comfortably.
Start with a Small Pilot Hole
Begin the drilling process by creating a small pilot hole at the exact spot you’ve marked on the joist. This pilot hole will serve as a guide for your larger drill bit and help prevent it from wandering off target.
To create the pilot hole:
- Insert a smaller drill bit into your drill. The size of the bit should be appropriate for the hole you intend to make.
- Align the drill bit with the marked spot on the joist and hold it steady.
- Start drilling slowly and steadily, applying gentle pressure. It’s essential to maintain control and ensure that the drill bit stays perpendicular to the joist.
- Continue drilling until the pilot hole has penetrated the joist. You may notice wood shavings or metal filings coming out as you drill.
Gradually Increase the Hole Size
With the pilot hole in place, it’s time to widen it to the desired size. This step requires patience and precision to avoid splintering or damaging the joist. Follow these steps:
- Replace the smaller drill bit with the larger one that matches the size you need for your project.
- Carefully insert the larger drill bit into the pilot hole.
- Begin drilling at a slow and controlled pace, gradually increasing the hole’s size. Avoid rushing this step, as it’s essential to maintain accuracy.
- Ensure that the drill remains perpendicular to the joist and that you have a firm grip on the drill to prevent any wobbling.
- Continue drilling until you’ve reached the desired hole size.
Use Proper Technique
Throughout the drilling process, it’s vital to maintain a steady hand and a perpendicular angle to the joist. This will result in a clean and precise hole. Avoid applying excessive force or tilting the drill, as this can lead to uneven holes or damage to the joist.
Running Wiring or Installing Fixtures
Once you’ve successfully drilled through the joists, you can now run wiring or install fixtures as needed. Be sure to follow all electrical and safety codes.
Additional Tips for a Successful Project
While the core steps outlined above will help you safely drill through joists in a finished ceiling, there are some additional tips and considerations to keep in mind:
Measure Twice, Drill Once
Before drilling, double-check your measurements and markings to ensure accuracy. This simple step can save you from making costly mistakes.
Account for Wiring and Plumbing
Always be cautious of the presence of electrical wiring, plumbing pipes, or HVAC ducts within your ceiling. Accidentally drilling into these components can lead to major problems. If you’re uncertain, consult a professional.
Noise and Dust Control
Drilling can create noise and dust. Consider using ear protection and a dust mask to keep yourself comfortable and safe during the process. You may also want to cover nearby furniture or belongings to protect them from dust and debris.
Seek Assistance
For larger or more complex projects, don’t hesitate to seek assistance from a friend or family member. Having an extra set of hands can make the process smoother and safer.
Conclusion
Drilling through joists in a finished ceiling may seem challenging, but by following the right steps and taking safety precautions, you can achieve your project goals without any issues. Remember always to prioritize safety and precision.
Frequently Asked Questions (FAQs)
1. Is it safe to drill through ceiling joists?
Yes, it can be safe as long as you follow the proper procedures, use the right tools, and take safety precautions.
2. What should I do if I encounter a plumbing or electrical obstacle while drilling?
Stop immediately and consult with a professional to assess the situation and determine the best course of action.
3. Can I drill through metal joists in the same way as wooden ones?
The process is similar, but you may need specialized drill bits designed for metal if you’re drilling through metal joists.
4. Should I hire a professional for this task?
If you’re unsure about your skills or encounter any obstacles, it’s always a good idea to seek professional help to avoid potential issues.
5. Can I patch up the holes after drilling through the joists?
Yes, you can patch up the holes with wood putty or filler, and then repaint to match your ceiling.


