In recent years, lash baths have gained popularity as an essential part of the beauty routine, particularly for those who invest in eyelash extensions. A lash bath is not your typical bath, but rather a specialized cleaning and maintenance process for eyelash extensions and natural lashes. In this comprehensive guide, we’ll delve into the world of lash baths, what they entail, why they’re crucial, and how to perform them correctly.
What Is a Lash Bath?
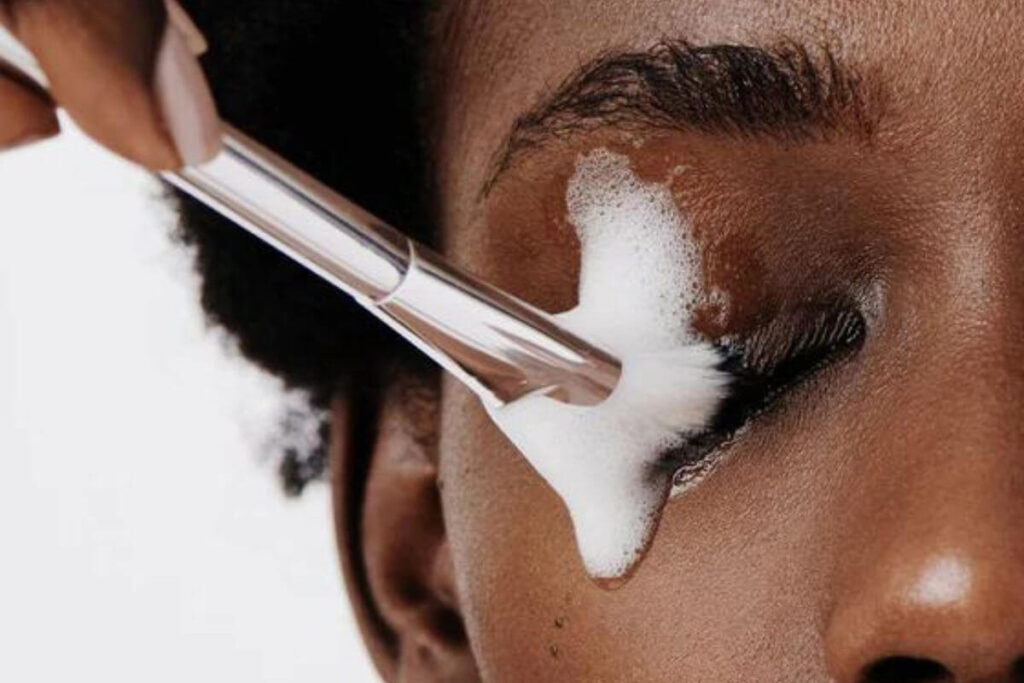
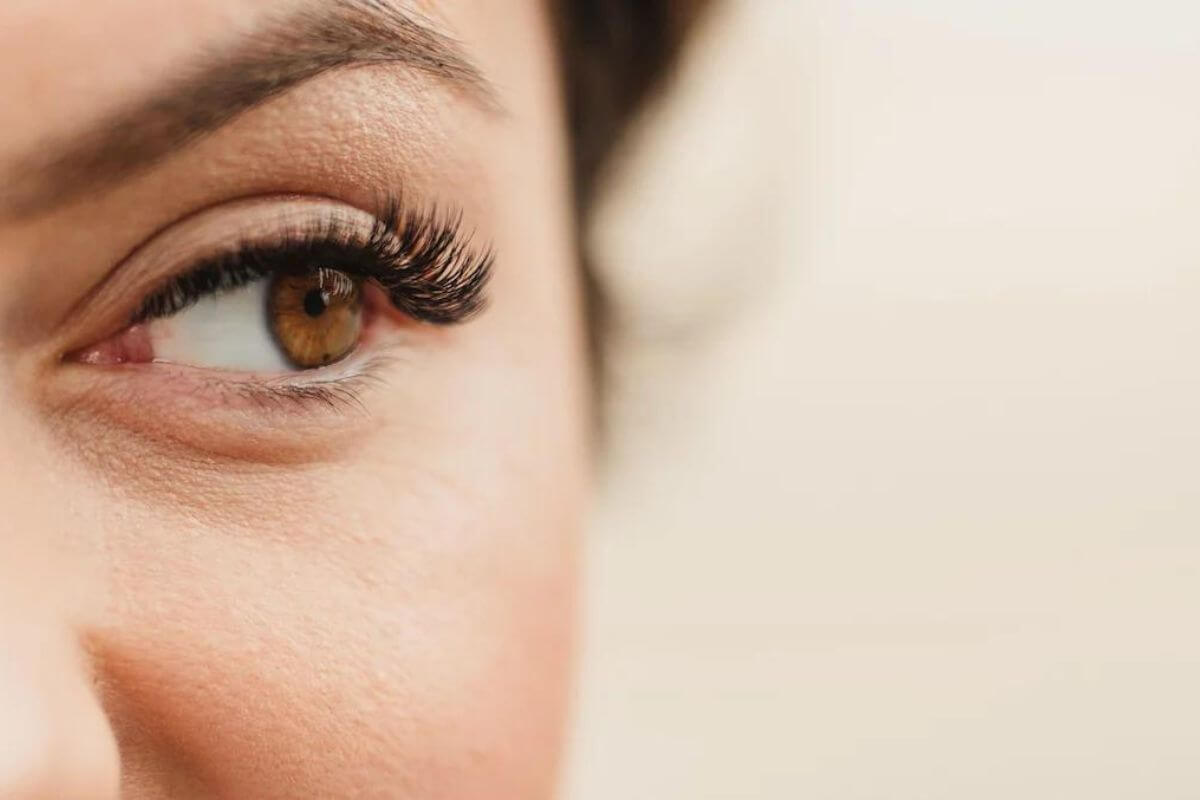
A lash bath is a specialized cleaning and maintenance process designed for both eyelash extensions and natural lashes. It involves the use of gentle, lash extension-safe cleansers and tools to remove impurities, makeup residues, and oil buildup that can accumulate on the lashes over time.
The primary objectives of a lash bath are to:
Extend the Lifespan of Eyelash Extensions:
Lash extensions can last several weeks, but without proper care, they may shed prematurely. A lash bath helps keep extensions in place for an extended period.
Maintain the Health of Natural Lashes:
Lash baths contribute to the overall health of your natural lashes by removing debris, excess oils, and other substances that can clog hair follicles and potentially lead to lash damage.
Improve Adhesion:
For those with eyelash extensions, ensuring that your natural lashes are clean and free from oils and residues improves the adhesion of the extensions. This reduces the risk of them falling out prematurely.
Enhance Eye Hygiene:
Keeping your lashes clean is crucial for eye hygiene. Lash baths prevent the accumulation of bacteria and dirt, which can lead to eye infections and discomfort.
A lash bath is a meticulous process that helps maintain the beauty and health of your lashes. It is an essential part of lash care, whether you have eyelash extensions or simply want to preserve the condition of your natural lashes. Regular lash baths contribute to longer-lasting, healthier lashes, enhancing your overall appearance.
The Importance of Lash Baths
Lash baths offer several key benefits, making them a fundamental part of eyelash extension maintenance:
1. Prolonged Extension Lifespan:
- Lash extensions can last several weeks, but without proper care, they may shed prematurely. Lash baths help keep extensions in place for a more extended period.
2. Lash Health:
- Regular lash baths contribute to maintaining the health of your natural lashes. Removing debris and excess oils prevents clogged hair follicles and potential lash damage.
3. Improved Adhesion:
- For those with eyelash extensions, ensuring that your natural lashes are clean and oil-free improves the adhesion of the extensions, reducing the risk of them falling out prematurely.
4. Hygiene:
- Clean lashes are essential for eye hygiene. Lash baths prevent the accumulation of bacteria and dirt that could lead to eye infections.
How to Perform a Lash Bath
Performing a lash bath correctly is essential to reap the benefits. Here’s a step-by-step guide on how to do it:
Step 1: Gather Your Supplies
- You’ll need lash extension-safe cleanser, a clean lash brush or spoolie, and a clean, lint-free cloth.
Step 2: Remove Eye Makeup
- Begin by gently removing any eye makeup, including mascara and eyeshadow. Use a makeup remover designed for eyelash extensions if possible.

Step 3: Prepare the Cleanser
- Dilute the lash extension-safe cleanser with water as per the manufacturer’s instructions. Be cautious not to use oil-based products, as they can weaken the lash extension bond.
Step 4: Apply the Cleanser
- Dip the lash brush or spoolie into the diluted cleanser and gently brush your lashes, both extensions and natural lashes, in a downward motion. Avoid excessive scrubbing, as this can damage the extensions.
Step 5: Rinse
- Rinse your lashes with lukewarm water to remove the cleanser thoroughly.
Step 6: Pat Dry
- Gently pat your lashes dry with a clean, lint-free cloth. Avoid rubbing, as this can cause lash damage.
Step 7: Brush and Separate
- After your lashes have dried, brush them with a clean spoolie to separate and fluff them.
Perform a lash bath regularly, following the recommendations of your lash technician or the products you use. Depending on factors like your lifestyle and the climate you live in, lash baths can be done every 2 to 3 days or once a week.
Lash Baths and DIY
Lash baths are an integral part of maintaining the beauty and health of your eyelash extensions and natural lashes. While professional lash technicians provide expert services, you can also perform lash baths at home to keep your lashes in pristine condition. In this guide, we’ll explore the world of DIY lash baths, including the tools you’ll need, the step-by-step process, and essential tips to make your at-home lash care routine a success.
Tools You’ll Need
Before you start your DIY lash bath, gather the following essential tools and products:
1. Lash Extension-Safe Cleanser:
- Ensure you have a lash extension-safe cleanser on hand. These cleansers are specially formulated to remove impurities while preserving the integrity of your lash extensions and adhesive.
2. Clean Lash Brush or Spoolie:
- You’ll need a clean lash brush or spoolie to gently and meticulously clean your lashes.
3. Clean, Lint-Free Cloth:
- A clean, lint-free cloth is ideal for patting your lashes dry after the cleansing process.
The Step-by-Step DIY Lash Bath Process
Follow these steps to perform a DIY lash bath at home:
Step 1: Makeup Removal
- Begin by gently removing any eye makeup, including mascara and eyeshadow. Use a makeup remover designed for eyelash extensions, if possible, to avoid any adverse effects on the extensions.
Step 2: Prepare the Cleanser
- Dilute the lash extension-safe cleanser with water following the manufacturer’s instructions. Avoid using any oil-based products, as they can weaken the lash extension bond.
Step 3: Application
- Dip the clean lash brush or spoolie into the diluted cleanser. Gently brush your lashes in a downward motion, ensuring you cover both your eyelash extensions and natural lashes. Avoid excessive scrubbing or tugging, as this can damage the extensions.
Step 4: Rinse
- Rinse your lashes thoroughly with lukewarm water. This step is crucial to remove all traces of the cleanser. Residue can lead to discomfort and affect the lash adhesive.
Step 5: Pat Dry
- Use a clean, lint-free cloth to gently pat your lashes dry. Avoid rubbing or excessive force, as this can result in lash damage.
Step 6: Brush and Separate
- After your lashes are dry, use a clean spoolie to brush and separate them. This helps maintain their shape and prevents clumping.
Tips for Successful DIY Lash Baths
To ensure your at-home lash baths are effective, consider the following tips:
Use Lash Extension-Safe Products:
Always use cleansers and products specifically formulated for eyelash extensions. This helps maintain the integrity of the extensions.
Be Gentle:
Handle your lashes with care during the cleansing process. Avoid tugging, scrubbing, or using excessive force, as this can lead to lash damage.
Regular Maintenance:
Stay consistent with your lash bath routine. Depending on your lifestyle and climate, aim for cleansing every 2 to 3 days or on a weekly basis.
Avoid Oil-Based Products:
Oil-based makeup removers and cleansers can weaken the bond of your lash extensions. Stick to oil-free products to maintain adhesion.
Rinse Thoroughly:
Ensure you rinse your lashes with lukewarm water until all the cleanser is removed. Residue can cause discomfort and affect the lash adhesive.
Dry Gently:
After rinsing, pat your lashes dry with a clean, lint-free cloth. Avoid rubbing, as it can cause lash damage.
Brush and Separate:
Use a clean spoolie to brush and separate your lashes once they are dry. This helps maintain their shape and prevents clumping.
In conclusion, DIY lash baths are a valuable component of your lash care routine. By using extension-safe products, being gentle, staying consistent, and following proper techniques, you can enjoy long-lasting, healthy, and beautiful lashes. Whether you choose to perform DIY lash baths at home or supplement them with professional services, prioritizing your lash care enhances your overall appearance and ensures your lashes remain in top condition.
DIY Lash Baths vs. Professional Services
Performing a lash bath at home is a common practice for many individuals, but it’s essential to recognize the differences between DIY lash baths and professional services:
DIY Lash Baths:
- Convenience: Doing lash baths at home allows you to fit them into your schedule without the need for appointments.
- Cost-Effective: DIY lash baths can be cost-effective, as you don’t incur additional service fees.
- Control: You have control over the process and products used.
Professional Lash Bath Services:
- Expertise: Lash technicians are trained and experienced in lash care, ensuring a thorough and precise cleansing process.
- Specialized Products: Professionals use specialized lash extension-safe cleansers and tools to maintain the integrity of your lashes.
- Additional Services: Lash technicians can identify and address specific lash issues, such as extensions that need filling or lash damage.
While DIY lash baths are accessible and cost-effective, professional lash bath services provide a higher level of expertise and the use of specialized products. Many individuals opt for a combination of both, with regular DIY lash baths at home and periodic professional lash bath appointments.
Tips for Effective Lash Baths
To ensure your lash baths are effective and yield the best results, consider the following tips:
Use Lash Extension-Safe Products:
Make sure to use cleansers and products specifically formulated for eyelash extensions to avoid damaging the adhesive.
Be Gentle:
Always handle your lashes with care during the cleansing process. Avoid tugging, scrubbing, or using excessive force.
Regular Maintenance:
Stay consistent with your lash bath routine. Depending on your lifestyle, aim for every 2 to 3 days or weekly cleansing to prevent the buildup of debris and oils.
Avoid Oil-Based Products:
Oil-based makeup removers and cleansers can weaken the bond of your lash extensions. Stick to oil-free products.
Rinse Thoroughly:
Rinse your lashes with lukewarm water until all the cleanser is removed. Residue can cause discomfort and affect the lash adhesive.
Dry Gently:
After rinsing, pat your lashes dry with a clean, lint-free cloth. Avoid rubbing, as it can damage the extensions.
Brush and Separate:
Use a clean spoolie to brush and separate your lashes once they are dry. This helps maintain their shape and prevents clumping.
Conclusion
A lash bath is an essential practice for individuals with eyelash extensions, as well as those who want to maintain the health and beauty of their natural lashes. By understanding the significance of lash baths, performing them correctly, and following professional guidance, you can enjoy long-lasting, luscious lashes that enhance your overall appearance. Whether you choose to do them at home or opt for professional services, the key is to prioritize lash care as a vital aspect of your beauty routine.
Certainly, here are some frequently asked questions (FAQs) related to lash baths:
FAQS
1. What is a lash bath?
A lash bath is a specialized cleaning and maintenance process for both eyelash extensions and natural lashes. It involves the use of lash extension-safe cleansers and tools to remove impurities, makeup residues, and oil buildup that can accumulate on the lashes.
2. Why are lash baths important?
Lash baths are essential for several reasons:
- They prolong the lifespan of eyelash extensions.
- They maintain the health of natural lashes.
- They improve the adhesion of extensions.
- They promote eye hygiene by preventing the accumulation of bacteria and dirt.
3. How often should I perform a lash bath?
The frequency of lash baths can vary based on your lifestyle and individual needs. As a general guideline, they can be done every 2 to 3 days or once a week. Consult with your lash technician for personalized recommendations.
4. Can I perform a lash bath at home?
Yes, you can perform a lash bath at home. Many individuals opt for DIY lash baths using lash extension-safe products. However, it’s essential to follow proper techniques and use the right products to avoid damaging your lashes.
5. What products should I use for a lash bath?
For a lash bath, use cleansers and products specifically formulated for eyelash extensions. Avoid oil-based products, as they can weaken the adhesive. It’s advisable to consult with your lash technician for product recommendations.
6. How can I ensure my lash bath is effective?
To ensure an effective lash bath, be gentle, rinse your lashes thoroughly, pat them dry, and use a clean spoolie to brush and separate them once they are dry. Consistency in your lash bath routine is also key to maintaining lash health.
7. What is the difference between DIY lash baths and professional lash bath services?
DIY lash baths are convenient and cost-effective, but professional services offer a higher level of expertise, the use of specialized products, and the ability to address specific lash issues. Many individuals combine both DIY and professional lash baths to maintain their lashes.
8. Can lash baths prevent eyelash extension damage?
Yes, regular lash baths can help prevent eyelash extension damage by removing debris, oils, and makeup residues that can weaken the bond of the extensions.
9. Is it necessary to perform a lash bath for natural lashes?
Lash baths are beneficial for maintaining the health of natural lashes as well. They help remove impurities and prevent clogged hair follicles, which can lead to lash damage.
10. Can I use regular eye makeup remover for a lash bath?
While you can use regular eye makeup remover, it’s advisable to use makeup removers designed for eyelash extensions to ensure they are extension-safe and do not damage the adhesive.
If you have more specific questions about lash baths or eyelash extensions, feel free to ask, and I’ll be happy to provide further information and guidance.


