Understanding Joint Compound
Before diving into the drying process, let’s start with the basics. Joint compound, also known as drywall mud, is a thick white paste used to fill gaps, seams, and imperfections in drywall installations. It is an essential step in achieving a smooth and flawless finish on your walls.
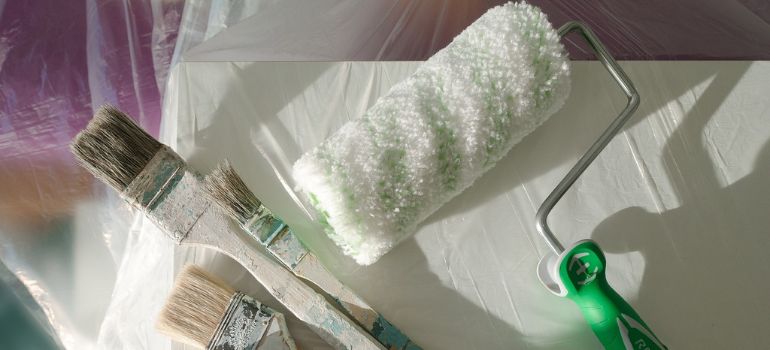
Preparation: What You’ll Need
To ensure a successful paint job, gather the following materials:
- Joint compound
- Putty knife
- Sandpaper (various grits)
- Drywall sander
- Primer
- Paintbrushes or rollers
- Paint
The Drying Process
Once you’ve applied the joint compound to your drywall seams or patches, it’s time to let it dry. The drying time can vary depending on several factors, so it’s crucial to be patient.
- Initial Drying: The joint compound will typically dry to the touch within 24 hours. During this time, avoid touching or applying pressure to the patched areas.
- Complete Drying: To ensure that the compound is completely dry, allow it to sit for 48 to 72 hours. This extended period ensures that the compound cures thoroughly.
Factors Affecting Drying Time
Several factors influence how quickly joint compound dries:
- Humidity: High humidity levels can slow down the drying process, so it’s best to work in a well-ventilated area.
- Temperature: Warmer temperatures promote faster drying, while cooler temperatures can extend the drying time.
- Thickness: Thicker applications of joint compound will take longer to dry than thinner ones.
How to Speed Up Drying
If you’re in a hurry to move on to the painting phase, here are some tips to expedite the drying process:
- Use a dehumidifier to reduce humidity levels in the room.
- Place fans near the patched areas to improve air circulation.
- Ensure the room is adequately heated to maintain an ideal temperature for drying.
Sanding for Smoothness
Before painting, it’s essential to sand the dried joint compound for a smooth and even surface. Start with a coarse-grit sandpaper and gradually move to finer grits until the surface feels smooth to the touch.
Prime Before You Paint
Priming your walls is a crucial step that should not be skipped. Primer helps paint adhere better and provides a consistent base color, especially when painting over patched areas.
Selecting the Right Paint
Choosing the right paint is essential for a successful project. Opt for paint that suits your needs and the room’s conditions. Consider factors like washability, sheen, and color.
Painting Techniques
When it’s time to paint, employ proper painting techniques for the best results. Use even strokes, and be mindful of drips and runs. Multiple thin coats are often better than a single thick one.
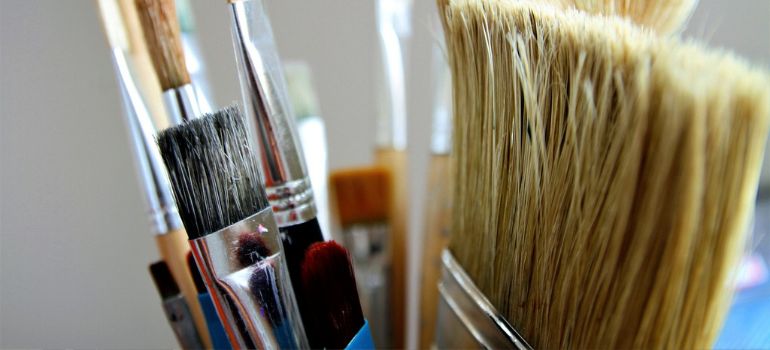
Tips for a Professional Finish
To achieve a professional-looking finish:
- Take your time and be patient.
- Use high-quality brushes and rollers.
- Apply paint in good lighting conditions.
- Apply a second coat if needed for full coverage.
Common Mistakes to Avoid
Avoid these common mistakes when painting over joint compound:
- Rushing the drying process.
- Neglecting to sand the compound.
- Skipping the primer.
- Using the wrong type of paint.
Additional Tips for a Flawless Finish
To ensure your painting project goes smoothly and yields a flawless finish, here are some additional tips:
- Clean the Surface: Before applying paint, make sure the patched areas are clean and free from dust or debris. A damp cloth or sponge can help with this.
- Use Painters Tape: To achieve clean and crisp lines at edges or corners, use painter’s tape to mask off areas you don’t want to paint.
- Stir the Paint: Ensure that you thoroughly stir the paint before application to mix any settled pigments. Follow the manufacturer’s instructions for the appropriate stirring method.
- Maintain Consistency: Try to maintain a consistent rhythm and pressure while applying paint. Avoid starting and stopping frequently, as this can lead to visible brush or roller marks.
- Avoid Overloading: Don’t overload your paintbrush or roller with too much paint. Excess paint can lead to drips and uneven coverage.
- Cut-In First: When painting walls, start by cutting in the edges and corners with a brush before using a roller for larger areas. This technique results in a neater finish.
- Ventilate Properly: Ensure proper ventilation during and after painting, especially if you’re using oil-based paints. Open windows and use fans to reduce fumes and hasten drying.
Troubleshooting Common Issues
Sometimes, despite your best efforts, issues may arise during painting. Here are some solutions to common problems:
- Bubbles: If you notice air bubbles in your paint, lightly sand the affected area, apply a thin layer of joint compound to even it out, let it dry, and then repaint.
- Cracking: If your paint develops cracks, it may be due to inadequate drying time or an uneven surface. Sand the area, apply a primer, and repaint.
- Drips and Runs: To fix paint drips or runs, wait until the paint is completely dry, sand the area, and then repaint. Make sure to use even strokes and avoid overloading your brush or roller.
- Uneven Color: If you see uneven color after painting, this could be due to improper mixing or uneven application. Stir your paint thoroughly and apply another coat evenly.
Frequently Asked Questions (FAQs)
While it may help to some extent, it’s best to rely on natural drying to ensure a thorough cure.
No, it’s crucial to wait until the compound is fully dry to avoid cracking or bubbling in the paint.
Yes, consider using a moisture-resistant paint for bathrooms and areas prone to high humidity.
Aim for a temperature between 60°F and 80°F for optimal drying.
Minor imperfections can be touched up with additional paint or by re-sanding and repainting the affected area.
Conclusion
In conclusion, the key to a successful painting project after applying joint compound is patience. Understanding how long to let joint compound dry before painting and following the proper preparation and painting techniques will result in a beautiful and long-lasting finish for your walls. Remember to address any imperfections before applying the final coat of paint, and always choose high-quality materials for the best results. Happy painting!
