Introduction
When it comes to enhancing your home’s curb appeal and functionality, building a header for a garage door is an essential step. A well-constructed header provides structural support for the door and helps maintain the integrity of your garage. In this article, we will guide you through the process of building a header for your garage door, ensuring safety, durability, and aesthetic appeal.
Understanding the Basics
What is a Garage Door Header?
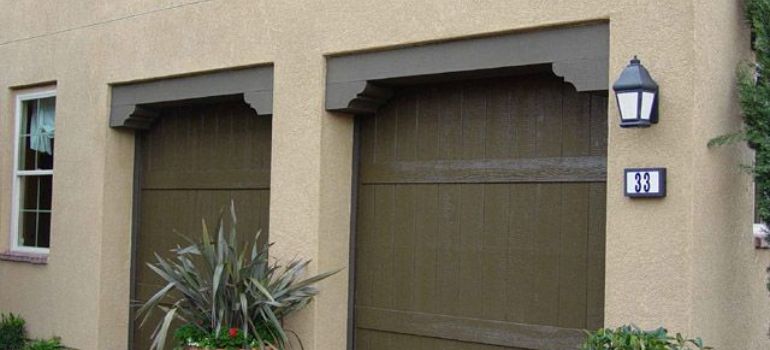
Before diving into the construction process, let’s understand what a garage door header is. Simply put, it’s a horizontal support beam installed above the garage door opening. Its primary function is to distribute the weight of the door and the opener system evenly, preventing sagging or structural damage.
Materials Needed
To get started, gather the necessary materials:
- Lumber beams (usually 2×6 or 2×8)
- Circular saw
- Measuring tape
- Level
- Nails or screws
- Hammer or screwdriver
- Safety gear (goggles, gloves, ear protection)
Step-by-Step Guide
1. Measure and Mark
Begin by measuring the width of your garage door opening. Add a few inches to each side for a secure fit. Mark the measurements on the wall above the opening.
2. Cut the Lumber
Using a circular saw, cut two pieces of lumber to the length of your measurements. These will serve as the header’s top and bottom plates.
3. Attach the Plates
Position the top plate on top of the bottom plate and align them with your markings on the wall. Use a level to ensure they are perfectly horizontal. Secure them in place by driving nails or screws through the plates into the wall studs.
4. Add King Studs
On each side of the header, add vertical studs known as king studs. These provide additional support and help distribute the load evenly. Attach the king studs to the bottom plate and extend them to the top plate.
5. Install Jack Studs
Next, add jack studs, which are shorter vertical studs that run from the header to the bottom plate. They fit snugly against the king studs and provide essential support for the header.
6. Sheathing
If desired, you can add sheathing to the header to give it a finished look. Plywood or oriented strand board (OSB) can be used for this purpose.
7. Insulation
Consider adding insulation to the header to improve energy efficiency and reduce heat loss from your garage.
8. Paint or Finish
To enhance the header’s appearance and protect it from the elements, apply paint or a suitable finish.
Conclusion
Building a header for your garage door is a crucial step in ensuring the stability and longevity of your garage structure. By following these steps, you can create a header that provides the necessary support while also enhancing the overall aesthetics of your garage.
FAQs
Yes, a header is essential for supporting the weight of the garage door and maintaining structural integrity.
Typically, 2×6 or 2×8 lumber is recommended for header construction due to its strength and durability.
While it is possible to DIY, hiring a professional ensures the job is done correctly and safely.
Insulation is not mandatory but can help improve energy efficiency in your garage.
A properly built header can last for many years, often as long as the garage itself, with proper maintenance and care.


