Do you want to give your nails a stylish and professional look without going to a salon? Decorating your nails at home can be a fun and creative way to express your personality and elevate your overall look. However, if you are new to nail art, it can be overwhelming to know where to start. In this article, we will guide you through everything you need to know about how to decorate nails at home.
1. Understanding the Basics of Nail Art
Before diving into the world of nail art, it’s important to understand the basics. Here are the essential tools and materials you will need to get started:
Essential Tools and Materials
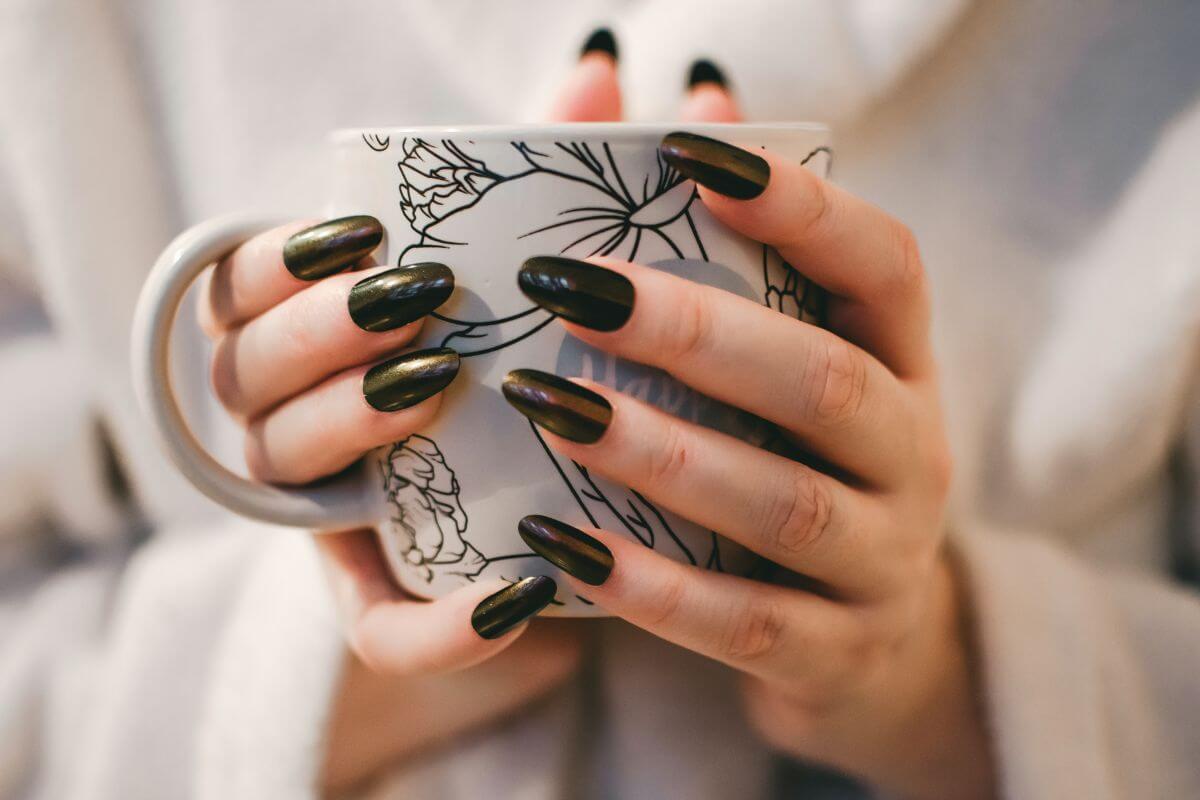
- Nail polish: Choose a high-quality nail polish that is long-lasting and dries quickly. You can experiment with different colors and finishes, such as matte or metallic.
- Base coat and topcoat: Applying a base coat before your nail polish helps to protect your nails from damage and staining. A topcoat seals your design and adds shine and durability.
- Nail art brush or toothpick: You can use a specialized nail art brush or a toothpick to create intricate designs.
- Nail file and buffer: Use a nail file to shape and smooth your nails, and a buffer to add shine.
- Cotton swabs and nail polish remover: These are essential for cleaning up any mistakes or smudges.
Preparing Your Nails for Decoration
To ensure your nail art lasts as long as possible, it’s important to prepare your nails properly. Here are some steps to follow:
- Remove any old nail polish using cotton swabs and nail polish remover.
- Trim and shape your nails using a nail file.
- Soak your nails in warm soapy water for a few minutes to soften the cuticles.
- Use a cuticle pusher to gently push back the cuticles.
- Apply a small amount of cuticle oil to moisturize your nails and cuticles.
2. Simple Nail Art Designs for Beginners
Now that you have your tools and materials and have prepared your nails, it’s time to start decorating! Here are three simple nail art designs for beginners:
Polka Dot Nails
- Apply a base coat and let it dry completely.
- Choose a contrasting color of nail polish and dip the end of a toothpick into it.
- Carefully dot the polish onto your nails in a random pattern, making sure to space the dots evenly.
- Let the dots dry completely before applying a topcoat.
Striped Nails
- Apply a base coat and let it dry completely.
- Choose a contrasting color of nail polish and use a nail art brush or toothpick to create stripes on your nails.
- Experiment with different stripe thicknesses and patterns.
- Let the stripes dry completely before applying a topcoat.
Ombre Nails
- Apply a base coat and let it dry completely.
- Choose two or three colors of nail polish that blend well together.
- Apply the lightest color to the bottom of your nails and the darkest color at the top. 4. Use a makeup sponge to blend the colors together in the middle of your nails.
- Let the polish dry completely before applying a topcoat.
3. Advanced Nail Art Techniques for the Brave
If you’re feeling more adventurous, here are three advanced nail art techniques to try:
French Manicure
- Apply a base coat and let it dry completely.
- Use a nail art brush or tape to create a straight line across the top of your nails.
- Apply a sheer or white nail polish to the tips of your nails.
- Let the polish dry completely before applying a topcoat.
Gradient Nails
- Apply a base coat and let it dry completely.
- Choose two or three colors of nail polish that blend well together.
- Apply the lightest color to the bottom of your nails and the darkest color at the top.
- Use a makeup sponge to blend the colors together in a gradient effect.
- Let the polish dry completely before applying a topcoat.

3D Nail Art
- Apply a base coat and let it dry completely.
- Use a nail art brush or toothpick to apply small beads or shapes onto your nails.
- Experiment with different colors and textures to create a unique design.
- Let the 3D design dry completely before applying a topcoat.
4. Tips for Maintaining Your Decorated Nails
To ensure your nail art lasts as long as possible, here are some tips to follow:
- Apply a topcoat every few days to seal and protect your design.
- Avoid using your nails as tools or picking at them, as this can cause damage and chipping.
- Moisturize your nails and cuticles regularly to prevent dryness and breakage.
- Avoid exposing your nails to harsh chemicals or water for extended periods of time.
- If your nail art starts to chip or peel, remove it completely and start fresh.
5. Conclusion
Decorating your nails at home can be a fun and creative way to express yourself and elevate your look. With the right tools and materials, even beginners can create stylish nail art designs. Remember to take care of your nails and follow proper maintenance tips to ensure your designs last as long as possible.
6. FAQs
Do I need specialized tools to decorate my nails at home?
While there are specific nail art tools available, you can also use household items like toothpicks or makeup sponges to create designs.
Can I use regular nail polish for nail art?
Yes, you can use any type of nail polish for nail art. Just make sure it is high-quality and long-lasting.
How do I remove nail polish mistakes?
Use a cotton swab dipped in nail polish remover to clean up any mistakes or smudges.
How can I make my nail art last longer?
Apply a topcoat regularly and avoid exposing your nails to harsh chemicals or water for extended periods of time.
Can I create 3D nail art at home?
Yes, you can use nail art brushes or toothpicks to apply small beads or shapes onto your nails and create 3D designs.

