Installing a range hood on a slanted ceiling may seem like a daunting task, but with the right guidance and a bit of patience, you can achieve both functionality and aesthetics in your kitchen. In this comprehensive guide, we’ll walk you through the steps to successfully install a range hood on a slanted ceiling. Whether you’re a seasoned DIY enthusiast or a beginner, you’ll find this article helpful in achieving the perfect kitchen ventilation system.
Understanding the Basics
Why Do You Need a Range Hood?
A range hood is essential in a kitchen as it helps remove cooking odors, heat, and airborne grease particles. It also improves indoor air quality and prevents the buildup of grease on your kitchen surfaces.
Types of Range Hoods
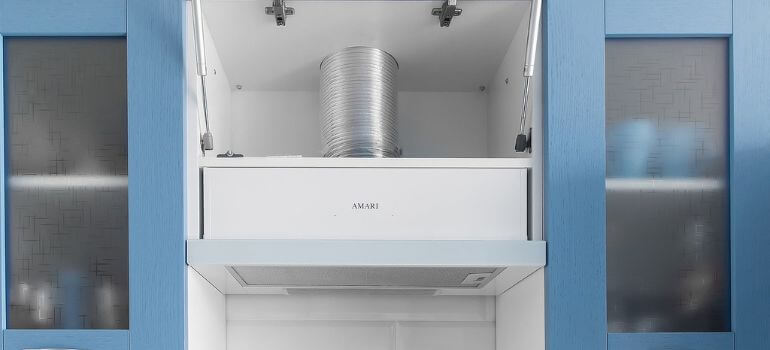
Before you start the installation, it’s crucial to choose the right type of range hood for your kitchen. There are wall-mounted, under-cabinet, and island range hoods, each with its own installation requirements.
Preparation and Safety Measures
Gather the Necessary Tools and Materials
Creating a list of tools and materials you’ll need for the installation is crucial. Common items include a range hood kit, screwdrivers, a level, a drill, and safety gear like goggles and gloves.
Turn Off Power and Gas
For safety, turn off the power supply to the kitchen and shut off the gas connection if your range hood is also equipped with a gas range.
Installation Steps
Step 1: Measure and Mark
- Measure and Mark the Location: Begin by measuring and marking the precise location where you want to install the range hood. Ensure it’s centered over your cooking area. Use a pencil and a level to create accurate markings on both the ceiling and the wall.
Step 2: Cut the Hole
- Cut the Hole for the Ductwork: Using the measurements as a guide, cut a hole in the ceiling for the ductwork. Make sure the hole is the right size to accommodate the duct. If your range hood requires an external vent, you’ll also need to cut a hole through the exterior wall for the vent pipe.
Step 3: Install Support Brackets
- Attach Support Brackets: Next, attach support brackets to the ceiling joists. These brackets provide a stable base for the range hood. Use a drill to secure them firmly in place, ensuring they are level and parallel to the wall.
Step 4: Assemble the Range Hood
- Assemble the Range Hood: Follow the manufacturer’s instructions to assemble the range hood. This typically involves attaching the ductwork and the fan. Make sure to connect any wiring according to the provided guidelines.
Step 5: Mount the Range Hood
- Mount the Range Hood: With the help of a friend or a second pair of hands, carefully lift the range hood into position. Align it with the markings on the ceiling and the wall. Secure the range hood to the support brackets using screws and anchors, if necessary. Use a level to ensure that it is perfectly straight and flush with the ceiling.
Step 6: Connect the Ductwork
- Connect the Ductwork: Connect the ductwork to the range hood and the hole in the ceiling. Secure all joints with duct tape or clamps to prevent air leaks. Ensure that the ductwork is properly aligned and straight to ensure efficient ventilation.
Step 7: Test the Range Hood
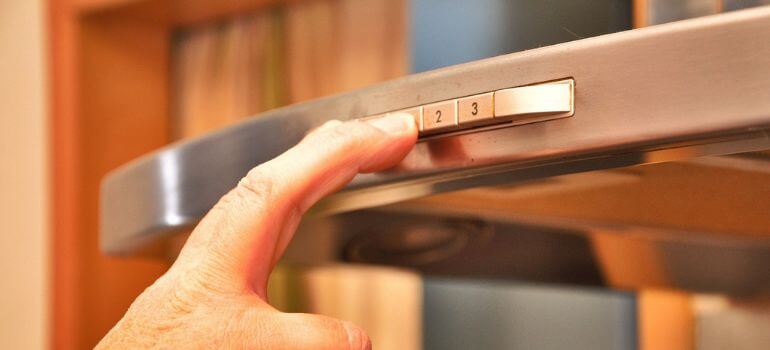
- Test the Range Hood: Before finishing the installation, turn on the range hood and test its functionality. Make sure it operates smoothly and effectively. Check for proper ventilation and airflow. Adjust the fan speed and settings as needed to suit your cooking needs.
Step 8: Final Adjustments
- Make Final Adjustments: After testing, make any necessary adjustments to ensure that the range hood is securely installed and functions correctly. Double-check the alignment, screws, and ductwork connections.
Once you have completed these installation steps, your range hood should be successfully mounted on your slanted ceiling, providing effective ventilation for your kitchen. Always refer to the manufacturer’s instructions and safety guidelines throughout the installation process to ensure a safe and efficient setup.
Maintenance Tips
Clean the Filters Regularly
To ensure your range hood functions at its best, clean or replace the filters regularly. Grease and grime can build up over time, reducing the hood’s effectiveness. Refer to the manufacturer’s instructions for filter maintenance.
Check the Ductwork
Inspect the ductwork for any blockages or debris. Over time, dust and dirt can accumulate in the ducts, impeding airflow. A clean duct system ensures your range hood operates efficiently.
Lubricate Moving Parts
If your range hood has moving parts, such as a fan, check and lubricate them as needed. Proper lubrication reduces friction and noise while extending the lifespan of these components.
Keep the Exterior Clean
Wipe down the exterior of your range hood regularly to prevent the buildup of grease and grime. Use a mild detergent or a solution recommended by the manufacturer to maintain its appearance.
Pro Tips for Efficient Ventilation
Opt for LED Lighting
Consider upgrading the lighting in your range hood to energy-efficient LED bulbs. LED lights are not only eco-friendly but also provide excellent illumination for your cooking area.
Use the Highest Fan Setting When Needed
When cooking dishes that produce a lot of smoke or steam, use the highest fan setting on your range hood. This will quickly remove pollutants from the air, ensuring a healthier environment.
Invest in a Range Hood with Variable Speeds
If your budget allows, opt for a range hood with variable fan speeds. This feature allows you to adjust the ventilation power according to your cooking needs, saving energy when cooking lighter meals.
Consider a Range Hood with Remote Control
For added convenience, you may want to invest in a range hood with a remote control. This allows you to adjust settings without having to reach for the controls on the hood itself.
Schedule Professional Maintenance
At least once a year, schedule a professional technician to inspect and maintain your range hood. They can identify any issues and ensure it operates efficiently and safely.
Conclusion
Installing a range hood on a slanted ceiling might seem challenging, but with the right tools, materials, and careful planning, you can accomplish this task effectively. A properly installed range hood not only enhances the aesthetics of your kitchen but also ensures a healthier and more comfortable cooking environment.
Don’t let a slanted ceiling deter you from having an efficient kitchen ventilation system. Follow these steps, and you’ll be enjoying a well-ventilated kitchen in no time.
Frequently Asked Questions
Yes, you can install a range hood on various types of slanted ceilings, but the installation process may vary depending on the ceiling’s angle and material.
While it’s possible to install a range hood on your own, seeking professional assistance is recommended, especially if you’re not confident in your DIY skills.
The size of the range hood you need depends on the size of your cooking area. Measure the width of your stove or cooktop and choose a range hood that covers it adequately.
Yes, there are ductless range hoods available that use filters to purify the air before recirculating it into the kitchen. However, ducted range hoods are more effective at removing odors and grease.
Regularly clean the filters and ductwork to maintain the efficiency of your range hood. Follow the manufacturer’s guidelines for maintenance and cleaning.


