
Introduction
When embarking on any construction project, whether it’s framing a wall, building a deck, or constructing an entire house, the security and stability of the structure are paramount. One crucial aspect of ensuring this stability is understanding how many nails to use per stud. In this article, we’ll guide you through the ins and outs of stud nailing, from the basics to advanced techniques.
The Importance of Proper Stud Nailing
Nailing studs properly is essential for several reasons. First and foremost, it ensures the structural integrity of the building. Insufficient or improper nailing can lead to weak points in the frame, compromising the entire structure’s strength.
Moreover, proper stud nailing contributes to the longevity of the construction. Well-secured studs reduce the risk of future issues like wall cracks, sagging, or structural failures. It’s not just about building for today; it’s about building for the long term.
Types of Nails for Studs
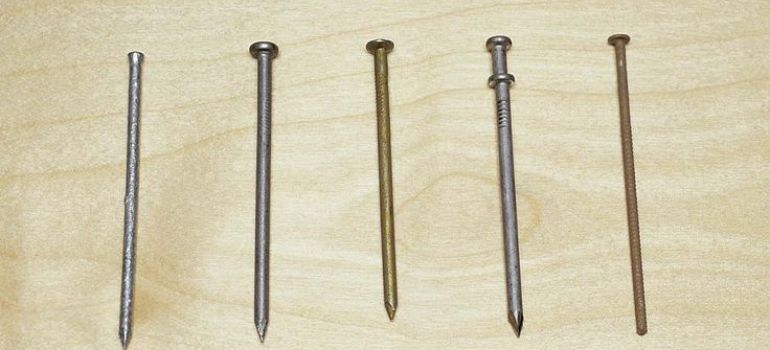
Before delving into the number of nails per stud, it’s crucial to understand the types of nails commonly used in construction. The two primary types are:
- Common Nails: These are the traditional nails used for framing. They have a smooth shank and a tapered point, making them suitable for general framing applications.
- Screws: While not technically nails, screws are often used for securing studs due to their excellent holding power. They come in various types, including wood screws and drywall screws.
How Many Nails Per Stud?
Common Practices
The number of nails you should use per stud depends on the size and spacing of the studs. In standard framing practices, you’ll typically use:
- Two Nails: This is the common practice for securing a stud to a top or bottom plate. One nail is driven near the top, and the other near the bottom of the stud.
- Three Nails: In situations where added strength is required, such as load-bearing walls, three nails per stud are recommended. Space them evenly along the stud’s height.
Factors Affecting Nail Spacing
Several factors can influence the spacing of nails per stud:
- Building Codes: Always check your local building codes, as they may specify the required nailing schedule for different applications.
- Wall Sheathing: If you’re adding wall sheathing, you may need to adjust the nailing pattern to accommodate it.
- Stud Size: Larger studs may require additional nails for adequate support.
The Right Way to Nail Studs
Tools You’ll Need
Before you start nailing studs, gather the necessary tools:
- Hammer or Nail Gun: Depending on your preference and the scale of your project, choose the appropriate tool.
- Nails or Screws: Use the correct type and size of fastener for your studs.
- Safety Gear: Always wear safety goggles and gloves to protect yourself during the nailing process.
Nailing Techniques
To ensure a secure hold, follow these nailing techniques:
- Position the nail at a slight angle towards the stud to prevent splitting.
- Drive the nail or screw until it’s flush with the surface, but avoid overdriving, as it can weaken the stud.
- Space the nails or screws evenly along the height of the stud, following the recommended guidelines.
Ensuring Structural Integrity
Properly nailing your studs is a crucial step in ensuring the structural integrity of your construction project. Take your time, follow the guidelines, and inspect your work regularly to identify and rectify any issues promptly.
The Role of Building Codes
Building codes exist for a reason—to ensure safety and structural stability. Always consult your local building codes or a professional if you’re uncertain about the nailing requirements for your specific project.
When to Seek Professional Help
While many DIY enthusiasts can handle stud nailing for smaller projects, larger or more complex construction endeavors may require professional assistance. Don’t hesitate to seek help from a licensed contractor or structural engineer when needed.
Additional Tips for Successful Stud Nailing
While we’ve covered the fundamentals of stud nailing, here are some additional tips to help you achieve even greater success in your construction projects:
- Plan and Measure Carefully: Before you start nailing, take the time to measure and plan the layout of your studs accurately. Proper measurements and spacing are crucial for a sturdy frame.
- Pre-Drill for Screws: If you’re using screws instead of nails, consider pre-drilling pilot holes to prevent splitting the wood and ensure the screws go in smoothly.
- Use the Right Fastener: Always choose the appropriate nail or screw for your specific project and stud material. Using the wrong fastener can lead to problems down the line.
- Check for Alignment: Ensure that your studs are perfectly vertical and aligned with your construction plans. Even a slight deviation can affect the overall integrity of the structure.
- Inspect for Knots and Imperfections: When selecting studs, inspect them for knots, splits, or other imperfections that might weaken the wood. It’s best to choose high-quality, straight studs for your project.
- Consider Shear Walls: In areas with high wind or seismic activity, shear walls may be necessary for added stability. Consult a structural engineer to determine if shear walls are needed.
- Apply Adequate Pressure: When driving nails or screws, apply steady and even pressure to ensure a snug fit. Avoid overexerting force, as it can damage the wood.
- Maintain Safety: Safety should always be a top priority. Wear appropriate safety gear, keep your workspace tidy, and exercise caution when handling tools.
- Inspect Your Work: Periodically inspect your nailing job as you progress through your project. Identifying and addressing issues early can save you time and resources in the long run.
- Seek Professional Advice: If you’re tackling a complex or large-scale construction project, don’t hesitate to consult with a professional contractor or structural engineer. Their expertise can ensure your project’s success.
Conclusion
In the world of construction, the small details matter. Understanding how many nails to use per stud can make a significant difference in the stability and longevity of your structure. By following best practices, consulting building codes, and seeking professional guidance when necessary, you can ensure your construction project stands the test of time.
FAQs
The nail size should be appropriate for the thickness of the studs. Consult your local building codes or a professional for guidance.
Yes, screws can be a viable alternative, but make sure they are designed for framing and follow the recommended spacing guidelines.
It’s best to replace a severely warped or twisted stud to maintain structural integrity.
Yes, exterior stud nailing may require corrosion-resistant fasteners to withstand weather conditions.
While fewer nails may suffice for non-load-bearing walls, it’s advisable to follow the recommended guidelines for overall structural stability.


