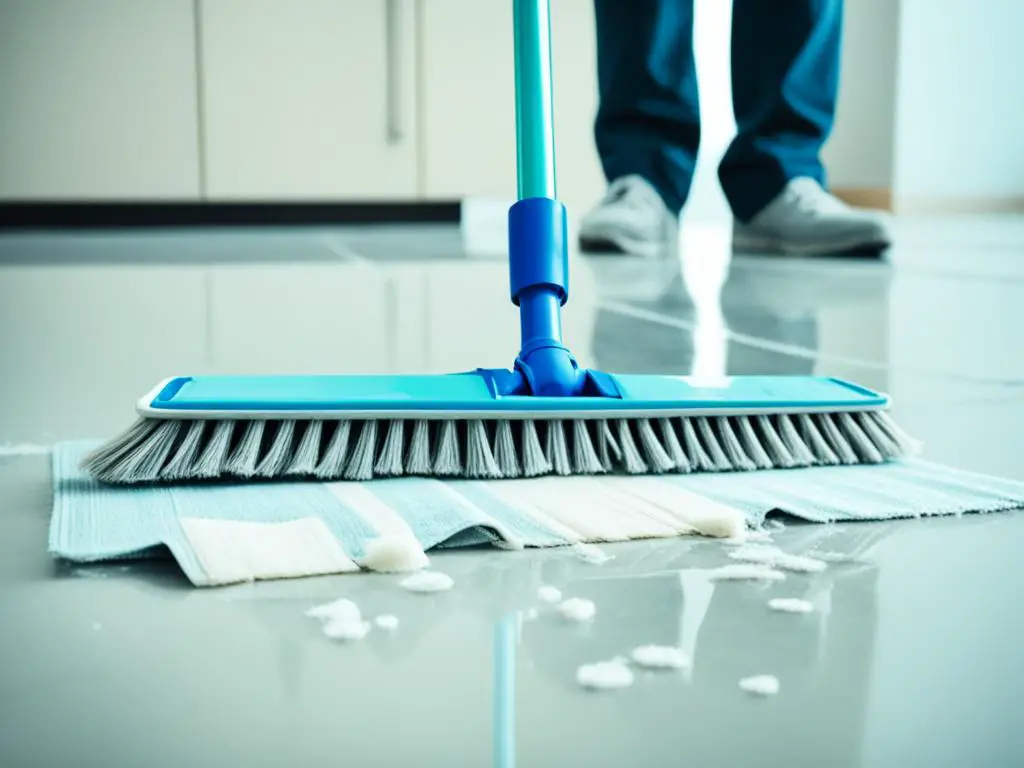
When you decide to remove carpet from your floors, it’s essential to properly clean the floor underneath to ensure a smooth and clean surface for your new flooring. Whether you’re planning to install hardwood, laminate, or tile, taking the time to clean the subfloor is a crucial step in maintaining the integrity and longevity of your new floors.
In this article, we will provide you with step-by-step guidance on how to clean different types of subfloor materials, including plywood, lumber, and concrete. By following these floor cleaning tips, you can achieve a flawless and refreshed floor in your home. Let’s dive in!
Key Takeaways:
- Removing carpet reveals the subfloor, which needs to be thoroughly cleaned before installing new flooring.
- The subfloor may be covered in dirt, dust, adhesive, and stains, necessitating its cleaning.
- Properly cleaning subfloors is essential for providing a stable, flat surface for new flooring installation.
- The methods for cleaning plywood, lumber, and concrete subfloors differ based on their specific characteristics.
- Cleaning and maintaining subfloors help ensure the durability and longevity of your new floors.
Why Is It Necessary to Clean a Subfloor After Removing the Carpet?
After removing the carpet from your floors, it is essential to clean the subfloor thoroughly to ensure optimal flooring preparation. The subfloor often accumulates dirt, dust, adhesive, and stains over time, creating an uneven and unstable surface for your new flooring. By taking the time to clean the subfloor, you can achieve a smooth and sterile foundation that will enhance the installation of your new flooring material.
Cleaning the subfloor serves multiple purposes:
- Provides a stable surface: Removing built-up dirt, adhesive, and stains ensures a stable and flat subfloor, preventing any irregularities that may affect the installation and final appearance of the new flooring.
- Enhances adhesion: By eliminating adhesive residue from the previous carpet installation, you create a clean and adhesive-free surface for the new flooring material. This improves the adhesion and reduces the risk of the new flooring material lifting or peeling over time.
- Promotes a healthier environment: Dirty subfloors can harbor mold, allergens, and unpleasant odors, which can impact the indoor air quality of your home. Thoroughly cleaning the subfloor helps eliminate these potential health hazards, ensuring a cleaner and safer living environment for you and your family.
Regardless of the type of subfloor material you have, be it plywood, lumber, or concrete, cleaning is a necessary step to prepare your floors for the new flooring. Taking the time to properly clean the subfloor will not only enhance the longevity and durability of your flooring but also contribute to a cleaner and healthier living space.

Expert Tip:
“Cleaning the subfloor is an essential step in flooring preparation after carpet removal. It ensures optimal adhesion, improves the overall appearance of the flooring, and creates a healthier living environment.” – Flooring Expert, Sarah Johnson
How to Clean Plywood Subfloor After Removing Carpet
After removing carpet from your floors, it’s important to thoroughly clean the plywood subfloor to prepare it for new flooring installation. Cleaning a plywood subfloor is a simple process that can be done with a vinegar and water solution to remove haze and adhesive residue. Here’s a step-by-step guide to cleaning your plywood subfloor:
Gather Your Supplies
Before you begin, gather the following supplies:
- A bucket
- Vinegar
- Water
- A cloth or mop
- A clean, damp cloth
Mix the Vinegar and Water Solution
In a bucket, mix equal parts vinegar and water. This solution will help break down haze and adhesive residue on the plywood subfloor.
Scrub Away Haze and Adhesive Residue
Moisten a cloth or mop with the vinegar and water solution. Use it to scrub away any haze or adhesive residue on the plywood subfloor. Pay extra attention to areas where the carpet was heavily glued.
Rinse the Subfloor
After scrubbing, rinse the subfloor with a clean, damp cloth to remove any vinegar residue. This will ensure that the subfloor is clean and ready for the new flooring material.

Remember, plywood subfloors are safe to clean with water-based solutions. Avoid sanding the plywood subfloor, as sanding can damage the veneer layers. By following these steps, you can ensure a clean and smooth plywood subfloor for your new flooring installation.
Comparison of Cleaning Methods for Different Subfloor Materials
| Subfloor Material | Recommended Cleaning Method |
|---|---|
| Plywood | Vinegar and water solution |
| Lumber | Heat gun or steamer |
| Concrete | Concrete cleaning solution |
How to Clean Lumber Subfloor After Removing Carpet
To clean a lumber subfloor after removing carpet, there are several steps you can follow. First, you’ll need to gather the necessary tools and materials:
- A heat gun or steamer
- A flat-edged scraper
- A clean cloth or towel
Here’s a step-by-step process to effectively clean your lumber subfloor:
- Step 1: Soften the adhesive – Use the heat gun or steamer to heat the adhesive on the subfloor. Hold the heat source a few inches away from the surface and move it back and forth to evenly distribute the heat. Be cautious not to hold it too close to prevent burning the wood.
- Step 2: Scrape off the adhesive – Once the adhesive has softened, use the flat-edged scraper to gently scrape it off the subfloor. Start at one corner and work your way across the entire floor, removing as much adhesive as possible.
- Step 3: Remove residue – Use a damp cloth or towel to wipe away any remaining adhesive residue from the subfloor. Make sure to thoroughly clean the surface to achieve a smooth and clean finish.
It’s important to note that you should avoid saturating the wood with water during the cleaning process, as lumber subfloors can swell and warp if exposed to excessive moisture.
If necessary, you can sand the lumber subfloor to smooth out any imperfections or rough areas. However, sanding should only be done sparingly and with caution, as excessive sanding can damage the wood. It’s recommended to test a small area first before sanding the entire subfloor.
Here’s an example of how your lumber subfloor cleaning process might look:
| Step | Description |
|---|---|
| Step 1 | Soften the adhesive using a heat gun or steamer |
| Step 2 | Scrape off the softened adhesive with a flat-edged scraper |
| Step 3 | Remove any remaining adhesive residue with a damp cloth |
| Step 4 | Sand the subfloor (if necessary) |
By following these steps, you can effectively clean your lumber subfloor and prepare it for the installation of new flooring materials.

How to Clean Concrete Subfloor After Removing Carpet
Cleaning a concrete subfloor after removing carpet is a straightforward process that can help ensure a clean and well-prepared surface for your new flooring. Follow these steps to effectively clean your concrete subfloor:
- Start by removing any loose debris, such as dirt or dust, from the surface of the subfloor. This can be done using a broom or a vacuum cleaner with a brush attachment.
- Next, prepare a concrete cleaning solution by diluting a concrete cleaner, such as Concrete Master, according to the instructions on the bottle. Concrete Master is a trusted brand known for its effective cleaning properties.
- Apply the cleaning solution to the concrete subfloor using a mop or a rotary floor scrubber. Make sure to cover the entire surface area evenly.
- Allow the cleaning solution to sit on the subfloor for a few minutes to loosen any embedded dirt or stains.
- Use a scrub brush or a floor scrubber to agitate the cleaning solution and remove any dirt or stains from the surface of the concrete subfloor. Scrub in a circular motion for best results.
- Once you have thoroughly scrubbed the subfloor, use a wet vacuum or a hot water extraction machine to remove the cleaning solution from the surface. This will help prevent the solution from seeping into the concrete and causing damage.
- After cleaning the subfloor, it is recommended to apply a concrete sealer to protect the surface from water damage. Concrete sealer helps to prevent moisture penetration and prolong the lifespan of the subfloor.
Remember, a clean and well-maintained concrete subfloor is essential for a successful flooring installation. By following these steps and using products like Concrete Master, you can ensure a clean and durable surface that will serve as a solid foundation for your new flooring.
| Product | Features | Suitable Surfaces |
|---|---|---|
| Concrete Master | – Effective cleaning properties – Easy to use – Safe for various surfaces |
– Concrete – Masonry – Tile – Grout – Brick |
| CleanCoat Concrete Cleaner | – Removes tough stains and dirt – Penetrates deep into the surface – Leaves a protective coating |
– Concrete – Stone – Brick – Pavers |
| MegaClean Concrete Cleaner | – Heavy-duty formula – Removes oil, grease, and dirt – Biodegradable |
– Concrete – Driveways – Sidewalks – Garage floors |
With the right cleaning products and techniques, cleaning a concrete subfloor can be a simple and effective process. By investing time in proper cleaning and applying a concrete sealer, you can ensure a clean and protected subfloor that will contribute to the longevity and durability of your new flooring.
Assessing the Condition of Your Floors
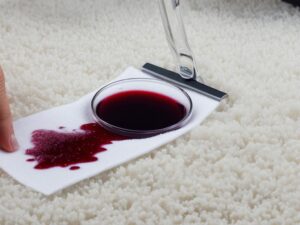
Before starting the restoration process, it is important to assess the condition of your hardwood floors. Checking for scratches, stains, and other signs of damage is crucial to determine the necessary steps for restoration.
Minor damage, such as surface-level scratches or light stains, can often be repaired with sanding and refinishing. However, if the damage is severe or extensive, it may be best to seek professional help to ensure a thorough and effective restoration.
By carefully evaluating the condition of your floors, you can tailor your restoration approach to address the specific issues at hand. This proactive assessment will help you determine whether simple DIY repairs will suffice or if more extensive measures are required.
Steps for Restoring Hardwood Floors After Carpet Removal
Restoring hardwood floors after carpet removal requires several essential steps to ensure a beautiful and long-lasting finish. By following these guidelines, you can return your floors to their former glory and enhance their durability.
1. Carpet Glue Removal
Before proceeding with any restoration work, it is crucial to remove any residual carpet glue from the surface of the hardwood floors. This can be accomplished using a scraper and/or heat gun to soften and scrape off the glue. Exercise caution when using the heat gun to avoid damaging the wood.
2. Sanding Floors
After carpet glue removal, sanding the floors is necessary to eliminate any remaining adhesive residue, imperfections, and smooth out the surface. Begin with a coarse grit sandpaper and gradually work your way to finer grits to achieve a polished finish. Sanding machines can be used for larger areas, while hand sanding may be required for detailed or hard-to-reach spots.
3. Staining Floors
To enhance the color and natural beauty of the wood, staining the floors is a crucial step in the restoration process. Choose a stain color that complements your interior decor and apply it evenly across the sanded floor surface. Be sure to follow the manufacturer’s instructions and allow sufficient drying time before proceeding to the next step.
4. Sealing Floors
The final step in restoring hardwood floors is to seal the surface. Sealing helps protect the wood from moisture, stains, and scratches, ensuring longevity and maintaining its polished appearance. Apply a high-quality floor sealer using a brush or roller, following the manufacturer’s recommendations for application and drying time.
Once the floors are fully restored, you can enjoy the beauty and warmth of your newly renovated hardwood floors.
| Steps for Restoring Hardwood Floors After Carpet Removal |
|---|
| 1. Carpet Glue Removal |
| 2. Sanding Floors |
| 3. Staining Floors |
| 4. Sealing Floors |
Conclusion
Restoring hardwood floors after carpet removal can be a rewarding DIY project that brings new life and beauty to your home. With the right tools, techniques, and a little bit of patience, you can achieve stunning results.
By following the step-by-step process outlined in this article, you can successfully restore your hardwood floors to their former glory. From removing carpet glue to sanding away imperfections and applying a fresh coat of stain and sealant, each stage plays a crucial role in achieving a professional-looking finish.
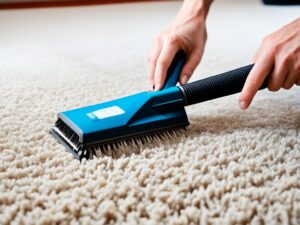
Maintaining the beauty of your restored hardwood floors requires regular cleaning and maintenance. This includes sweeping or vacuuming regularly to remove dirt and dust, using a hardwood floor cleaner to remove stains and spills, and periodically reapplying a protective sealant to enhance durability and keep your floors looking their best.
With proper care and maintenance, your hardwood floors can continue to be a stunning centerpiece in your home for years to come. So roll up your sleeves, grab your tools, and enjoy the transformative journey of restoring and maintaining your hardwood floors.