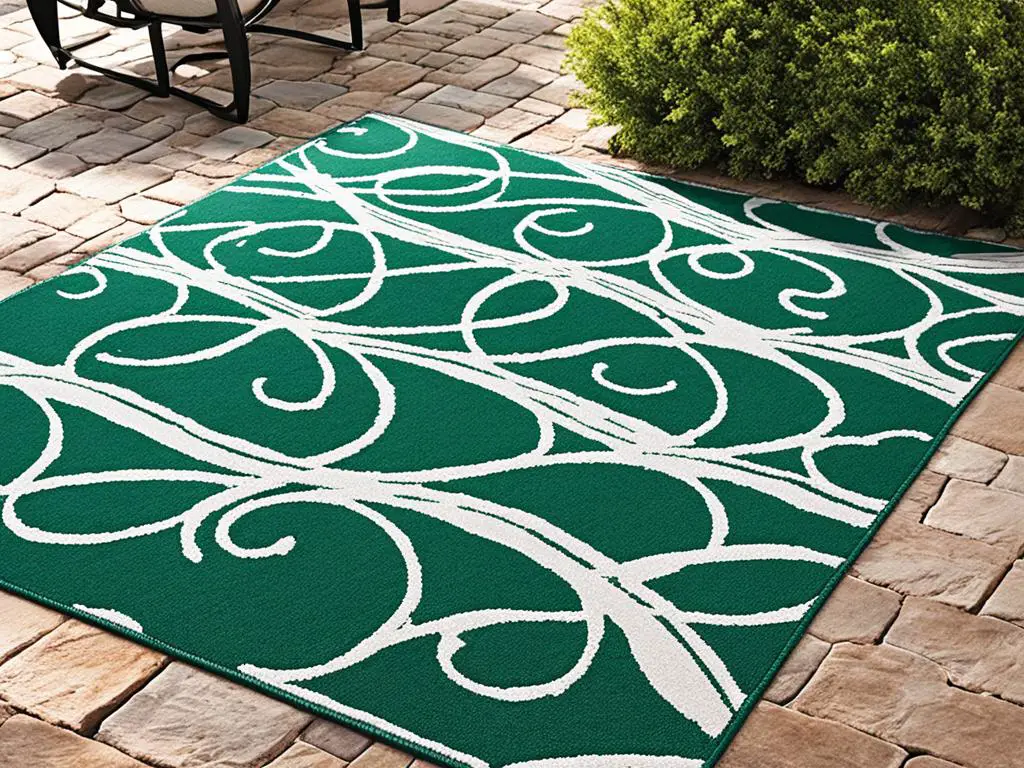
Transforming a basic sisal rug into a trendy patterned accent is a simple DIY project that can easily be done at home. Outdoor sisal rugs are a popular choice for outdoor spaces due to their affordability and durability. Painting an outdoor rug allows you to not only customize its design but also refresh its look without breaking the bank. In this step-by-step guide, we will walk you through the process of painting an outdoor rug to give it a stylish makeover.
Key Takeaways:
- Painting an outdoor rug is a cost-effective way to update your outdoor space.
- Outdoor sisal rugs are durable and suitable for painting.
- Gather your materials, including a low-pile outdoor sisal rug, painters tape, chalk-finish paint, a paintbrush, and a drop cloth.
- Prepare the rug by taping off the desired pattern and mixing the paint.
- Apply multiple coats of paint, letting each layer dry before continuing.
Materials and Preparation
Before you begin the process of DIY outdoor rug painting, it’s important to gather all the necessary supplies and prepare your workspace. Here’s a step-by-step guide to help you get started:
Gather Your Supplies:
- Outdoor sisal rug
- Painters tape
- Tape measure
- Scissors
- Chalk-finish paint
- Large round paintbrush
- Drop cloth
Make sure to choose a low-pile sisal rug specifically designed for outdoor use. This type of rug is durable and will hold up well to the painting process.
Place the rug on a drop cloth to protect the surrounding area from paint splatters and spills.
If your rug has a border that you want to keep, cover it with painters tape to ensure clean edges.
Prepare the Rug:
Use a tape measure to find the center of the rug and mark it with a small dot using a piece of chalk or a pencil.
Starting from the center, apply painters tape diagonally to each corner of the rug to create a V shape. Trim the excess tape with scissors.
Continue taping the rug in a V shape, with each leg of the V being 4 inches wide and 4 inches apart. This will create a geometric pattern on the rug.
Before you start painting, mix the chalk-finish paint with a few drops of water to thin it slightly. This will help the paint glide on smoothly and evenly.
Now that you’ve gathered all your supplies and prepared the rug, you’re ready to move on to the next step: painting the rug.

| Materials | Quantity |
|---|---|
| Outdoor sisal rug | 1 |
| Painters tape | 1 roll |
| Tape measure | 1 |
| Scissors | 1 pair |
| Chalk-finish paint | 1 can |
| Large round paintbrush | 1 |
| Drop cloth | 1 |
Painting the Rug
Now that your outdoor rug is properly taped, it’s time to unleash your creativity and start painting! Follow these step-by-step instructions to achieve a professional finish with your outdoor rug painting project.
- Before you begin, make sure to blot any excess paint from your brush using a cloth.
- Start painting between the taped V shapes, beginning from the center and working your way outwards. This technique ensures a neat and symmetrical design.
- Apply multiple coats of paint as desired, allowing each layer to dry completely before applying the next. This will result in a more vibrant and long-lasting finish.
- If necessary, you can mix in a few drops of water with the paint to achieve a thinner consistency. This will help the paint glide on smoothly and ensure even coverage.
When it comes to choosing the best paint for outdoor rugs, Annie Sloan Chalk Paint is a popular choice among DIY enthusiasts. It offers excellent coverage without the need for a separate sealant, making the painting process more convenient and efficient.

By following these step-by-step techniques and using high-quality paint, you can transform your plain outdoor rug into a stunning focal point that adds charm and personality to your outdoor space.
Finishing Touches
Once the paint has dried completely, it’s time to add the finishing touches to your painted outdoor rug. Begin by carefully removing the tape, taking care not to smudge or damage the paint. This will reveal the clean lines and crisp edges of your newly painted design.
If you want to add more depth and visual interest to your rug, consider incorporating additional colors. You can achieve this by taping off pinstripes between the wide stripes and using a bright accent color. This will create a bold and dynamic pattern that showcases your creativity.
To protect your painted rug from the elements and ensure its longevity, it’s important to apply a waterproof sealant. There are numerous options available on the market, so select a sealant that is compatible with the paint you used. Be cautious when using oil-based sealants, as they may cause light-colored paints to yellow over time.


