Introduction
Shiplap is a popular wall covering known for its cozy and rustic appeal. However, situations arise when you need to remove it. Whether it’s for renovation or repair purposes, this article will guide you through the process of removing shiplap safely and efficiently.
Gather Your Tools
Before starting the removal process, it’s crucial to have the right tools on hand:
- Pry bar
- Hammer
- Screwdriver
- Utility knife
- Safety goggles
- Gloves
- Dust mask
- Stud finder
Safety Precautions
Safety always comes first. Make sure to wear safety goggles, gloves, and a dust mask to protect yourself from debris and potential hazards during the shiplap removal.
Assess the Shiplap
Examine your shiplap walls to identify the type of fasteners used, such as nails or screws. This will help you determine the best approach for removal.
Start from the Edges
Begin by gently prying the edges of the shiplap boards using a pry bar. Start at the top and work your way down. This will help prevent damage to the underlying drywall.
Removing Nails and Screws
Use a hammer and screwdriver to remove any nails or screws holding the shiplap in place. Take your time and be cautious to avoid damaging the drywall.
Leveraging a Pry Bar
Once the fasteners are removed, use a pry bar to carefully lift and remove the shiplap boards from the wall. Be patient and avoid using excessive force to prevent wall damage.
Patching Wall Holes
After removing the shiplap, patch any holes or damaged areas on the wall with spackling compound. Allow it to dry and sand it smooth for a seamless finish.
Sanding and Smoothing
To ensure a smooth surface, sand the entire wall gently. This step is crucial if you plan to paint or apply new wall covering.
Cleaning Up
Clean up the debris and dust from the removal process thoroughly. Use a vacuum cleaner with a HEPA filter to minimize airborne particles.
Inspect for Any Repairs
Inspect the wall for any additional repairs needed before moving forward with your new wall covering.
Choosing Your New Wall Finish
Now that your wall is prepared, decide on the new wall covering or finish you’d like to install. This is your chance to transform your space.
Prepping for Installation
Prepare the wall according to the requirements of your chosen wall covering, whether it’s paint, wallpaper, or another material.
Installing New Wall Covering
Follow the manufacturer’s instructions for installing your new wall covering. Take your time to ensure a flawless result.
Choosing Your New Wall Finish
Once you’ve successfully removed the shiplap and prepared your wall, it’s time to decide on the new wall finish that best suits your vision. Your choice of wall covering can dramatically impact the look and feel of your space. Here are some popular options:
1. Paint:
Painting is a versatile and cost-effective option. It allows you to choose from a wide range of colors and finishes to match your interior decor. Before painting, make sure to prime the wall for a smooth and even result.
2. Wallpaper:
Wallpaper comes in a variety of patterns, textures, and styles, making it a popular choice for those looking to add a touch of sophistication or creativity to their space. Ensure your wall is properly prepped for wallpaper installation to avoid bubbles or peeling.
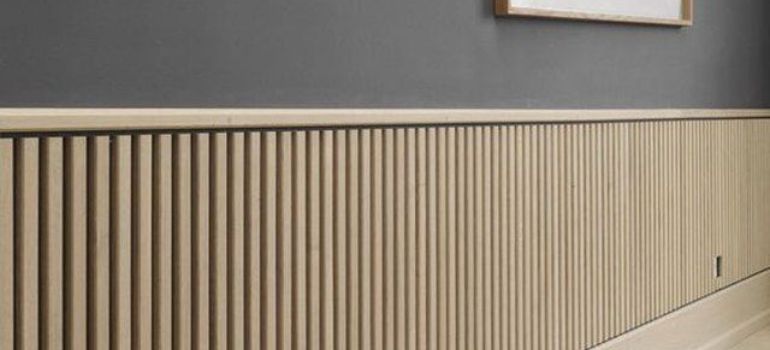
3. Beadboard:
Beadboard is a type of paneling that provides a classic, cottage-style look. It consists of narrow, vertical boards with a decorative groove or bead running between them. Beadboard is often used in bathrooms, kitchens, and entryways for its timeless appeal.
4. Paneling:
Paneling offers a versatile range of design options. You can choose from wood, MDF, or other materials to create a customized look for your walls. Paneling is known for its durability and ease of maintenance.
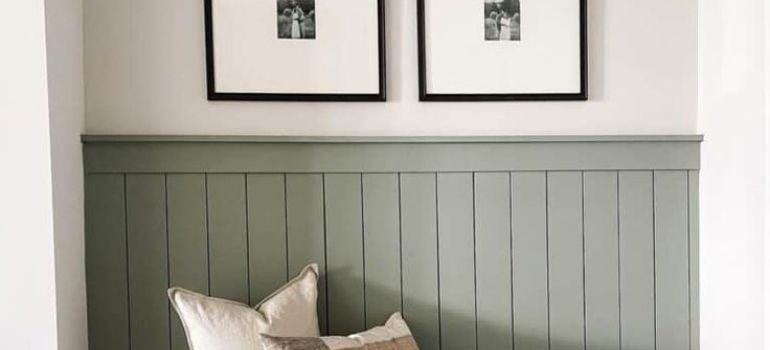
5. Wainscoting:
Wainscoting is another form of wall paneling, typically installed on the lower portion of the wall. It not only adds an elegant touch but also serves as a protective barrier against scuffs and marks.
6. Textured Wall Coverings:
Explore textured options like 3D wall panels, textured paints, or decorative wall tiles to add depth and interest to your space. These choices can create a unique and eye-catching focal point.
7. Brick or Stone Veneer:
For a rustic or industrial look, consider using brick or stone veneer panels. They provide the appearance of real brick or stone without the added weight and complexity of full masonry.
8. Shiplap Reinstallation:
If you love the shiplap look but want a fresh start, you can reinstall the shiplap boards you previously removed. Ensure they are in good condition and make any necessary repairs before reinstalling.
Prepping for Installation
Once you’ve selected your new wall finish, follow the manufacturer’s guidelines for proper installation. The preparation and installation steps can vary significantly depending on the chosen material. Be sure to measure and cut accurately, use the right adhesive or fasteners, and follow any pattern or design instructions provided.
Conclusion
Removing shiplap may seem like a daunting task, but with the right tools and careful execution, you can achieve a smooth and damage-free wall ready for your desired makeover. Remember to prioritize safety and take your time throughout the process.
FAQs
While it’s possible to reuse them, it’s essential to inspect the boards for damage and make any necessary repairs before reinstalling them.
The time it takes can vary depending on the size of the wall and the condition of the shiplap. On average, it may take a few hours to a day.
If you’re comfortable with DIY projects and have the right tools, you can successfully remove shiplap yourself. However, if you’re unsure or concerned about damaging your walls, consulting a professional is a good idea.
Yes, you can paint over shiplap if you prefer to keep the existing texture. Just make sure to clean and prepare the surface properly before painting.
Alternatives include wallpaper, beadboard, paneling, or a simple coat of paint. The choice depends on your desired aesthetic and project goals.


