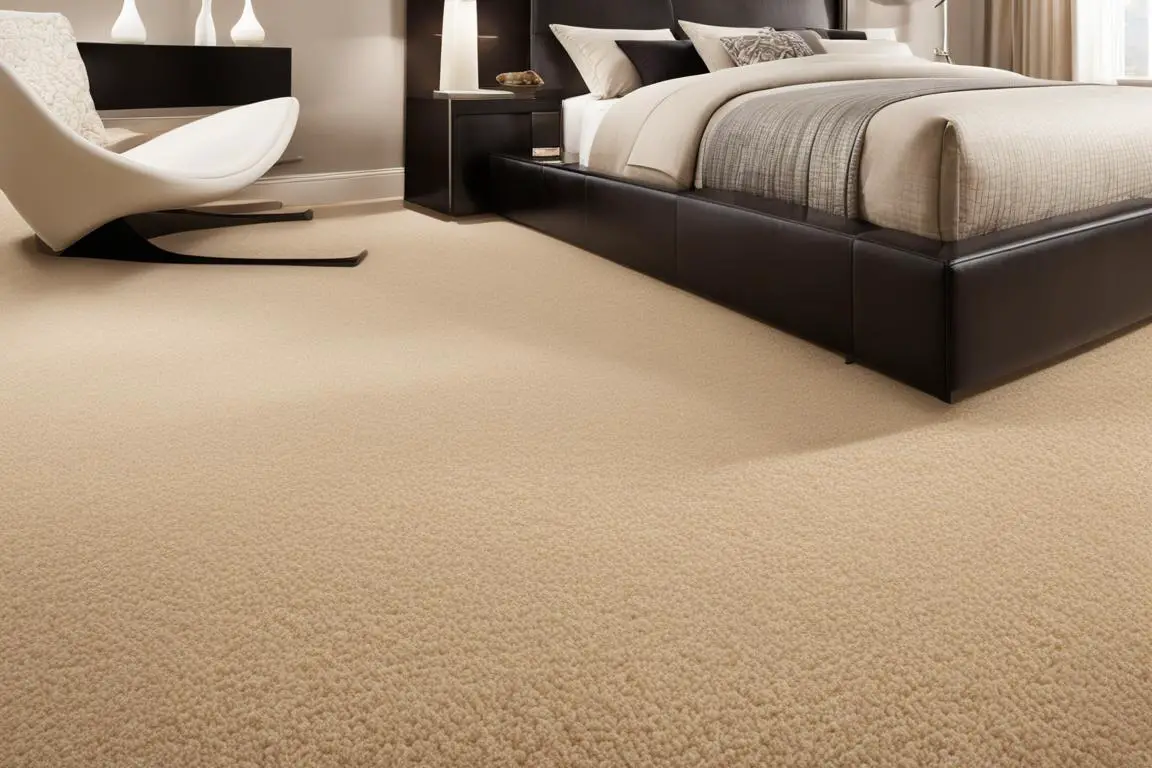
Replacing carpet with hardwood flooring is a popular home improvement project that can instantly update the look of your space. Whether you’re buying an older home with worn carpets or simply want to get rid of carpet allergens, replacing carpet with hardwood offers a more elegant and durable flooring option. In this guide, we’ll take you through the step-by-step process of replacing carpet with hardwood, including carpet removal, choosing the right hardwood flooring, and installation tips. By the end, you’ll be well-equipped to transform your floors and upgrade your home.
Key Takeaways:
- Replacing carpet with hardwood flooring can enhance the overall aesthetic of your home.
- Hardwood flooring is easier to clean and maintain compared to carpet.
- Proper removal of carpet and preparation of the subfloor are crucial steps in the process.
- Choosing the right hardwood flooring involves considering style, color, and sound-reducing options.
- Ensure proper installation by stapling the hardwood flooring and leaving a gap for expansion.
Step 1: Removing the Carpet
The first step in replacing carpet with hardwood is removing the existing carpet. This crucial process sets the foundation for a successful hardwood flooring installation. By following a few simple steps and using the right tools, you can efficiently remove the carpet and prepare the space for the new flooring.
Here’s a detailed breakdown of the carpet removal process:
- Start by pulling up the corners of the carpet. Use pliers or a carpet tucker to grip and lift the edge of the carpet away from the floor.
- Once the corners are lifted, gradually peel the carpet back in sections. You can fold it onto itself as you move along to make it easier to handle.
- If the carpet is secured with tack strips, detach it by prying them up with a pry bar or hammer and flathead screwdriver.
- Check the condition of the baseboards as you remove the carpet. If they are damaged or need replacing, take this opportunity to remove and replace them along with the carpet.
- If the carpet was laid over another material, such as vinyl or hardwood, assess the condition of that material. Determine if it needs to be removed based on its condition, compatibility with the hardwood installation process, and personal preference. In some cases, if the existing material is in good condition, it can be left in place and the hardwood installed over it.
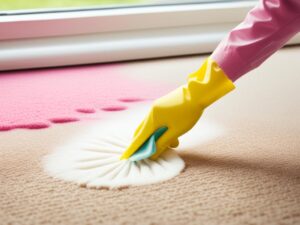
- Once the carpet is removed, dispose of it properly. Check with your local waste management facility or recycling center for guidance on how to dispose of carpet responsibly.
By following these steps, you can effectively remove the carpet and clear the way for the next stages of the hardwood flooring installation process.
| Tools for Removing Carpet: | |
|---|---|
| Tool | Description |
| Knee kicker | A tool used to stretch and detach carpet from tack strips |
| Pliers | Used to grip and lift the edge of the carpet away from the floor |
| Carpet tucker | Used to tuck carpet edges neatly along walls or into gaps |
| Pry bar or hammer and flathead screwdriver | For detaching tack strips |
| Utility knife | Used to cut the carpet into manageable sections |
| Trash bags | To bag and dispose of the removed carpet properly |
Remember, if you encounter any difficulties during the carpet removal process or if you’re unsure about any steps, it’s always best to consult a professional for assistance. They can provide expert guidance and help ensure a smooth transition from carpet to hardwood.
Step 2: Preparing the Subfloor
Once the carpet has been removed, the next step in replacing it with hardwood is preparing the subfloor. This crucial step ensures a smooth and secure installation of the hardwood flooring. Here are the essential tasks to complete:
- Removing Parquet Flooring: If the carpet was laid over parquet flooring or any other type of existing flooring, it’s necessary to remove it. This ensures that the hardwood flooring is installed directly on the subfloor, providing a stable foundation.
- Vacuuming Before Installation: Before laying down the hardwood, it’s important to thoroughly vacuum the subfloor. This step removes any dirt, dust, or debris that may interfere with the installation process. A clean surface also helps prevent potential damage to the hardwood once it’s in place.
- Checking for Additional Construction Needs: While preparing the subfloor, it’s an opportune time to assess any additional construction needs. This can include expanding closets, adding new walls, or making other modifications to enhance the functionality or aesthetics of the space. Taking care of these changes before installing the hardwood saves time and helps create a seamless transition.
By following these steps, you will have a well-prepared subfloor that is ready for the installation of the hardwood flooring. Taking the time to properly prepare the subfloor ensures a successful and long-lasting transformation for your floors.

| Steps | Description |
|---|---|
| 1 | Removing Parquet Flooring |
| 2 | Vacuuming Before Installation |
| 3 | Checking for Additional Construction Needs |
Step 3: Choosing the Right Hardwood Flooring
Now that you’ve removed the carpet and prepared the subfloor, it’s time to choose the perfect hardwood flooring for your home. This step is crucial as it will determine the overall look and feel of your space. Consider the following factors when selecting your hardwood:
1. Style and Color
Think about the style and color that will best complement your existing decor and personal taste. Do you prefer a classic, traditional look or a contemporary, modern vibe? Take into account the color scheme of your room and envision how different hardwood options might enhance or clash with the overall aesthetic.
2. Types of Hardwood
There are various types of hardwood to choose from, each with its own unique characteristics. Common options include oak, maple, cherry, and walnut. Research the pros and cons of each type to find the one that suits your needs in terms of durability, hardness, and grain pattern.
3. Hardwood Samples
When visiting flooring stores, take advantage of their hardwood samples. These samples are typically large wood panels that allow you to see how the hardwood will look on a larger scale. Bring home samples of your favorite options to see how they blend with your existing furniture, walls, and lighting.
4. Underlayment for Hardwood
Underlayment is an important consideration when installing hardwood flooring. It provides a cushioning layer between the hardwood and the subfloor, enhancing comfort and sound absorption. Look for underlayment specifically designed for hardwood installation to ensure optimal performance and longevity.
5. Sound-Reducing Underlayment
If you’re concerned about noise levels in your home, consider using sound-reducing underlayment. This type of underlayment is specially designed to minimize sound transmission, creating a quieter living environment. It can be particularly beneficial if you have children, pets, or tend to walk heavily.
Take your time to explore different options and consult with flooring professionals to make an informed decision. Remember, choosing the right hardwood flooring is essential to achieving your desired aesthetic and creating a warm and inviting space.
| Factor | Considerations |
|---|---|
| Style and Color | Complement existing decor and personal taste |
| Types of Hardwood | Research pros and cons of oak, maple, cherry, walnut, etc. |
| Hardwood Samples | Bring home samples to see how they blend with existing elements |
| Underlayment for Hardwood | Choose suitable underlayment for durability and comfort |
| Sound-Reducing Underlayment | Consider noise reduction for a quieter living environment |

Step 4: Installing the Hardwood Flooring
Once you have chosen your hardwood flooring, it’s time to install it. Follow these key steps to ensure a successful installation:
- Secure the hardwood: Manually staple each piece of hardwood flooring to the subfloor, making sure they are secure and tightly fitted.
- Leave a gap for expansion: It’s important to leave a small gap between the flooring and the wall. This allows for natural heat expansion and contraction of the wood. The gap will be covered later by baseboard trim.
- Use baseboard trim: To create a finished look and conceal the gap, use baseboard trim along the perimeter of the room. This trim will not only enhance the aesthetics but also protect the edges of the flooring.
- Consider quarter round trim: If you prefer more vertical space on the wall, you can opt for quarter round trim instead of traditional rectangular baseboards. This trim is installed at the base of the wall, covering the gap between the flooring and the wall.
When installing hardwood flooring, it’s recommended to focus on common areas and private rooms, and avoid wet rooms like bathrooms and laundry rooms where moisture levels can fluctuate. This will ensure the longevity and durability of your hardwood flooring.

Expert Tip:
Before stapling the hardwood, make sure to acclimate the flooring to the room’s temperature and humidity for at least 72 hours. This will help prevent any warping or buckling of the wood after installation.
Conclusion
Transforming your floors by replacing carpet with hardwood can greatly upgrade the overall look and feel of your home. Hardwood flooring offers a timeless and elegant appearance that adds sophistication to any space. Not only does it enhance the aesthetic appeal, but it also brings numerous benefits that make it a preferred choice for homeowners.
One of the advantages of hardwood flooring is its low-maintenance nature. Unlike carpet, hardwood is easier to clean and doesn’t trap dust, allergens, or pet hair. Regular sweeping and occasional mopping are usually sufficient to keep your hardwood floors looking pristine.
Another significant benefit is the increased resale value that hardwood flooring provides. It is a desirable feature that appeals to potential buyers and can greatly enhance the marketability of your home. By investing in a carpet to hardwood conversion, you are making a valuable upgrade that pays off in the long run.
By following the step-by-step process of removing the carpet, preparing the subfloor, choosing the right hardwood flooring, and installing it properly, you can successfully transform your floors and enjoy the many benefits of hardwood. Upgrade your home today with the timeless beauty and practical advantages that hardwood flooring brings.
FAQ
How do I replace carpet with hardwood flooring?
To replace carpet with hardwood flooring, start by removing the existing carpet, preparing the subfloor, choosing the right hardwood flooring, and installing it properly.
What tools do I need to remove the carpet?
Basic tools, such as pliers and a utility knife, are usually sufficient for removing the carpet. You may also need a pry bar to lift up any carpet tacks or staples.
Can I preserve the existing baseboard while removing the carpet?
If the baseboard is in good condition and not damaged during the removal process, it can be preserved and reinstalled. However, if the baseboard is damaged, it may need to be replaced along with the carpet.
Should I remove the carpet if it was laid over another material?
If the carpet was laid over another material, such as parquet flooring, it is generally recommended to remove both the carpet and the underlying material. This will ensure a clean, level surface for the hardwood installation.
How should I prepare the subfloor before installing the hardwood?
Before installing the hardwood, the subfloor should be thoroughly vacuumed to remove any dust or debris. If there is any existing flooring, such as parquet, it should be removed to create a clean surface.
How do I choose the right hardwood flooring for my home?
When choosing hardwood flooring, consider the style and color that will best suit your space. Take advantage of flooring stores that offer large wood panels for a better sense of how the hardwood will look, and don’t forget to get samples to bring home and see how they fit in with your existing decor.
Do I need to use underlayment for the hardwood flooring?
Using underlayment, especially sound-reducing underlayment, can help create a quieter space. It’s worth considering, especially if you tend to walk loudly or if you want to minimize noise between floors.
How do I install the hardwood flooring?
Hardwood flooring should be manually stapled to the subfloor to ensure each piece is secure. Make sure to leave a small gap between the flooring and the wall to allow for heat expansion. This gap will be covered by baseboard trim or quarter round trim.
Can I install hardwood flooring in wet rooms like bathrooms and laundry rooms?
It is generally not recommended to install hardwood flooring in wet rooms as prolonged exposure to moisture can damage the wood. Consider alternative flooring options, such as tile or vinyl, for these areas.
What are the benefits of replacing carpet with hardwood?
Replacing carpet with hardwood can transform the look and feel of your home. Hardwood flooring offers a timeless and elegant appearance, is easier to clean and maintain compared to carpet, and can increase the resale value of your home.
