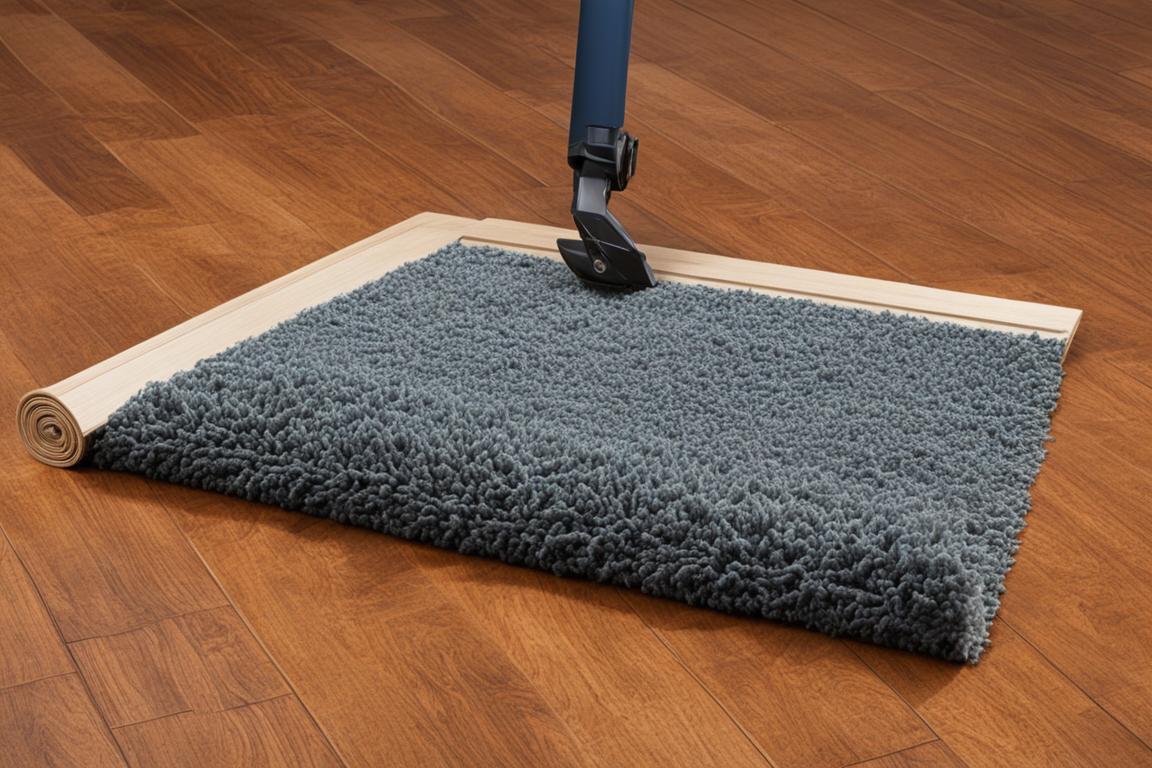
Many homes built before the 1980s have hidden hardwood floors underneath carpet. If you’ve ever wondered what lies beneath that cozy, plush surface, this guide is for you. We will explore what is underneath carpet, from carpet padding to the subfloor and the layers in between. Whether you’re considering carpet installation or planning to remove it, understanding what lies beneath will help you make informed decisions.
Key Takeaways:
- Carpet installation hides various flooring layers, including carpet padding, carpet underlay, and subfloor.
- Removing carpet requires proper tools and techniques to avoid damage to the underlying floors.
- Before restoration, assess the condition of the floors and address any damage or adhesive residue.
- Restoring hardwood floors involves steps such as sanding, staining, and sealing for protection.
- Alternatively, lightly damaged floors can be rejuvenated with sandless refinishing or floor restorer products.
Identifying the Presence of Wood Floors under Carpet
When it comes to uncovering the hidden treasure beneath your carpet, identifying the presence of wood floors is the crucial first step. Fortunately, there are several effective methods to help you determine whether hardwood lies beneath the carpet and padding.
One method involves removing a floor vent and taking a peek underneath. By lifting the carpet and padding near the vent, you may catch a glimpse of the hidden wood flooring. This technique can provide valuable insights into the condition and quality of the wood beneath the carpet.
Another option is to inspect the basement, especially in areas where cutouts are present. Basements often reveal clues about the type of flooring used throughout the house. Look for glimpses of hardwood peeking through the carpet or signs of a different flooring material, indicating the presence of wood floors waiting to be unleashed.
Age and Style: Clues to What Lies Beneath
The age and style of your house can offer valuable hints about the likelihood of finding wood floors under the carpet. Older homes built before the 1980s are more likely to feature hardwood flooring concealed beneath the carpet. Moreover, houses with a traditional or vintage architectural style tend to prioritize the use of wood as a primary flooring material.
By considering the history and design aesthetic of your home, you can make an educated guess about the probability of finding wood flooring. This information can guide your decision-making process and help you prepare for the exciting journey of uncovering and restoring beautiful hardwood floors.
Now that you have a better understanding of how to identify wood floors under carpet, let’s move on to Section 3, where we’ll explore how to prepare for the unveiling process and what surprises may lie in store!

Preparing for the Unveiling: What You Might Encounter
When it comes to removing carpet, you never know what you might find underneath. The process of unveiling what lies beneath can lead to exciting discoveries or unexpected challenges. Let’s explore some possible scenarios you may encounter as you embark on this journey of uncovering wood floors.
Well-preserved Hardwood Floors
In some cases, you may be pleasantly surprised to uncover well-preserved hardwood floors beneath the carpet. These floors may be in excellent condition, requiring minimal restoration work. With a thorough cleaning and refinishing, they can regain their natural beauty and become the centerpiece of your home.
Floors with Minor Damage
On the other hand, you might encounter hardwood floors that have suffered from minor damage over the years. This could include scratches, stains, or discoloration. Fortunately, these issues can often be addressed through sanding, staining, and careful refinishing. With a little bit of effort, you can bring these floors back to life and restore their original charm.
Layers of Linoleum Instead of Wood
Another possibility is that you may uncover layers of linoleum flooring instead of the desired hardwood. Linoleum was commonly used as an alternative flooring material in the past, and it might have been installed on top of the original wood floors. If you encounter this situation, you’ll need to decide whether to remove the linoleum and proceed with restoring the wood or explore other options for your flooring needs.
Regardless of what you find under the carpet, it’s essential to assess the condition of the floors before moving forward with restoration. This assessment will help you determine the extent of any damage and the necessary steps to address it. By evaluating the floor conditions, you can create a plan that ensures the best possible outcome for your wood floor restoration project.
During the carpet removal process, you’ll need various tools to assist you. A utility knife can help you cut and remove the carpet, while pliers and a pry bar are useful for lifting and dislodging the stubborn parts. These tools will come in handy, regardless of what lies beneath the carpet.
As you prepare for the unveiling, keep in mind that properly addressing floor conditions and any hardwood floor damage is crucial for achieving successful restoration. This initial preparation and evaluation will set the stage for the subsequent steps in the process and pave the way for a beautiful and enduring transformation.

| Tools | Function |
|---|---|
| Utility Knife | Cutting and removing carpet |
| Pliers | Lifting and dislodging stubborn parts |
| Pry Bar | Assisting in carpet removal |
The Restoration Process: Bringing Your Wood Floors Back to Life
Restoring wood floors is a meticulous process that requires careful assessment, meticulous cleaning, and expert craftsmanship. Whether you want to revive the natural beauty of old hardwood floors or give a new lease of life to worn-out flooring, the restoration process can bring remarkable results. Here’s a step-by-step guide on how to restore your wood floors to their original glory.
1. Floor Assessment
Before starting the restoration process, it’s crucial to assess the condition of your wood floors. Inspect for any signs of damage, scratches, or discoloration that may require special attention. Proper assessment will help you determine the extent of restoration needed and plan the necessary steps accordingly.
2. Carpet Glue Removal
If your wood floors were previously covered with carpet, you’ll need to remove the residual carpet glue. This can be a challenging task, as carpet glue tends to be stubborn and resistant to regular cleaning methods. Consider using specialized adhesive removers or consult a professional for effective removal techniques.
3. Floor Sanding
Sanding is a crucial step in the restoration process as it helps remove imperfections and restore the smoothness of the wood surface. Use a quality floor sander with different grits of sandpaper to achieve the desired level of smoothness. Sand in the direction of the wood grain to avoid scratches and ensure an even finish.
4. Floor Staining
Once the floors are sanded, you have the option to stain them to enhance their color and add richness to the wood grain. Choose a stain that complements your desired aesthetic and apply it evenly across the entire floor surface. Allow the stain to dry completely before moving on to the next step.
5. Floor Sealing
Sealing your restored wood floors is crucial to protect them from moisture, dirt, and daily wear and tear. Apply a quality floor sealer or finisher evenly across the surface using a lambswool applicator or brush. Follow the manufacturer’s instructions regarding drying and curing times for the best results.
By following these steps, you can revive your wood floors and bring back their natural beauty. Keep in mind that the restoration process requires time, expertise, and the right tools. If you’re unsure about any step, consider consulting a professional to ensure a flawless restoration.

Getting professional help to restore your wood floors can save you time and effort while ensuring exceptional results. Professional floor restoration services have the experience, expertise, and equipment to tackle even the most challenging restoration projects. They can handle the entire process efficiently, from floor assessment to final sealing, leaving you with beautifully restored wood floors.
Alternative Restoration Methods: For Lightly Damaged Floors
If your hardwood floors are lightly damaged or have lost their luster, there are alternative restoration methods that can breathe new life into them. Instead of opting for a full-scale refinishing, you can consider sandless refinishing or using specialized floor restorer products. These methods are less aggressive and can be a cost-effective solution for restoring the beauty of your floors.
Sandless Refinishing: Rejuvenate the Surface
Sandless refinishing is a popular alternative restoration method for lightly damaged hardwood floors. Unlike traditional refinishing that involves sanding the floors down to bare wood, this method utilizes a liquid solution and abrasive pads to remove the surface layer of the floor finish. It effectively gets rid of scratches, stains, and minor imperfections, revealing a fresh layer of wood beneath.
During the sandless refinishing process, the liquid solution is applied to the floor, which softens the existing finish. Next, abrasive pads are used to gently buff the surface, removing any imperfections. This method is less disruptive and time-consuming compared to sanding and also eliminates the need for dust containment.
Floor Restorer Products: Restore Shine and Polish
If your hardwood floors have lost their shine and polish, floor restorer products can be an effective solution. These products are specifically formulated to rejuvenate and revitalize the appearance of tired and worn-out floors. They work by replenishing the protective layer of finish, filling in small scratches, and enhancing the natural beauty of the wood.
Using floor restorer products is relatively simple and requires minimal effort. First, ensure that the floor is clean and free of debris. Apply the restorer product evenly to the floor using a clean mop or applicator. Allow the product to dry according to the manufacturer’s instructions, and then enjoy the renewed shine and polish of your hardwood floors.
It’s important to note that floor restorer products are not a long-term solution and will eventually wear off. However, they can be a convenient option for maintaining the appearance of your floors in between major refinishing projects.
By exploring alternative restoration methods such as sandless refinishing and utilizing floor restorer products, you can give your lightly damaged hardwood floors a new lease on life. These methods provide cost-effective and less disruptive solutions for bringing back the beauty and shine to your floors, ensuring that they remain a stunning asset in your home.
Revealing Hardwood Treasure beneath Carpeting and Linoleum
When it comes to removing carpeting and linoleum to unveil the hidden hardwood treasure beneath, it’s important to determine the method of attachment. This will help you choose the right tools and techniques for a successful removal process.
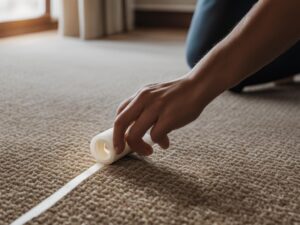
Removing Carpeting
If nails or tacks were used to secure the carpet, a pry bar can be used to carefully lift and remove them. This should be done gently to avoid damaging the underlying hardwood. After removing the nails, consider using wood putty to fill any resulting holes and create a smooth surface for refinishing.
Pro Tip: Take your time during the removal process and be gentle to prevent any damage to the hardwood.
When it comes to carpet adhesive removal, the type of adhesive used will determine the best method. For water-based adhesives, a solution of warm water and mild detergent can be applied to loosen the adhesive. Scrubbing gently with a soft brush can help in the removal process. For more stubborn adhesives, using mineral spirits or an all-purpose adhesive remover may be necessary. Always follow the manufacturer’s instructions and test any product on a small, inconspicuous area before applying it to the entire floor.
Removing Linoleum
Similar techniques apply when removing linoleum to reveal the hardwood beneath. Start by gently lifting one corner of the linoleum to create a starting point. Use a putty knife or scraper to carefully peel away the linoleum, taking care not to damage the hardwood underneath. It may be helpful to use heat, such as with a heat gun or hairdryer, to soften the adhesive and make the removal process easier.
Pro Tip: Be cautious while using heat to avoid overheating or damaging the hardwood. Keep the heat source moving at all times.
| Method | Tools | Techniques |
|---|---|---|
| Nail or tack removal | Pry bar | Gently lift and remove nails or tacks |
| Carpet adhesive removal | Warm water, mild detergent, soft brush | Apply solution, scrub gently, and wipe away adhesive |
| Linoleum removal | Putty knife, scraper | Gently lift and peel away linoleum |
Note: Always exercise caution and consult professionals if you’re unsure or uncomfortable with the removal process.
Personal Experience: Removing Carpet to Reveal Hardwood Floors
Uncovering the hidden treasure of hardwood floors beneath carpet can be an exciting journey. As the author shares their personal carpet removal experience, it becomes evident that the process involves more than just lifting the carpet. The transformation of the space and the subsequent steps for hardwood floor cleaning and hardwood floor maintenance add to the overall satisfaction of revealing the natural beauty beneath.
When embarking on the carpet removal process, the author used a combination of tools including a chisel, pry bar, and utility knife. These tools were essential in carefully removing the carpet and preventing any damage to the underlying hardwood floors. It’s worth noting that the carpet adhesive presented a challenge during the removal process. Expertly wielding the tools, the author successfully removed the carpet and its adhesive residue.
A Journey of Maintenance and Care
Once the carpet was removed, the priority shifted towards restoring the hardwood floors to their former glory. This involved extensive cleaning to remove any remaining residue and dirt that had accumulated over the years. Careful attention was given to choose suitable cleaning products and methods that would not harm the wood.
Following the thorough cleaning process, the author adopted a strict hardwood floor maintenance routine to keep the floors in top condition. Regular sweeping, mopping with appropriate wood floor cleaners, and promptly addressing spills or stains were all part of the maintenance routine. The author emphasizes the importance of following manufacturer’s guidelines and recommendations to ensure long-lasting beauty and durability.
With consistent care and maintenance, the hardwood floors continue to shine and enhance the overall aesthetic of the space. The author expresses gratitude for the decision to remove the carpet and uncover the hidden treasure that lay beneath.
“Unveiling the hardwood floors was an immensely rewarding experience. It not only transformed the appearance of the room but also offered a connection to the history of the house. The maintenance and care required for hardwood floors are worth the effort, as the beauty they add to the space is unparalleled.”
“I now understand the importance of preserving and maintaining hardwood floors. Through regular cleaning and maintenance, I have been able to keep them looking as good as new, and they have become a focal point in my home.”
The testimonial and personal reflection from the author is a testament to the lasting impact of uncovering hardwood floors and the satisfaction that comes with their preservation. It serves as a source of inspiration for homeowners considering a similar journey.
Conclusion
Unveiling the hidden beauty of hardwood floors underneath carpet can be a rewarding process. By following the steps outlined in this guide, homeowners can transform their space and enhance the value of their home. Whether choosing to restore heavily damaged floors or opting for alternative methods for lightly damaged floors, uncovering what lies beneath the carpet can lead to a stunning floor transformation.
Restoring hardwood floors not only brings out their hidden beauty but also adds a touch of elegance and warmth to any room. The natural grains and rich colors of wood create a timeless appeal that can complement any style of interior design. It is a chance to showcase the craftsmanship that went into creating these enduring and durable floors.
From assessing the condition of the floors to removing carpet glue and sanding, each step of the restoration process contributes to the overall transformation. Alternatively, for lightly damaged floors, sandless refinishing or floor restorer products can provide a simpler and less invasive solution.
Ultimately, the journey of uncovering the hidden beauty of wood floors is not just about revitalizing the surface but also about appreciating the history and character that lies beneath. With careful restoration and maintenance, these hardwood floors can continue to impress for generations to come.
FAQ
How can I identify the presence of wood floors under carpet?
One method is to remove a floor vent and peek underneath the carpet and padding. Another option is to inspect the basement for glimpses of hardwood near cutout areas. The age and style of the house can also provide clues about the likelihood of finding wood floors.
What should I expect when preparing to uncover wood floors?
When removing carpet, be prepared for different scenarios. You may uncover well-preserved hardwood floors, floors with minor damage, or layers of linoleum instead of wood. Various tools such as a utility knife, pliers, and a pry bar may be needed for the carpet removal process. It’s important to assess the condition of the floors and address any damage before moving forward with restoration.
What is involved in the restoration process for wood floors?
Restoring wood floors involves assessing their condition, removing carpet glue, sanding the floors, staining them, and sealing them for protection. It’s important to determine the extent of any damage and take the necessary steps to restore the floors to their original beauty. Each step requires specific tools and techniques to achieve the desired results.
Are there alternative restoration methods for lightly damaged floors?
If your hardwood floors are lightly damaged or lost their luster, there are alternative restoration methods. Sandless refinishing is a less aggressive method that uses a liquid solution and abrasive pads to rejuvenate the surface. Floor restorer products are another option and can help bring back the shine and polish to your floors.
What should I consider when removing carpeting or linoleum?
When removing carpeting, determine whether nails or adhesive were used to secure it. Nails or tacks can be removed with a pry bar, and wood putty can fill any resulting holes. For adhesive removal, the type used will determine the best method, such as using mineral spirits or an all-purpose adhesive remover. Similar techniques can be applied when removing linoleum, taking care to avoid damaging the hardwood underneath.
Can you share a personal experience of removing carpet to reveal hardwood floors?
The author shares their personal experience of removing carpet to uncover hardwood floors. The process involved using a chisel, pry bar, and utility knife to remove the carpet, along with extensive cleaning to remove residue. The exciting transformation of the space is highlighted, along with the importance of maintenance and care for hardwood floors.
